1. Introduction
This manual provides instructions for the proper assembly, operation, and maintenance of your Coleman AT70 AstroWatch Portable 70mm Refractor Telescope. Please read this manual thoroughly before using your telescope to ensure optimal performance and longevity.
The Coleman AT70 AstroWatch telescope is designed for both terrestrial (land-based) and astronomical (sky-based) viewing, offering a maximum magnification of 40 times with its 70mm objective lens. It features easy-to-use horizontal and vertical controls, rack and pinion focusing, and includes a 5x20 finderscope to assist in locating objects.
2. Safety Information
- Never look directly at the sun through the telescope or its finderscope without a professionally manufactured solar filter. Permanent and irreversible eye damage, including blindness, can result.
- Do not leave the telescope unattended, especially when children are present.
- Handle optical components with care to avoid scratches or damage.
- Ensure the tripod is stable on a level surface before attaching the telescope.
3. Package Contents
Verify that all components are present in your package:
- Coleman AT70 Refractor Telescope Optical Tube
- Portable Tripod
- 5x20 Finderscope
- Eyepieces (20mm and 9mm Kellner)
- Accessory Tray
- Padded Carrying Case
- Starry Night CD Software
- Instruction Manual (this document)
4. Setup and Assembly
Follow these steps to assemble your telescope:
4.1. Tripod Assembly
- Unfold the tripod legs and extend them to a suitable height. Ensure the tripod is stable.
- Attach the accessory tray to the center brace of the tripod, if applicable, to provide additional stability and a place for eyepieces.
4.2. Attaching the Telescope Optical Tube
- Locate the mounting block on the underside of the telescope optical tube.
- Align the mounting block with the tripod head and secure it using the provided screw or clamp mechanism. Ensure the telescope is firmly attached and balanced.
4.3. Installing the Finderscope
- Slide the 5x20 finderscope into its bracket on the telescope tube.
- Tighten the small screws on the bracket to hold the finderscope securely in place.
- Note: The finderscope will need to be aligned with the main telescope before use. Refer to Section 5.1 for alignment instructions.
4.4. Inserting an Eyepiece
- Loosen the thumbscrew on the focuser drawtube.
- Insert either the 20mm or 9mm eyepiece into the focuser.
- Gently tighten the thumbscrew to secure the eyepiece. Do not overtighten.
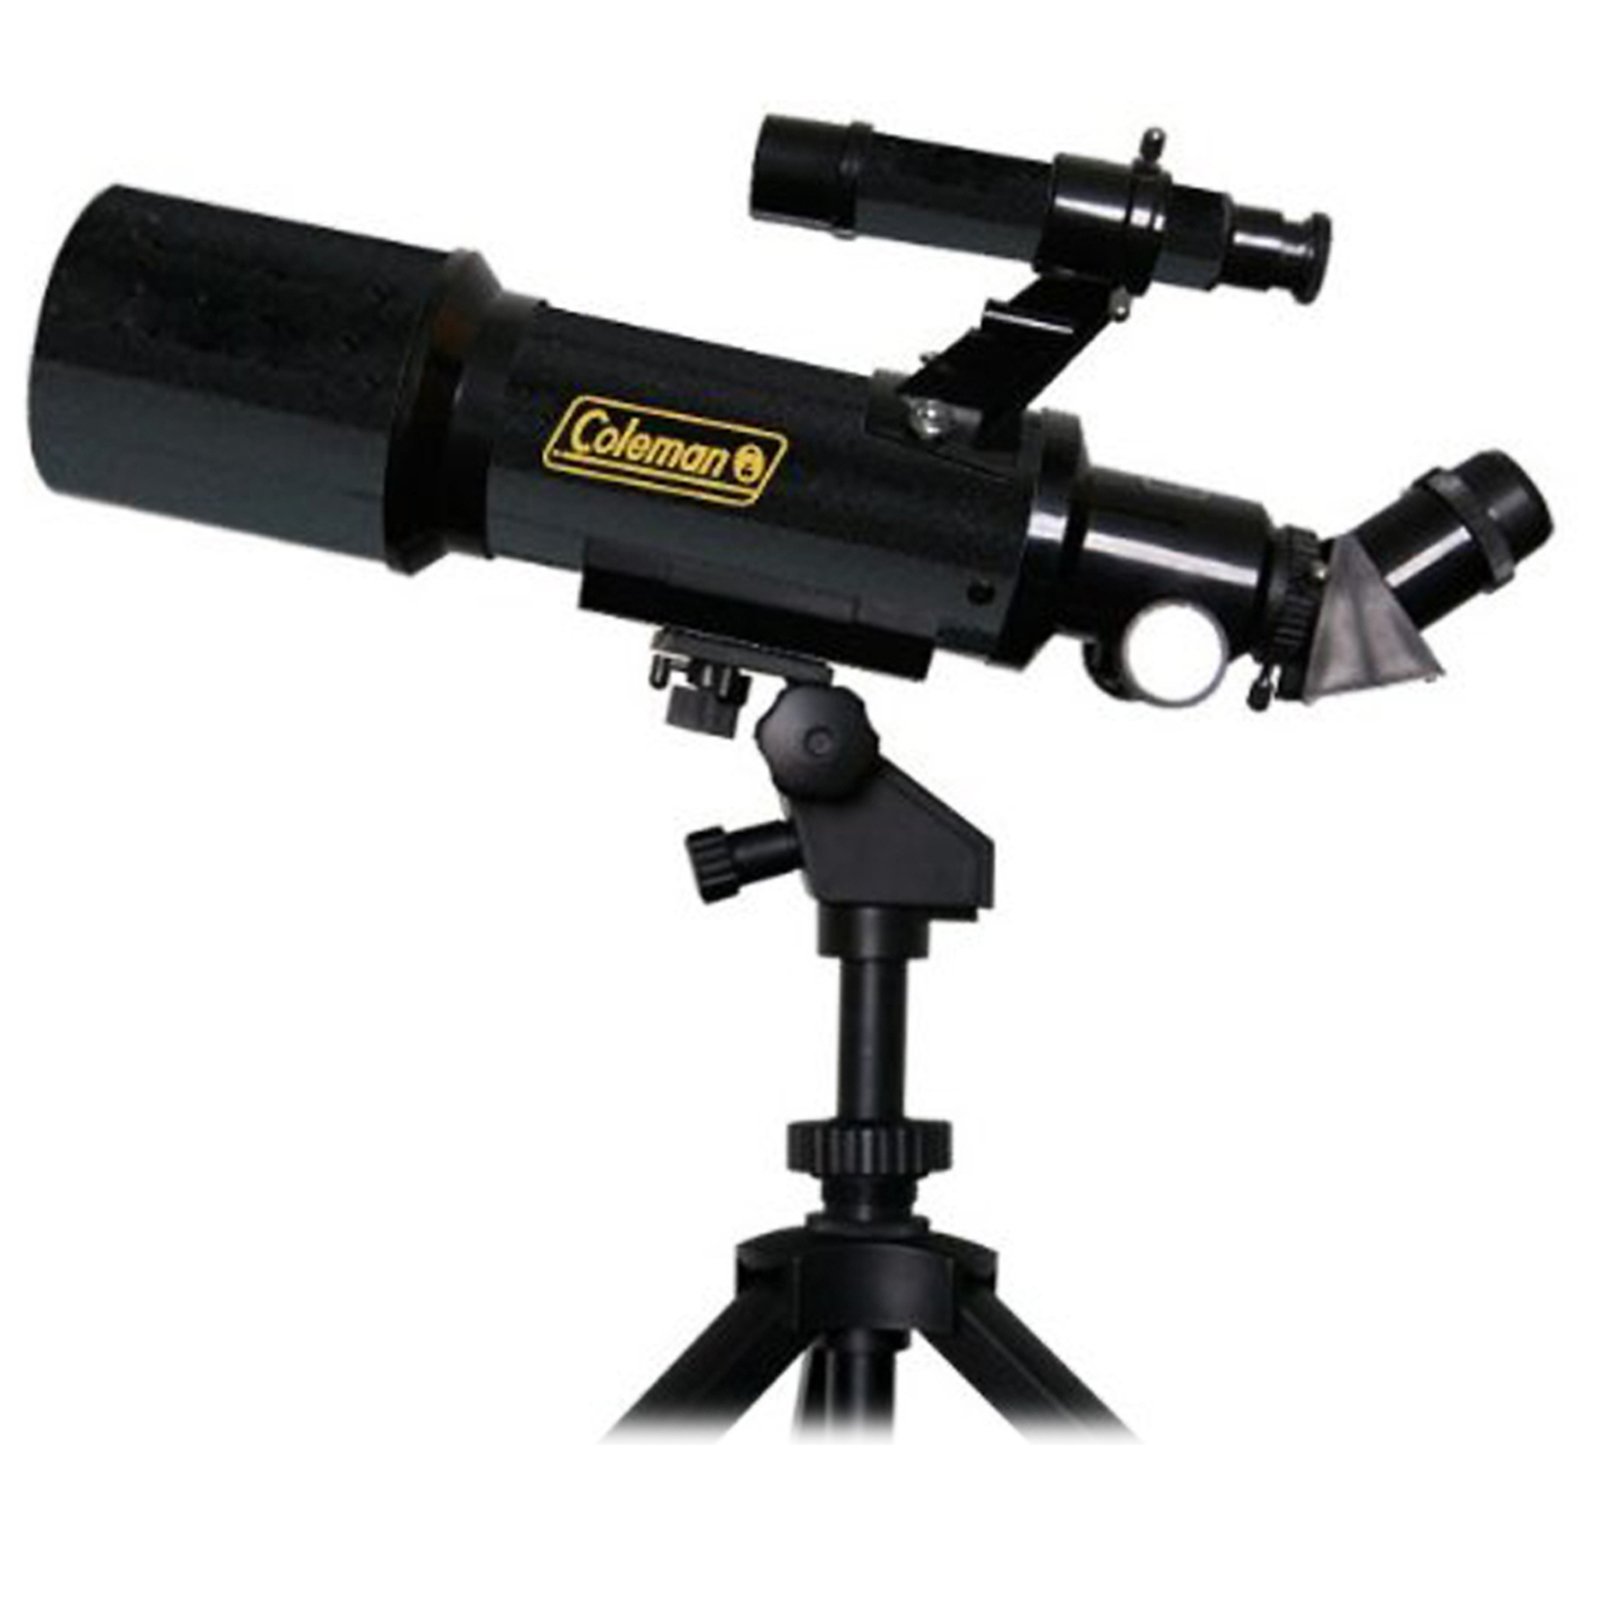
Figure 1: Assembled Coleman AT70 AstroWatch Telescope. This image shows the telescope optical tube mounted on its portable tripod, with the finderscope and an eyepiece attached.
4.5. Starry Night Software Installation
The included Starry Night CD software can be installed on a compatible computer to assist with astronomical navigation and education. Follow the on-screen instructions provided with the software for installation.
5. Operation
5.1. Aligning the Finderscope
The finderscope provides a wide field of view to help locate objects before viewing them through the main telescope. It must be aligned with the main telescope first:
- During daylight hours, point the main telescope at a distant, easily identifiable object (e.g., a tree top, a distant building).
- Center the object in the main telescope's eyepiece.
- Look through the finderscope. Use the adjustment screws on the finderscope bracket to move its crosshairs until they are centered on the same object.
- Check the alignment by switching between the finderscope and the main telescope. Repeat adjustments until both are perfectly aligned.
5.2. Pointing the Telescope
Use the horizontal and vertical controls on the tripod mount to move the telescope. These controls allow for fine adjustments to track celestial objects as they move across the sky.
5.3. Focusing
Once an object is centered in the eyepiece, use the rack and pinion focusing knob to bring the image into sharp focus. Turn the knob slowly until the image is clear.
- For the 20mm eyepiece, you may find that the eyepiece barrel needs to be slightly extended (not fully inserted) to achieve focus, especially for distant objects.
- For the 9mm eyepiece, you may need to rack the focuser out to its maximum extent to achieve focus.
5.4. Changing Eyepieces
To change magnification, swap eyepieces:
- Loosen the thumbscrew on the focuser drawtube.
- Carefully remove the current eyepiece.
- Insert the desired eyepiece (e.g., 9mm for higher magnification, 20mm for wider field of view).
- Gently tighten the thumbscrew.
- Refocus the telescope as needed.
6. Maintenance
6.1. Cleaning Lenses
Optical surfaces should be cleaned as infrequently as possible. When cleaning is necessary:
- Use a soft brush or compressed air to remove loose dust particles.
- For smudges or fingerprints, use a specialized optical cleaning solution and a clean, soft microfiber cloth. Apply the solution to the cloth, not directly to the lens. Wipe gently in a circular motion from the center outwards.
- Avoid touching optical surfaces with your fingers.
6.2. Storage
When not in use, store the telescope in its padded carrying case in a cool, dry place to protect it from dust, moisture, and impact. Ensure all caps are placed on the objective lens and eyepieces.
7. Troubleshooting
| Problem | Possible Cause | Solution |
|---|---|---|
| Image is blurry or cannot be focused. |
|
|
| Cannot find objects easily. | Finderscope is not aligned. | Align the finderscope with the main telescope during daylight hours (refer to Section 5.1). |
| Image appears dim or dark. |
|
|
8. Specifications
| Feature | Detail |
|---|---|
| Model Number | AT70 |
| Brand | Coleman |
| Telescope Type | Refractor |
| Objective Lens Diameter | 70 mm |
| Focal Length | 400 mm |
| Eyepieces Included | 20mm, 9mm (Kellner design) |
| Finderscope | 5x20 Reflex |
| Focus Type | Manual Focus (Rack and Pinion) |
| Mount Type | Tripod Mount |
| Product Dimensions (D x W x H) | 14.5" x 3.5" x 3.5" |
| Item Weight | 1.5 Pounds |
| Lens Coating Description | Achromatic |
| Field Of View | 1.14 Degrees |
| Additional Features | Includes Starry Night software for astronomical navigation and education. |
| Age Range Description | 10+ |
9. Warranty Information
The Coleman AT70 AstroWatch Portable 70mm Refractor Telescope comes with a 1 Year manufacturer's warranty. Please retain your proof of purchase for warranty claims. For specific terms and conditions, refer to the warranty documentation included with your product or contact Coleman customer support.
10. Customer Support
If you encounter any issues not covered in this manual or require further assistance, please contact Coleman customer support. Contact information can typically be found on the Coleman website or on the product packaging.
When contacting support, please have your model number (AT70) and proof of purchase readily available.