Oster BLSTPB-WBL-000
Oster My Blend Blender Instruction Manual
Model: BLSTPB-WBL-000 | Brand: Oster
1. Introduction
Thank you for choosing the Oster My Blend Blender. This manual provides important information regarding the safe operation, assembly, maintenance, and troubleshooting of your new appliance. Please read these instructions thoroughly before first use and retain them for future reference.
Important Safety Information
Always follow basic safety precautions when using electrical appliances to reduce the risk of fire, electric shock, and/or injury to persons, including the following:
- Read all instructions before operating the blender.
- Do not immerse the motor base in water or other liquids.
- Close supervision is necessary when any appliance is used by or near children.
- Unplug from outlet when not in use, before putting on or taking off parts, and before cleaning.
- Avoid contact with moving parts.
- Do not operate any appliance with a damaged cord or plug or after the appliance malfunctions or has been dropped or damaged in any manner.
- The use of attachments not recommended or sold by the manufacturer may cause fire, electric shock, or injury.
- Do not use outdoors.
- Do not let cord hang over edge of table or counter or touch hot surfaces.
- Do not place on or near a hot gas or electric burner, or in a heated oven.
- Do not use appliance for other than intended use.
- The blade is sharp. Handle with care.
- Do not attempt to defeat the interlock mechanism.
- This appliance has a built-in, resettable fuse that will revive the motor in 15 minutes should it overheat.
2. Product Overview and Components
The Oster My Blend Blender is designed for convenient, single-serve blending directly into a portable sport bottle. It features a powerful motor for crushing ice and a durable, BPA-free bottle.
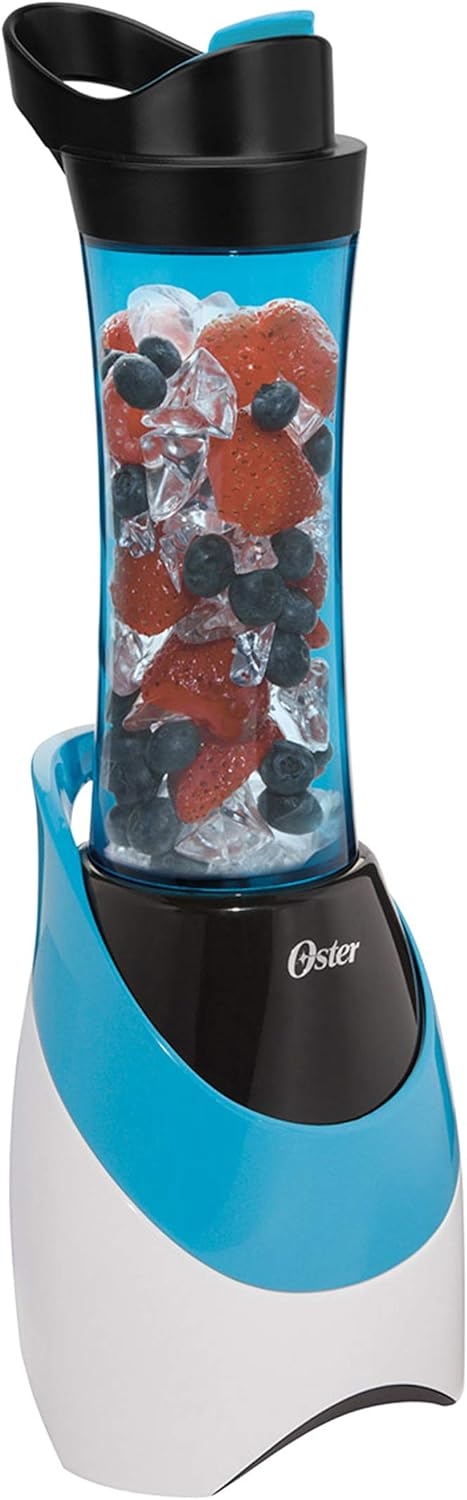
Figure 2.1: The Oster My Blend Blender with its sport bottle containing berries and ice, ready for blending.
Included Components:
- Blender Motor Base
- 20-ounce BPA-Free Plastic Sport Bottle
- Drinking Lid
- Stainless Steel Blender Blade Assembly

Figure 2.2: All components of the Oster My Blend Blender, including the motor base, the 20-ounce sport bottle, the blade assembly, and the drinking lid.

Figure 2.3: Close-up view of the 20-ounce, dishwasher-safe, BPA-free plastic sport bottle.
3. Setup and Assembly
Before first use, wash all parts that will come into contact with food. The sport bottle, drinking lid, and blade assembly are dishwasher safe (top rack only) or can be hand-washed with warm, soapy water.
- Ensure the blender motor base is unplugged from the power outlet.
- Place the motor base on a clean, dry, and stable surface.
- Fill the 20-ounce sport bottle with your desired ingredients. Do not overfill past the MAX fill line (if present) or to the very top, as space is needed for blending.
- Screw the stainless steel blender blade assembly onto the open end of the sport bottle until securely tightened. Ensure there are no gaps.
- Invert the assembled bottle (with blade assembly facing down) and place it onto the motor base. Align the tabs on the bottle with the slots on the motor base.
- Twist the bottle clockwise to lock it into place. You should feel it click securely.
4. Operating Instructions
The Oster My Blend Blender features simple one-touch blending for quick and easy preparation of smoothies and shakes.

Figure 4.1: Visual representation of the three simple steps: Fill the bottle, Blend on the motor base, and Go with your drink.
- After assembling the bottle with ingredients and blade assembly onto the motor base (as per Section 3), plug the blender into a standard 110-volt electrical outlet.
- Press and hold the power button located on the front of the motor base to begin blending. The blender will operate as long as the button is pressed.
- Blend until desired consistency is achieved. For best results with ice or frozen fruits, use short pulses rather than continuous blending. The blender has 400 watts of power for crushing ice and 250 blending watts.
- Once blending is complete, release the power button.
- Unplug the blender from the outlet.
- Twist the sport bottle counter-clockwise to unlock it from the motor base, then lift it off.
- Carefully unscrew the blade assembly from the sport bottle.
- Screw on the drinking lid to the sport bottle. Your blended drink is now ready to enjoy on the go.

Figure 4.2: The blender base with a bottle filled with fruit and ice, alongside a second bottle containing a freshly blended smoothie, demonstrating the blending capability.
Tips for Best Results:
- Always add liquid ingredients first for easier blending.
- Cut larger fruits and vegetables into smaller pieces before blending.
- Do not blend hot liquids, as pressure buildup can cause the bottle to burst.
- If the blender struggles, add more liquid or shake the bottle gently while blending to redistribute ingredients.
- The instruction manual includes various recipes to get you started.
5. Care and Cleaning
Proper cleaning ensures the longevity and hygiene of your Oster My Blend Blender.
- Always unplug the blender from the power outlet before cleaning.
- Separate the sport bottle, drinking lid, and blade assembly from the motor base.
- Sport Bottle, Drinking Lid, and Blade Assembly: These parts are dishwasher safe (top rack only). For hand washing, use warm, soapy water and a non-abrasive sponge or brush. Be extremely careful when handling the blade assembly as the blades are sharp. Rinse thoroughly.
- Motor Base: Wipe the motor base with a damp cloth. Do NOT immerse the motor base in water or any other liquid. Do not use abrasive cleaners or scouring pads.
- Ensure all parts are completely dry before reassembling or storing the blender.
6. Troubleshooting
If you encounter issues with your blender, refer to the following common problems and solutions:
| Problem | Possible Cause | Solution |
|---|---|---|
| Blender does not turn on. | Not plugged in; bottle not properly locked; motor overheated. | Ensure blender is securely plugged into a working outlet. Twist bottle clockwise until it clicks into place. If motor overheated, wait 15 minutes for the resettable fuse to reset. |
| Ingredients are not blending smoothly. | Too little liquid; too many ingredients; ingredients are too large. | Add more liquid. Reduce the amount of ingredients. Cut large ingredients into smaller pieces. Use pulse action. |
| Blender smells like burning. | Motor overload/overheating. | Unplug the blender immediately. Allow the motor to cool down for at least 15 minutes. Reduce load for future blending. |
| Leakage from the bottle. | Blade assembly not tightened; seal ring missing or damaged. | Ensure blade assembly is securely tightened onto the bottle. Check if the rubber seal ring is properly seated or if it needs replacement. |
If the problem persists after trying these solutions, please contact Oster customer support.
7. Specifications
| Feature | Detail |
|---|---|
| Model Number | BLSTPB-WBL-000 |
| Brand | Oster |
| Power | 400 Watts (Peak Blending Power), 250 Blending Watts |
| Voltage | 110 Volts |
| Capacity | 20 Fluid Ounces (Sport Bottle) |
| Material | BPA-Free Plastic (Bottle), Stainless Steel (Blade) |
| Product Dimensions (L x W x H) | 6.7"D x 6.9"W x 14.9"H |
| Cord Length | 16 inches |
| Item Weight | 1 pound |
8. Warranty and Customer Support
Your Oster My Blend Blender comes with a limited warranty. Please refer to the warranty card included with your product for specific terms and conditions. Keep your purchase receipt as proof of purchase.
For customer support, service, or to inquire about replacement parts, please visit the official Oster website or contact their customer service department. Contact information can typically be found on the product packaging or the Oster brand website.
Online Resources: Visit the Oster Store on Amazon
Ask a question about this manual
Ask about setup, troubleshooting, compatibility, parts, safety, or missing instructions. Manuals+ will review the question and use this page’s manual context to help answer it.