1. Introduction
This manual provides essential instructions for the safe and effective use, setup, maintenance, and storage of your Sevylor Riviera Inflatable Two Person Kayak. Please read this manual thoroughly before using the kayak. Retain this manual for future reference.
2. Safety Information
WARNING: Failure to follow these safety guidelines may result in serious injury or death.
- Always wear a U.S. Coast Guard approved personal flotation device (PFD) or life vest.
- Do not exceed the maximum weight capacity of the kayak. This kayak is designed for two persons.
- Never use the kayak under the influence of alcohol or drugs.
- Check weather conditions and water forecasts before each use. Avoid strong currents, high winds, and extreme weather.
- Always inform someone of your float plan, including your destination and estimated return time.
- Stay close to shore and be aware of potential hazards such as rocks, submerged objects, and other watercraft.
- This kayak is not a life-saving device.
- Avoid contact with sharp objects that could puncture the kayak's material (Polyvinyl Chloride - PVC).
- Ensure the kayak is properly inflated before use. Under-inflation can compromise stability and performance.
- Children should always be supervised by an adult.
3. Components Included
Your Sevylor Riviera Inflatable Two Person Kayak package typically includes the following items:
- Inflatable Kayak Hull
- Inflatable Seats (2)
- Paddle (may be included depending on package)

Figure 3.1: Example of a kayak paddle.
4. Setup Instructions
4.1 Unpacking
- Carefully remove the kayak from its packaging.
- Unroll the kayak on a clean, flat surface free of sharp objects.
4.2 Inflation
A suitable air pump (not included) is required for inflation. Ensure the pump nozzle fits the kayak's valves securely.
- Locate all inflation valves on the kayak. The Riviera model typically features multiple air chambers for safety.
- Begin by inflating the main side chambers until they are firm but not rigid.
- Next, inflate the floor chamber.
- Inflate the two inflatable seats.
- Continue to inflate all chambers to the recommended pressure. Some chambers may feature a pressure indicator to guide inflation. Do not over-inflate. The kayak should feel firm to the touch.
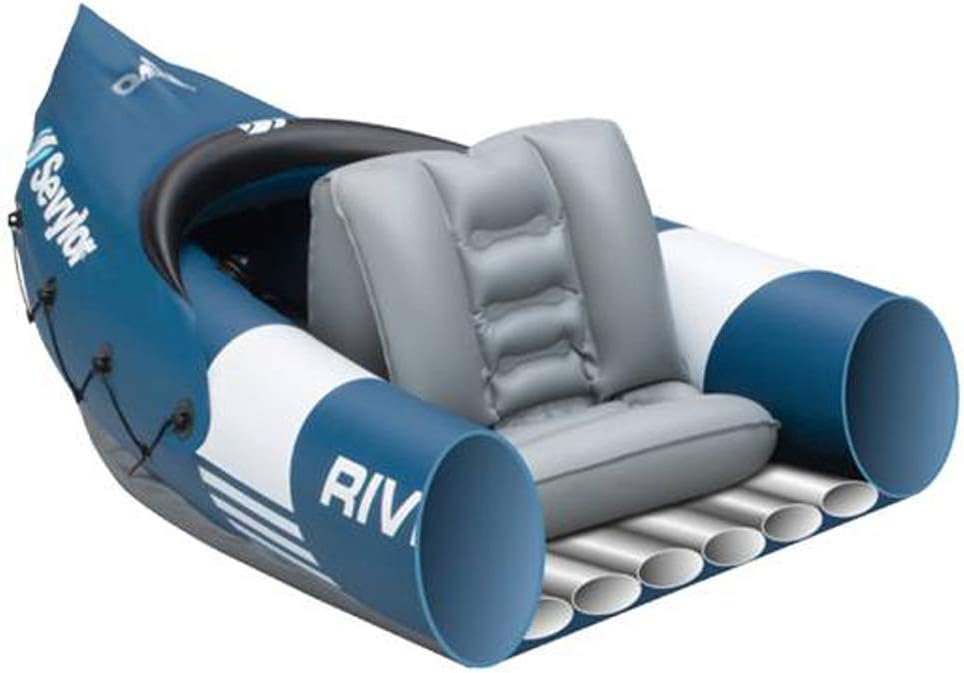
Figure 4.1: Kayak interior with inflatable seat installed.
4.3 Seat Installation
- Once inflated, position the seats inside the kayak. The seats are not permanently fixed, allowing for adjustment.
- Secure the seats using any integrated straps or attachment points to prevent movement during use.
4.4 Paddle Assembly
If your package includes a paddle, assemble it according to the manufacturer's instructions. Typically, paddle sections connect with a push-button or screw-together mechanism.
5. Operating the Kayak
5.1 Launching
- Carry the inflated kayak to the water's edge. Avoid dragging it over rough surfaces.
- Ensure both occupants are wearing PFDs.
- Carefully enter the kayak, distributing weight evenly to maintain stability.
5.2 Paddling and Steering
- Hold the paddle with both hands, slightly wider than shoulder-width apart.
- To move forward, paddle on alternating sides, pulling the blade through the water from front to back.
- To turn, paddle on one side only, or use a sweep stroke (a wide arc) on the opposite side of the desired turn.
- Maintain a balanced posture and coordinate paddling efforts if two people are present.
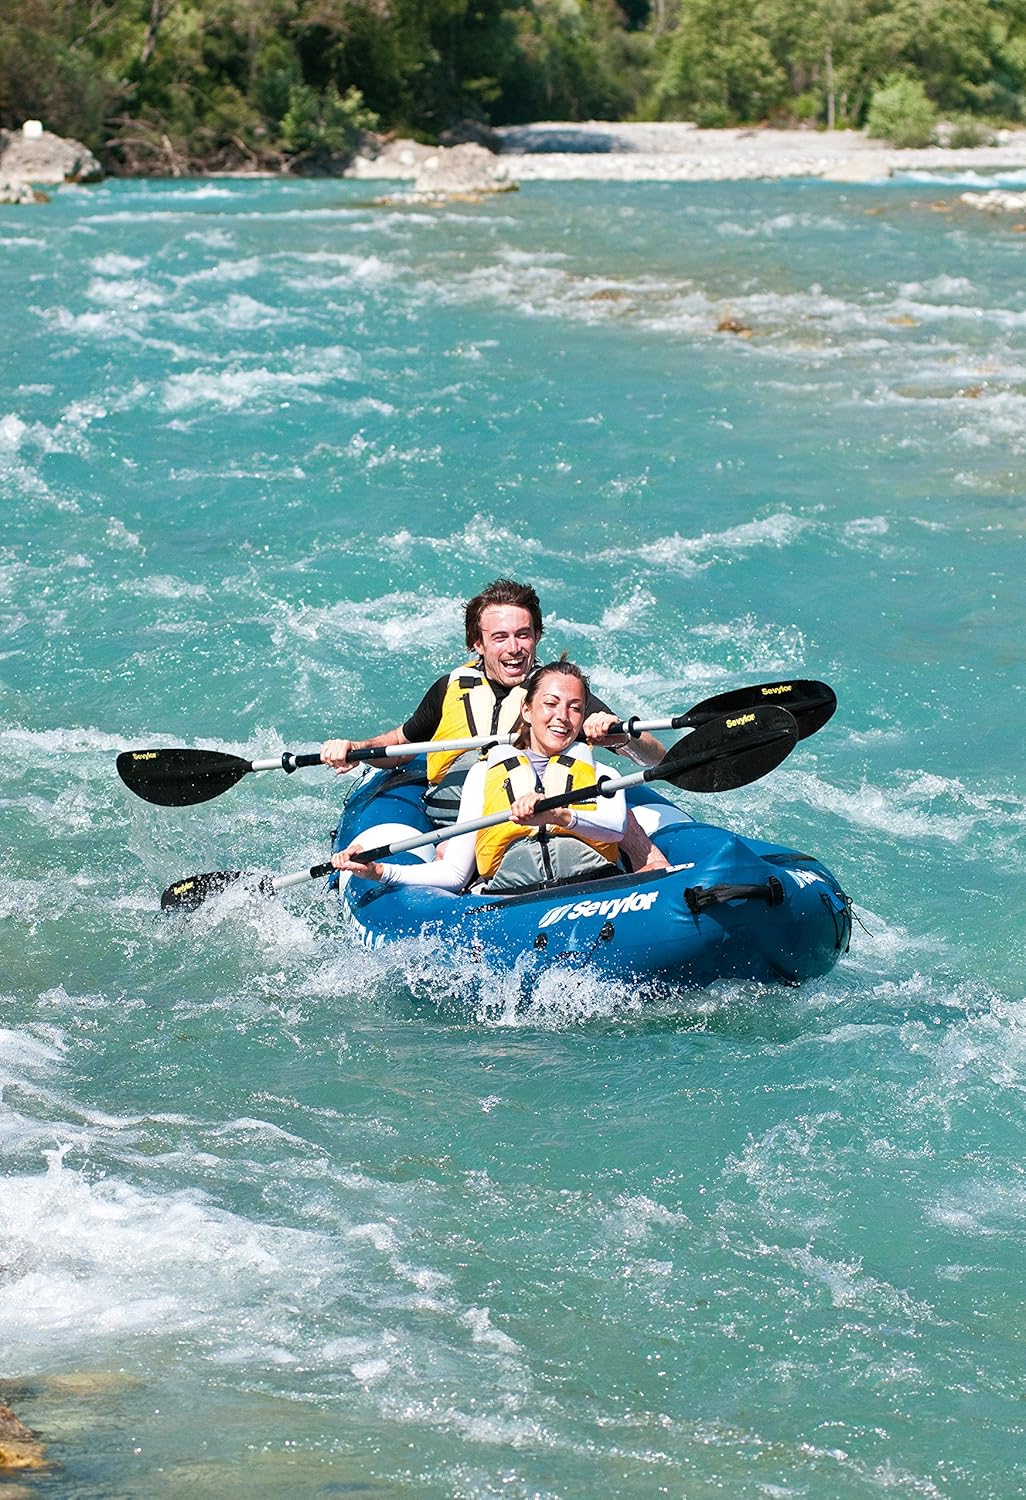
Figure 5.1: Two individuals operating the Sevylor Riviera kayak.
6. Maintenance
6.1 Cleaning
- After each use, especially in saltwater, rinse the entire kayak with fresh water.
- Use a mild soap and soft brush or sponge to clean any dirt or grime.
- Rinse thoroughly to remove all soap residue.
6.2 Drying
It is crucial to dry the kayak completely before deflating and storing to prevent mildew and material degradation.
- Wipe down the kayak with a towel.
- Allow it to air dry in a shaded area, away from direct sunlight, which can damage the PVC material.
6.3 Deflation and Storage
- Open all inflation valves. The kayak features one-way valves and a drain valve to facilitate quick deflation and water drainage.
- Gently press out any remaining air.
- Once fully deflated and dry, fold or roll the kayak neatly. Avoid sharp creases.
- Store the kayak in a cool, dry place, away from direct sunlight, extreme temperatures, and sharp objects.

Figure 6.1: Transporting the deflated kayak.
6.4 Repairs
For minor punctures, a repair kit (often sold separately) can be used. Follow the instructions provided with the repair kit. For significant damage, contact Sevylor customer support or a professional repair service.
7. Troubleshooting
| Problem | Possible Cause | Solution |
|---|---|---|
| Kayak loses air pressure | Loose valve cap, small puncture, valve not fully closed | Check all valve caps are tight. Inspect for punctures and repair if necessary. Ensure valves are fully closed after inflation. |
| Difficulty steering or unstable kayak | Under-inflation, uneven weight distribution, strong currents/wind | Ensure all chambers are inflated to the correct pressure. Distribute weight evenly between occupants. Avoid adverse water conditions. |
| Water inside the kayak | Splashing, open drain valve, small leak | Ensure drain valve is closed. Check for leaks and repair. Bail out water as needed. |
8. Specifications
- Brand: Sevylor
- Model: Riviera
- Material: Polyvinyl Chloride (PVC)
- Seating Capacity: 2 persons
- Item Weight: 10.58 Kilograms
- ASIN: B004ITO2Q2
- GTIN/UPC: 644535921005, 013088262239, 616268278374
9. Warranty and Support
For warranty information, product support, or to purchase replacement parts, please refer to the official Sevylor website or contact their customer service directly. Keep your proof of purchase for any warranty claims.