
Introduction
This manual provides comprehensive instructions for the proper installation and maintenance of the Premium Guard PT1227 OE-Style Automatic Transmission Filter Kit. This kit is designed to replace the original equipment transmission filter and gasket in compatible vehicles, ensuring optimal transmission performance and longevity. Please read all instructions carefully before beginning the installation process.
Safety Information
- Always wear appropriate personal protective equipment, including safety glasses and gloves, when working on vehicles.
- Ensure the vehicle is parked on a level surface and securely supported with jack stands before working underneath it. Do not rely solely on a jack.
- Allow the transmission to cool down before servicing to prevent burns from hot fluid.
- Dispose of old transmission fluid and filter according to local environmental regulations.
- Keep a fire extinguisher nearby.
Package Contents
The Premium Guard PT1227 kit typically includes the following components:
- 1 x Automatic Transmission Filter
- 1 x Transmission Pan Gasket
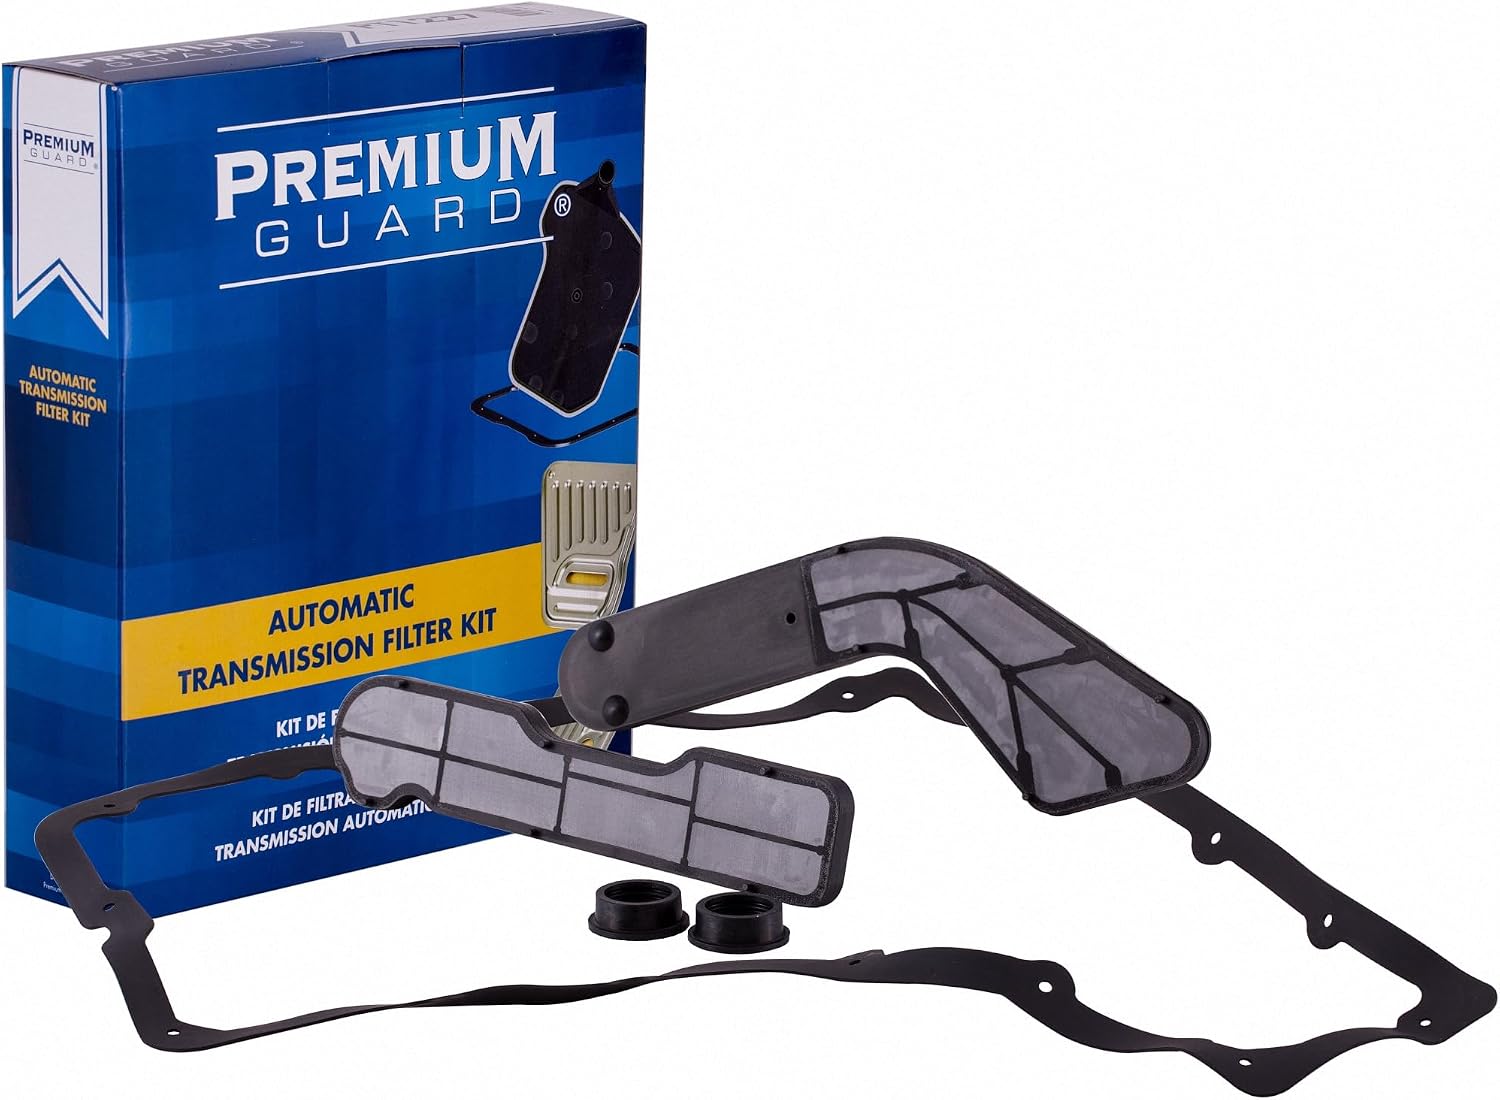
Image 1: Premium Guard PT1227 Automatic Transmission Filter Kit, showing the product box and the filter and gasket components.

Image 2: The Premium Guard PT1227 transmission filter and gasket laid out, ready for installation.
Compatibility
The Premium Guard PT1227 Transmission Filter Kit is compatible with the following vehicle models:
- Cadillac Seville: 1993-2004
- Oldsmobile Aurora: 2001-2002
Always verify compatibility with your vehicle's specific make, model, and year before installation. Refer to your vehicle's service manual for detailed transmission specifications.
Installation Instructions
Tools and Materials Required:
- Socket wrench set
- Torque wrench
- Drain pan (sufficient capacity for transmission fluid)
- New transmission fluid (refer to vehicle manual for type and quantity)
- Clean rags or shop towels
- Brake cleaner or degreaser
- Safety glasses and gloves
- Jack and jack stands
Step-by-Step Procedure:
- Preparation:
Park the vehicle on a level surface. Engage the parking brake. Allow the engine and transmission to cool down completely. Raise the vehicle using a jack and secure it with jack stands. Place the drain pan underneath the transmission pan.
- Drain Transmission Fluid:
Carefully loosen the transmission pan bolts, starting from one end and working your way around, leaving a few bolts on one side slightly tightened to allow the pan to tilt and fluid to drain slowly into the pan. Once most of the fluid has drained, remove the remaining bolts and carefully lower the transmission pan. Be prepared for residual fluid.
- Remove Old Filter and Gasket:
Locate the old transmission filter. It is typically held in place by bolts or clips. Remove the fasteners and carefully pull the old filter down. Ensure the old gasket is completely removed from the transmission pan and the transmission housing mating surface. Clean both surfaces thoroughly with brake cleaner or degreaser and a clean rag. Ensure no debris or old gasket material remains.

Image 3: A close-up view of the filter components, showing the intake and filter mesh.
- Install New Filter:
Install the new Premium Guard PT1227 transmission filter into the transmission housing. Ensure it is seated correctly and secure it with the appropriate bolts or clips. Do not overtighten.
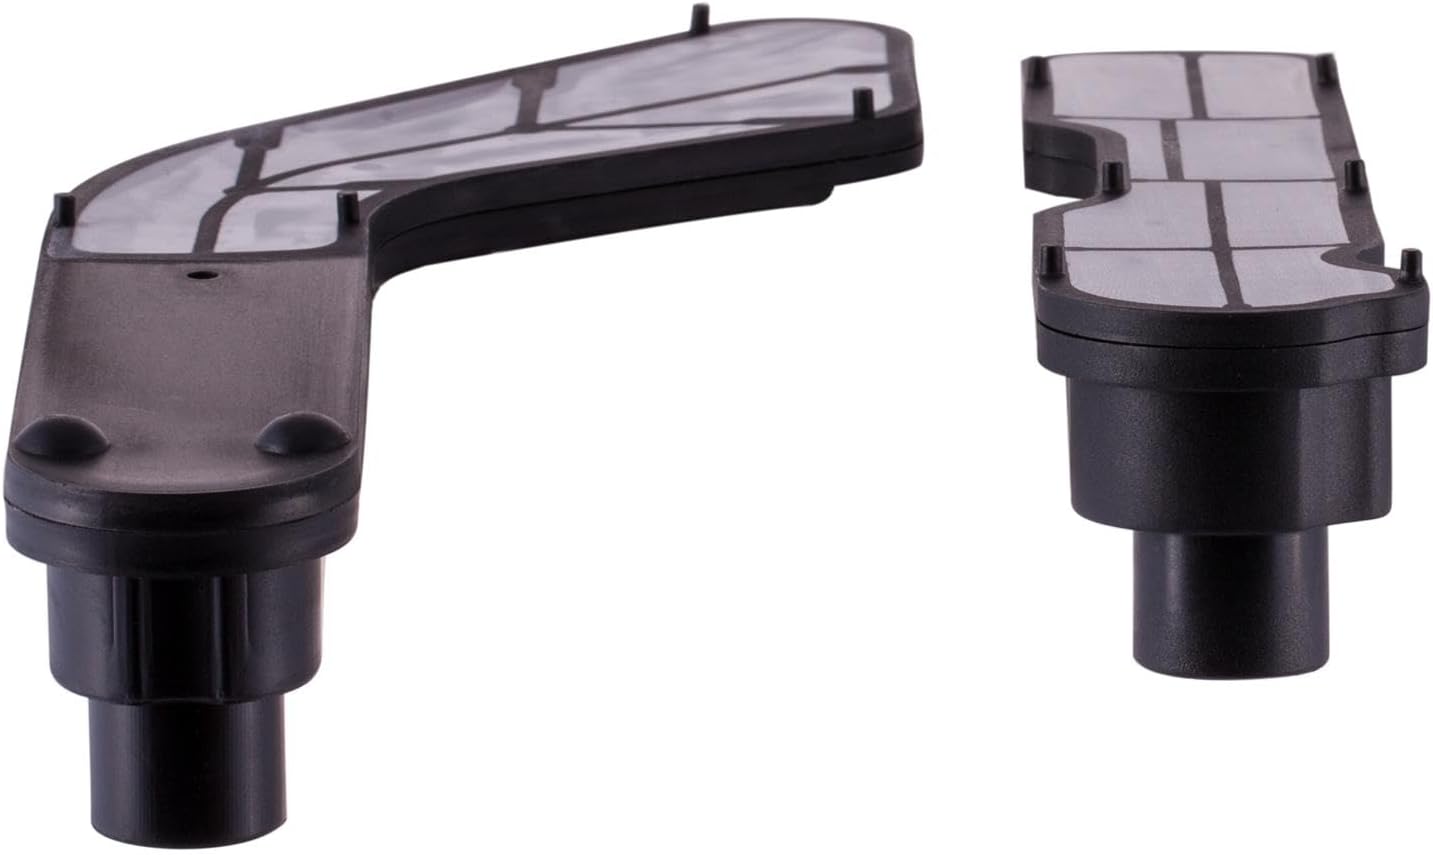
Image 4: Side view of the Premium Guard PT1227 transmission filter, highlighting its shape and connection points.
- Install New Gasket and Pan:
Place the new transmission pan gasket onto the clean transmission pan. Carefully lift the pan and gasket into position against the transmission housing. Start threading all bolts by hand to ensure proper alignment. Then, tighten the bolts in a crisscross pattern to the manufacturer's specified torque (refer to your vehicle's service manual). Overtightening can damage the gasket or pan.
- Refill Transmission Fluid:
Lower the vehicle. Using a funnel, add the recommended type and amount of new transmission fluid through the dipstick tube or fill port. Refer to your vehicle's service manual for the exact fluid type and capacity.
- Check Fluid Level and for Leaks:
Start the engine and allow it to reach operating temperature. Shift through all gears while the vehicle is stationary (with the brake applied). Check the fluid level using the dipstick according to your vehicle's manual (usually with the engine running and warm). Add fluid as necessary until the correct level is reached. Inspect the transmission pan for any leaks. Drive the vehicle for a short distance and recheck for leaks and fluid level.
Maintenance
Regular transmission fluid and filter changes are crucial for the longevity and performance of your automatic transmission. Consult your vehicle's owner's manual for the recommended service intervals. Factors such as driving conditions (e.g., heavy towing, frequent stop-and-go traffic) may necessitate more frequent changes.
Troubleshooting
| Symptom | Possible Cause | Solution |
|---|---|---|
| Fluid Leak from Pan | Improperly seated gasket, loose pan bolts, damaged pan, incorrect torque. | Recheck pan bolt torque. If leak persists, remove pan, inspect gasket and pan for damage, clean surfaces, and reinstall with new gasket if necessary. |
| Low Fluid Level after Refill | Insufficient fluid added, fluid not fully circulated, leak. | Ensure engine is warm and running when checking fluid. Add fluid gradually until correct level is reached. Check for leaks. |
| Unusual Transmission Noise or Shifting Issues | Incorrect fluid type or level, air in system, damaged filter during installation. | Verify correct fluid type and level. If issues persist, consult a qualified mechanic. |
Specifications
- Model Number: PT1227
- Brand: Premium Guard
- Product Grade: Performance Part
- Item Weight: Approximately 0.98 Pounds (15.7 ounces)
- OEM Part Numbers: 8679416, 8680700, 8681416, 8684953, 8979416, 24216035
- UPC: 846156019660
- Package Dimensions: 9.17 x 7.76 x 1.97 inches
Warranty and Support
For warranty information or technical support regarding your Premium Guard PT1227 Transmission Filter Kit, please refer to the official Premium Guard website or contact their customer service directly. Keep your purchase receipt as proof of purchase.