1. Introduction
This manual provides essential information for the safe and efficient operation of your Hitachi CPWX8 LCD Portable Projector. Please read this manual thoroughly before using the projector and retain it for future reference. The Hitachi CPWX8 is a WXGA (1280 x 800) resolution projector offering 2600 lumens of brightness and a 500:1 contrast ratio, suitable for various presentation and home cinema applications.
2. Safety Information
Observe the following safety precautions to prevent damage to the projector and ensure user safety:
- Do not block ventilation openings: Ensure adequate airflow around the projector to prevent overheating.
- Avoid direct eye exposure to the lens: The projector lamp is extremely bright and can cause eye damage.
- Use only specified power supply: Connect the projector to a power source that matches the voltage and current ratings indicated on the unit.
- Do not open the projector casing: There are no user-serviceable parts inside. Refer all servicing to qualified service personnel.
- Keep away from water and moisture: Do not expose the projector to rain or moisture to avoid electric shock or fire.
- Handle the lamp with care: The lamp operates at high temperatures and can be fragile. Allow it to cool before handling.
3. Package Contents
Verify that all items are present in the package:
- Hitachi CPWX8 LCD Portable Projector
- Power Cord
- Remote Control with Batteries
- VGA Cable
- User Manual (this document)
- Carrying Case
4. Product Overview
Familiarize yourself with the main components of your Hitachi CPWX8 projector.
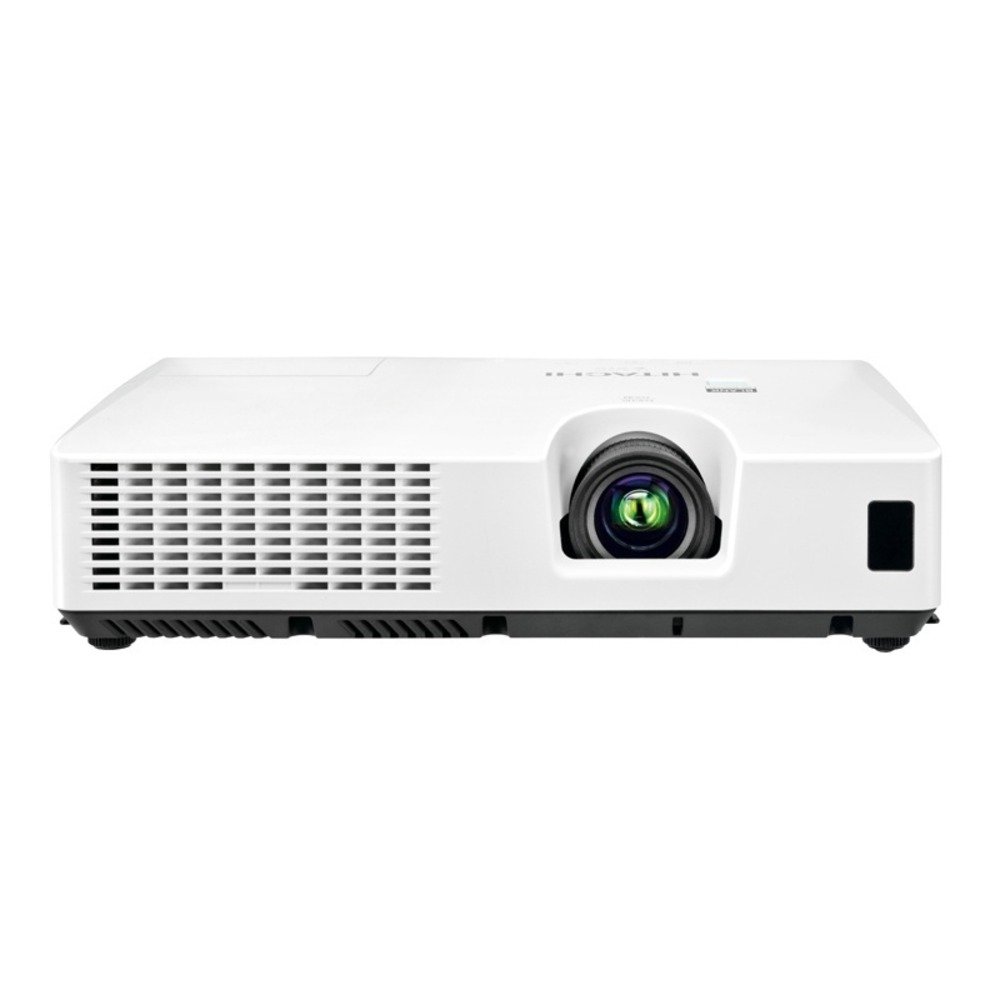
Figure 4.1: Front view of the Hitachi CPWX8 LCD Portable Projector, showing the lens, focus ring, and zoom lever.

Figure 4.2: Rear input panel of the Hitachi CPWX8 projector, featuring HDMI, VGA, S-Video, and audio input ports.

Figure 4.3: Remote control for the Hitachi CPWX8 projector, illustrating buttons for power, input selection, menu navigation, and image adjustments.
5. Setup
5.1 Projector Placement
Position the projector on a stable, flat surface or mount it securely. Ensure the projector is perpendicular to the screen for optimal image geometry. Maintain a clear space of at least 30 cm (12 inches) around the ventilation openings.
5.2 Connecting Devices
Connect your source device (e.g., laptop, gaming console, DVD player) to the projector using the appropriate cable.
- HDMI: For high-definition digital video and audio. Connect an HDMI cable from your source device to the HDMI port on the projector.
- VGA: For analog computer signals. Connect a VGA cable from your computer's VGA output to the VGA port on the projector.
- S-Video: For standard definition video. Connect an S-Video cable from your source device to the S-Video port.
- Audio In: If using VGA or S-Video, connect an audio cable from your source device's audio output to the Audio In port on the projector.
5.3 Powering On/Off
- To Power On: Connect the power cord to the projector and a power outlet. Press the POWER button on the projector's control panel or remote control. The power indicator light will turn green.
- To Power Off: Press the POWER button twice. The projector will enter a cooling cycle, and the power indicator will flash. Do not unplug the projector during the cooling cycle. Once the light stops flashing, it is safe to unplug.
6. Operating Instructions
6.1 Input Selection
After powering on, the projector will automatically detect an active input. If multiple sources are connected, press the INPUT button on the control panel or remote control to cycle through available input sources (HDMI, VGA, S-Video).
6.2 Image Adjustment
- Focus: Rotate the focus ring on the lens until the image appears sharp and clear.
- Zoom: Use the zoom lever on the lens to adjust the image size without moving the projector.
- Keystone Correction: If the image appears trapezoidal, use the keystone correction buttons on the control panel or remote to square the image.
- Menu Navigation: Press the MENU button to access the on-screen display (OSD). Use the arrow buttons to navigate and the ENTER button to select options. Adjust settings such as brightness, contrast, color, and aspect ratio.
7. Maintenance
7.1 Cleaning
- Projector Casing: Wipe the casing with a soft, dry cloth. For stubborn dirt, use a slightly damp cloth with a mild detergent, then wipe dry.
- Lens: Gently wipe the lens with a soft, lint-free lens cleaning cloth. Avoid using abrasive cleaners.
- Air Filter: The air filter should be cleaned regularly (e.g., every 100 hours of use) to maintain optimal performance and prevent overheating. Refer to the projector's specific instructions for filter removal and cleaning.
7.2 Lamp Replacement
The projector lamp has a finite lifespan. When the lamp indicator lights up or the image becomes dim, it is time to replace the lamp. Only use a genuine Hitachi CP-WX8 Replacement Lamp. Refer to the detailed lamp replacement instructions provided with the replacement lamp or consult a qualified service technician.
- Ensure the projector is powered off and completely cooled down.
- Locate the lamp cover on the projector.
- Unscrew the lamp cover and carefully remove the old lamp module.
- Insert the new lamp module, ensuring it is seated correctly.
- Replace the lamp cover and secure it with screws.
- Reset the lamp timer through the projector's OSD menu.
8. Troubleshooting
If you encounter issues with your projector, consult the following table for common problems and solutions.
| Problem | Possible Cause | Solution |
|---|---|---|
| No image displayed | Incorrect input selected; Loose cable connection; Projector in standby mode. | Press the INPUT button to select the correct source. Check all cable connections. Press POWER to wake from standby. |
| Image is blurry | Lens out of focus. | Adjust the focus ring on the lens. |
| Image is trapezoidal | Projector not perpendicular to screen. | Use keystone correction buttons to adjust. Reposition the projector if necessary. |
| Projector overheats and shuts down | Blocked ventilation; Dirty air filter. | Ensure clear space around vents. Clean or replace the air filter. |
| Remote control not working | Dead batteries; Obstruction between remote and projector. | Replace batteries. Ensure clear line of sight to the projector's IR receiver. |
9. Specifications
| Feature | Specification |
|---|---|
| Brand | Hitachi |
| Model Name | CPWX8 |
| Display Type | LCD |
| Native Resolution | 1280 x 800 (WXGA) |
| Brightness | 2600 Lumens |
| Contrast Ratio | 500:1 |
| Connectivity Technology | VGA, HDMI, S-Video |
| Lamp Wattage | 200 Watts |
| Maximum Image Size | 300 Inches |
| Item Weight | 4.9 Pounds |
| Form Factor | Portable |
| Power Consumption | 270 watts |
10. Warranty and Support
For information regarding the product warranty, please refer to the warranty card included with your projector or visit the official Hitachi support website. For technical assistance, troubleshooting beyond this manual, or service inquiries, please contact Hitachi customer support. Keep your purchase receipt as proof of purchase for warranty claims.
Online Support: Visit the Hitachi official website for FAQs, driver downloads, and contact information.


