Dorman 611-239
Dorman 611-239 Wheel Nut Instruction Manual
Model: 611-239
1. Product Overview
The Dorman 611-239 Wheel Nut is a direct replacement component designed to match the fit, function, and performance of original equipment hardware on specified vehicles. These lug nuts are engineered from durable alloy steel to exacting specifications, ensuring long service life and a precise fit. This package contains 10 wheel lug nuts.
1.1. Package Contents
- 10 x Dorman 611-239 Wheel Lug Nuts
1.2. Compatibility
This wheel nut is compatible with select Honda models. Please verify fitment for your specific vehicle before installation.
- Honda Accord: 1990-1997
- Honda Civic del Sol: 1993-1997
- Honda Civic: 1980-2002
- Honda CRX: 1988-1991
- Honda Prelude: 1988-1991
2. Product Features
- Direct Replacement: Engineered to match original equipment specifications for a seamless fit.
- Durable Construction: Manufactured from alloy steel with a machined finish for reliable performance and longevity.
- Precise Dimensions: M12-1.50 thread size, 19mm hex, and 23.9mm length for specific vehicle applications.
- Quality Assurance: Backed by Dorman's automotive experience and product expertise.
3. Specifications
| Attribute | Detail |
|---|---|
| Brand | Dorman |
| Model Number | 611-239 |
| Material | Alloy Steel, Carbon Steel |
| Fastener Type | Acorn |
| Thread Size | M12-1.50 |
| Inside Thread Size | M12 |
| Thread Style | Right Hand |
| Hex Size | 19mm |
| Length | 23.9mm |
| Exterior Finish | Machined |
| Color | Yellow (Note: This may refer to a protective coating or specific part of the nut.) |
| Number of Pieces | 10 |
| Item Weight | 0.01 Ounces (per nut, approximate) |
| Product Dimensions (L x W x H) | 3.62 x 2.38 x 2.19 inches (package dimensions) |
| UPC | 019495148364 |
4. Installation Instructions
Proper installation of wheel lug nuts is critical for vehicle safety. If you are unsure about the installation process, it is recommended to consult a qualified automotive technician.
4.1. General Installation Guidance
- Safety First: Ensure the vehicle is on a flat, stable surface and properly supported with jack stands. Engage the parking brake.
- Remove Old Lug Nuts: Loosen and remove the existing lug nuts using an appropriate lug wrench.
- Inspect Wheel Studs: Check wheel studs for damage, corrosion, or stripped threads. Replace any damaged studs before proceeding.
- Position Wheel: Carefully mount the wheel onto the wheel studs, ensuring it sits flush against the hub.
- Install New Lug Nuts: Thread the Dorman 611-239 wheel nuts onto the studs by hand. Ensure they thread smoothly without resistance.
- Tighten in Star Pattern: Using a torque wrench, tighten the lug nuts in a star or crisscross pattern to the vehicle manufacturer's specified torque settings. This ensures even pressure and proper wheel seating. Do not overtighten.
- Lower Vehicle: Once all lug nuts are torqued, carefully lower the vehicle to the ground.
- Re-torque Check: After driving approximately 50-100 miles, re-check the torque of all lug nuts to ensure they remain properly tightened.
For detailed, vehicle-specific installation instructions, refer to your vehicle's service manual or the official Dorman installation manual (if available).
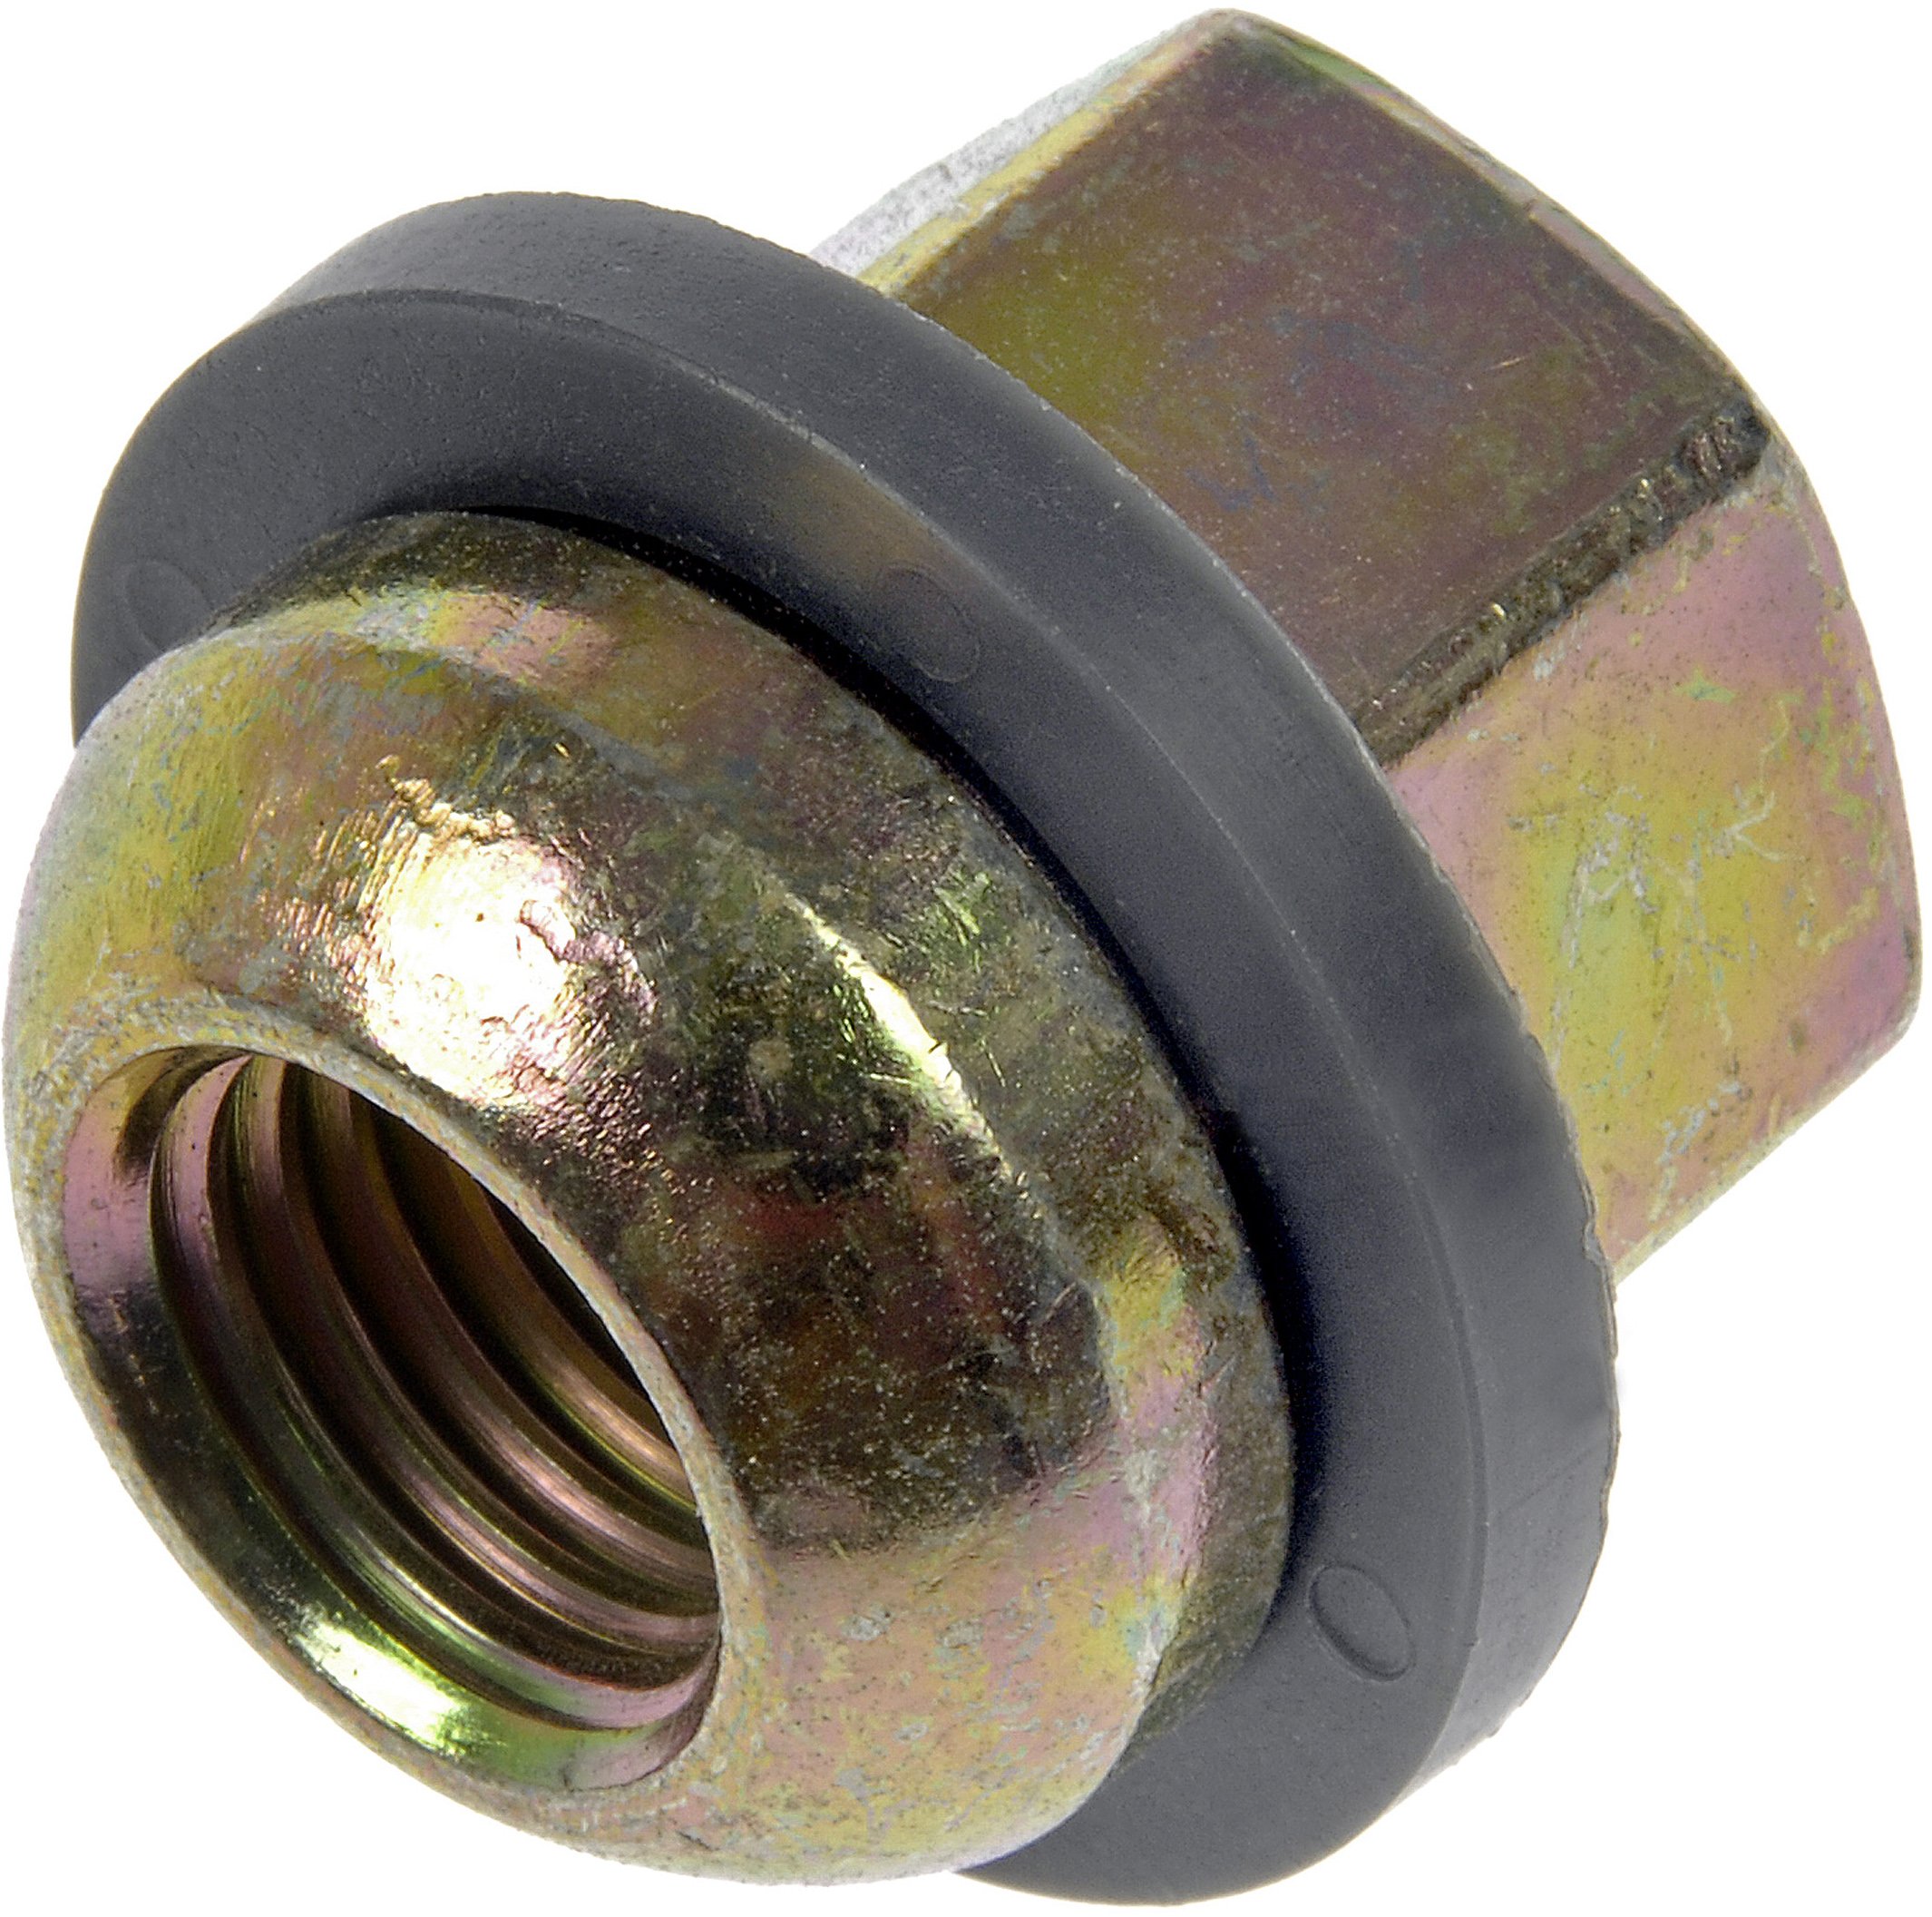
Image: Front view of the Dorman 611-239 Wheel Nut, showing the M12-1.50 bulge acorn style and 19mm hex head. This image illustrates the general appearance of the lug nut.

Image: Side view of the Dorman 611-239 Wheel Nut, highlighting its length and the bulge design. This perspective helps in understanding the physical dimensions and seating surface.
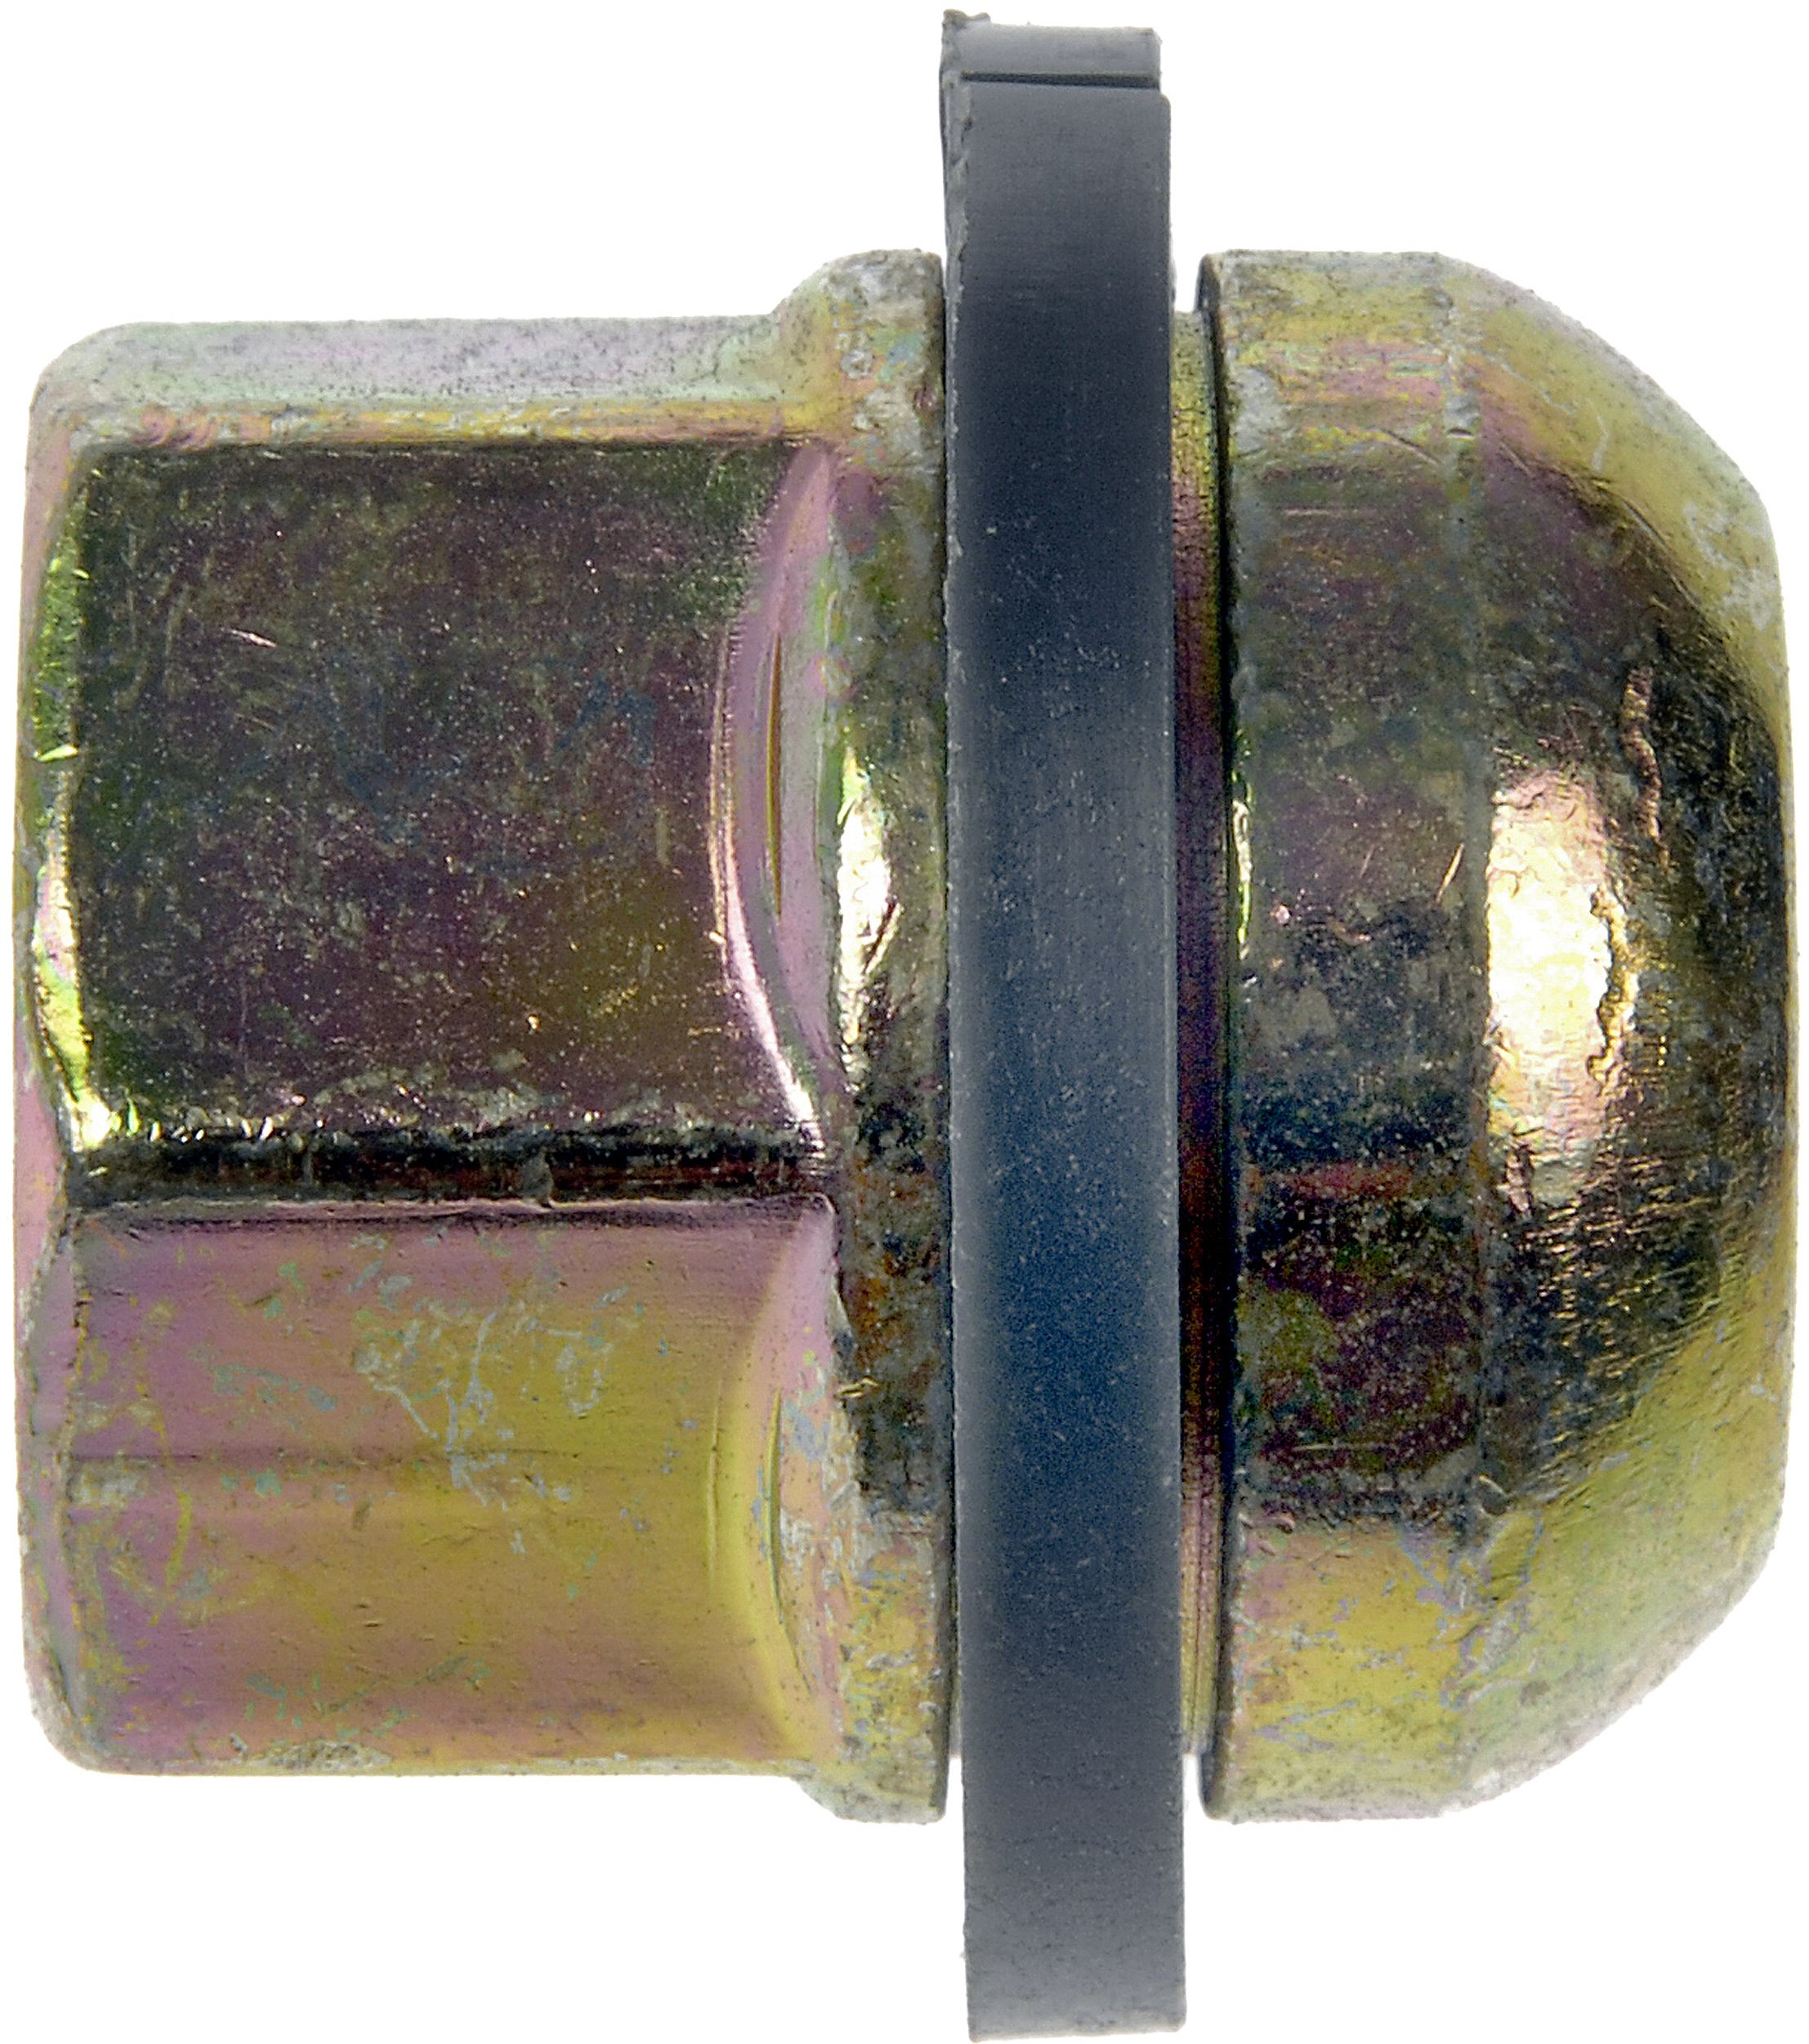
Image: Angled view of the Dorman 611-239 Wheel Nut, providing a comprehensive look at its design and finish. This view helps identify the specific features of the lug nut.
5. Maintenance
Regular inspection and maintenance of your wheel lug nuts are essential for safety and performance.
- Periodic Inspection: Visually inspect lug nuts for signs of rust, corrosion, cracks, or deformation during tire rotations or other wheel-related service.
- Torque Verification: Re-check lug nut torque periodically, especially after tire service or if you notice any unusual vibrations.
- Cleaning: Keep lug nuts clean from dirt, debris, and road salt to prevent corrosion. Use a mild cleaner and soft brush if necessary.
- Replacement: Replace any lug nuts that show signs of damage, stripped threads, or excessive wear immediately. Do not reuse damaged lug nuts.
6. Troubleshooting
This section addresses common issues related to wheel lug nuts.
- Loose Lug Nuts: If lug nuts repeatedly loosen, ensure they are torqued to the manufacturer's specifications. Inspect wheel studs and lug nut seating surfaces for damage or contamination.
- Stripped Threads: If a lug nut or wheel stud has stripped threads, it must be replaced. Do not attempt to force a lug nut onto a stripped stud.
- Corrosion/Rust: While these lug nuts are made from durable materials, exposure to harsh elements can cause corrosion. Regular cleaning and inspection can mitigate this. Replace severely corroded lug nuts.
- Difficulty Removing/Installing: Ensure the correct size lug wrench or socket is used. If a lug nut is seized, professional assistance may be required to avoid damage to the wheel or stud.
7. Safety Information
Proposition 65 Warning: This product may contain chemicals known to the State of California to cause cancer and birth defects or other reproductive harm. For more information, visit www.P65Warnings.ca.gov.
Always follow proper safety procedures when working on your vehicle, including using appropriate personal protective equipment (PPE) such as gloves and eye protection.
8. Support and Warranty
For further assistance, technical support, or warranty information regarding your Dorman 611-239 Wheel Nuts, please contact Dorman Products directly.
- Manufacturer: Dorman Products
- Official Website: Refer to Dorman's official website for contact details and support resources.
- Installation Manual (PDF): A general installation manual may be available here.
Ask a question about this manual
Ask about setup, troubleshooting, compatibility, parts, safety, or missing instructions. Manuals+ will review the question and use this page’s manual context to help answer it.