1. Introduction
This manual provides comprehensive instructions for the installation, operation, and maintenance of the Dakota Digital ODYR-01-6 Odyssey Series II Performance Speedometer Tachometer. Designed for automotive applications, this instrument combines speedometer and tachometer functions with additional vehicle data displays in a compact 3 3/8-inch unit. Please read this manual thoroughly before installation and operation to ensure proper function and safety.
2. Safety Information
- Professional Installation Recommended: Installation of automotive electrical components can be complex. It is highly recommended that this unit be installed by a qualified automotive technician.
- Disconnect Battery: Always disconnect the vehicle's battery before performing any electrical work to prevent electrical shock or damage to the vehicle's electrical system.
- Wiring: Ensure all wiring connections are secure and properly insulated to prevent short circuits. Refer to the vehicle's service manual for specific wiring diagrams.
- Mounting: Securely mount the instrument to prevent it from becoming a projectile during sudden stops or collisions.
- Operating Temperature: Do not expose the unit to extreme temperatures outside of typical automotive operating conditions.
3. Product Overview
The Dakota Digital ODYR-01-6 Odyssey Series II is a multi-function digital gauge designed to provide critical vehicle information. It features a high-brightness vacuum fluorescent display for clear visibility in various lighting conditions.
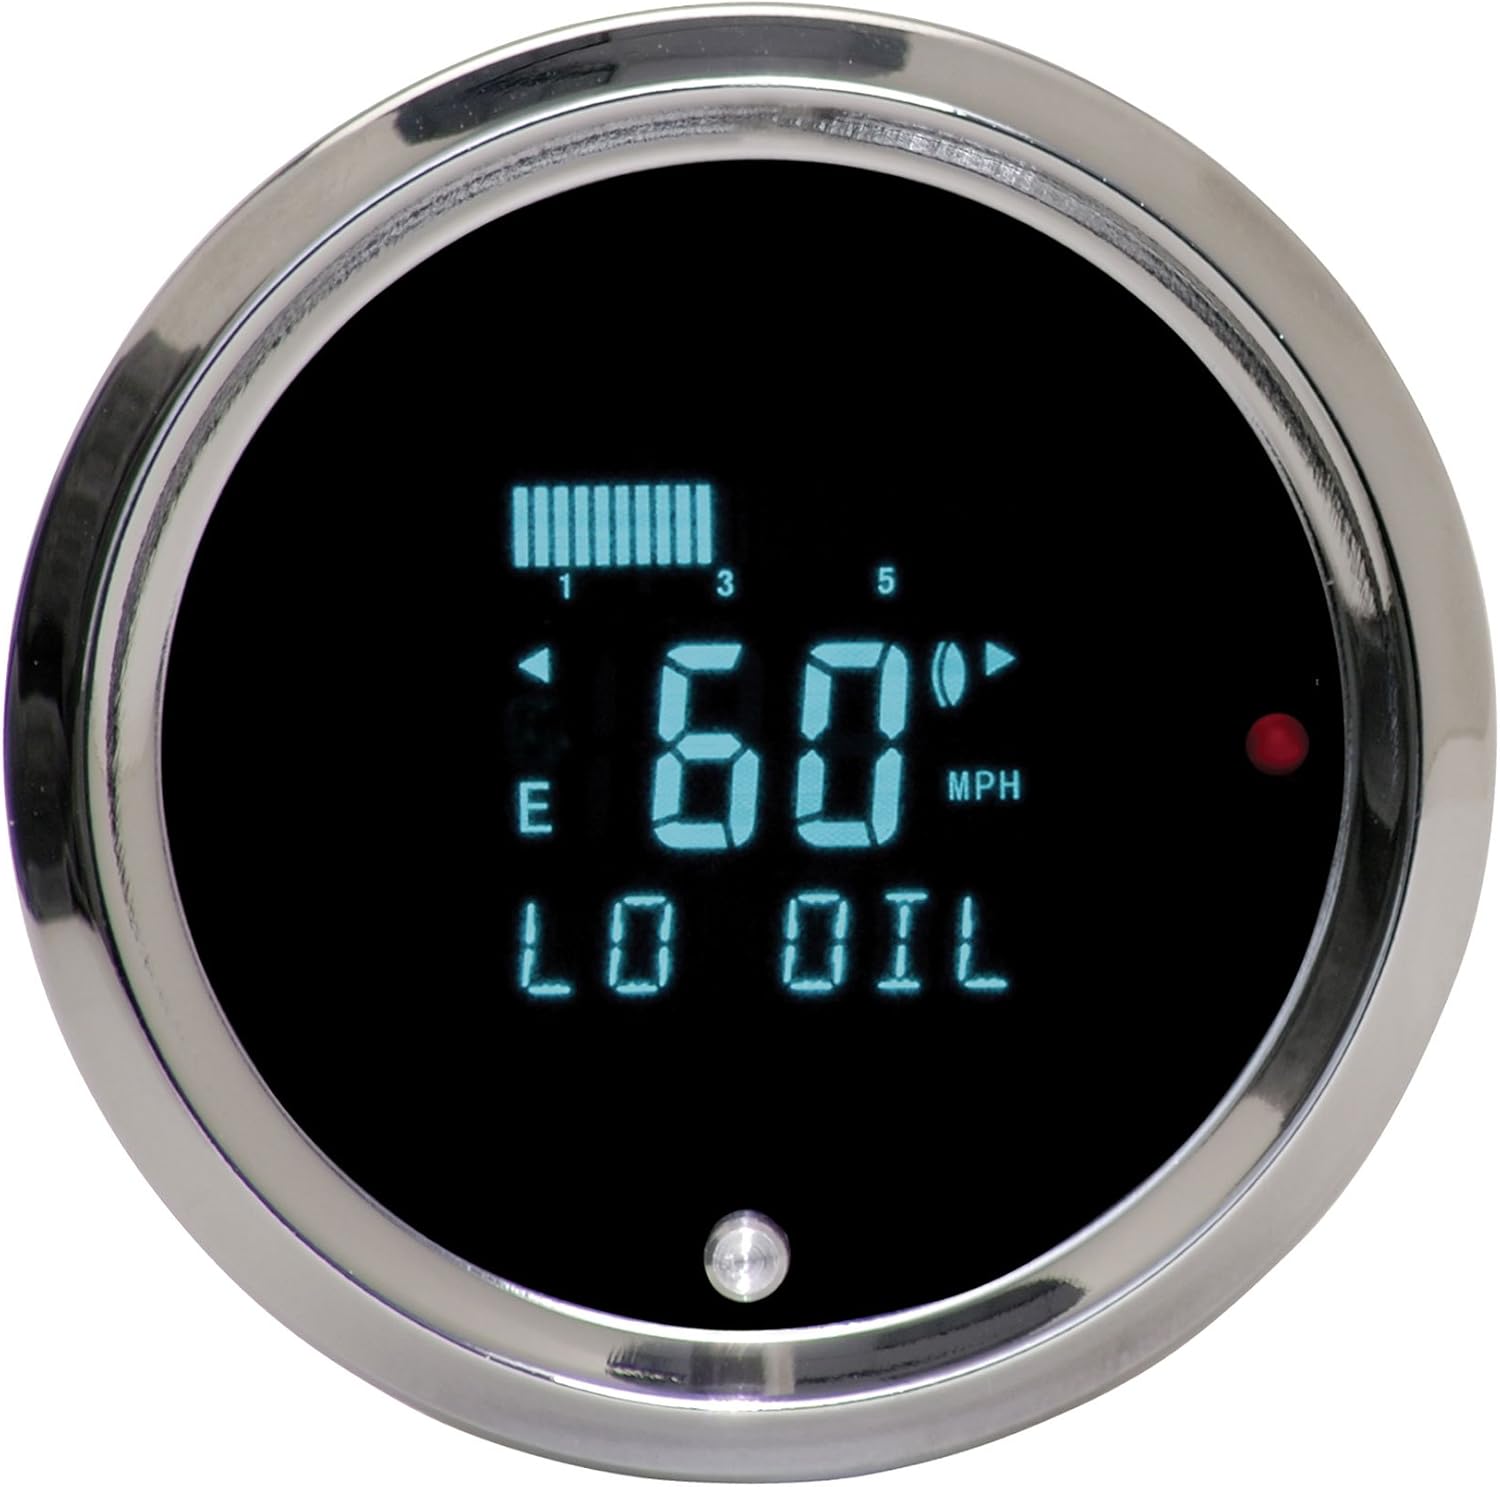
Figure 1: Dakota Digital ODYR-01-6 Instrument Display
This image shows the digital display of the ODYR-01-6 unit. It features a central digital speed reading (e.g., 60 MPH), a fuel level bar graph at the top left, a low oil warning indicator, and turn signal indicators. A small button is visible at the bottom center for menu navigation and calibration.
Key Features:
- Digital Speedometer (MPH/KPH selectable)
- Digital Tachometer (RPM)
- Integrated Turn Signal Indicators
- High Beam Indicator
- Warning Indicators (e.g., Low Oil, Check Engine)
- Fuel Level Display
- User-programmable calibration and settings
4. Setup and Installation
Proper installation is crucial for the accurate and reliable operation of your ODYR-01-6 instrument. Refer to the detailed wiring diagram included with your product packaging for specific connections.
4.1 Pre-Installation Steps:
- Review Wiring Diagram: Familiarize yourself with the wiring diagram provided by Dakota Digital.
- Gather Tools: Ensure you have the necessary tools, including wire strippers, crimpers, electrical tape, and a multimeter.
- Disconnect Battery: Disconnect the negative terminal of the vehicle's battery.
4.2 Mounting:
- The ODYR-01-6 is designed for a 3 3/8-inch (85mm) diameter mounting hole.
- Ensure sufficient clearance behind the dashboard for the instrument body and wiring.
- Secure the gauge using the provided mounting hardware.
4.3 Wiring Connections:
Connect the wires according to the color-coded diagram. Typical connections include:
- Power (12V Switched): Connect to a circuit that is active when the ignition is on.
- Ground: Connect to a reliable chassis ground point.
- Illumination: Connect to the vehicle's dash lighting circuit for dimming control.
- Speed Sensor Input: Connect to the vehicle's speed sensor signal.
- Tachometer Input: Connect to the vehicle's ignition coil negative or ECU tachometer output.
- Fuel Level Sensor: Connect to the vehicle's fuel level sending unit.
- Warning Inputs: Connect to relevant vehicle warning light circuits (e.g., oil pressure, check engine).
4.4 Initial Power-Up and Calibration:
- Reconnect the vehicle's battery.
- Turn the ignition to the ON position. The instrument should power on and perform a self-test.
- Speedometer Calibration: Follow the on-screen prompts or refer to the detailed calibration section in your Dakota Digital manual to calibrate the speedometer for accurate readings. This typically involves driving a measured mile or using a GPS signal.
- Fuel Gauge Calibration: Calibrate the fuel gauge to match your vehicle's sending unit (empty and full points).
5. Operating Instructions
The ODYR-01-6 features a single push-button interface for navigating menus and adjusting settings.
5.1 Basic Display:
In normal operation, the display will show:
- Central Digital Readout: Speed (MPH or KPH) or RPM, depending on selected mode.
- Bar Graph: Fuel level or other selectable parameters.
- Indicators: Turn signals, high beam, warning lights.
5.2 Menu Navigation:
- Short Press: Cycles through display modes (e.g., Speed, RPM, Odometer, Trip Meter).
- Long Press: Enters the main setup menu for calibration and advanced settings.
- Combination Presses: Refer to your specific Dakota Digital manual for advanced functions like resetting trip meters or entering specific calibration modes.
5.3 Warning Indicators:
The instrument will illuminate specific indicators and may display text messages (e.g., "LO OIL") to alert the driver of critical vehicle conditions. Address any illuminated warning indicators promptly.
6. Maintenance
The Dakota Digital ODYR-01-6 is designed for long-term reliability with minimal maintenance.
- Cleaning: Clean the display and bezel with a soft, damp cloth. Avoid abrasive cleaners or solvents that could damage the display or finish.
- Connections: Periodically check wiring connections for tightness and corrosion, especially after significant vehicle modifications or repairs.
- Software Updates: Check the Dakota Digital website for any available firmware updates for your specific model.
7. Troubleshooting
If you encounter issues with your ODYR-01-6, review the following common problems and solutions:
| Problem | Possible Cause | Solution |
|---|---|---|
| No Power/Blank Display | Loose power connection, blown fuse, faulty ground. | Check power and ground wires. Inspect vehicle fuses. Ensure battery is connected. |
| Inaccurate Speed Reading | Incorrect speedometer calibration, faulty speed sensor. | Recalibrate the speedometer. Check speed sensor wiring and function. |
| Inaccurate RPM Reading | Incorrect tachometer calibration (e.g., number of cylinders), faulty tachometer signal. | Verify tachometer settings (e.g., 4, 6, 8 cylinder). Check tachometer signal wire. |
| Fuel Gauge Not Working | Incorrect fuel gauge calibration, faulty sending unit, wiring issue. | Recalibrate fuel gauge. Check wiring to fuel sending unit. Test fuel sending unit. |
| Display Flickers or is Dim | Unstable power supply, poor ground, illumination wire issue. | Check power and ground connections. Ensure illumination wire is correctly connected and not shorting. |
If these steps do not resolve the issue, contact Dakota Digital technical support for further assistance.
8. Specifications
- Model: ODYR-01-6
- Display Type: Vacuum Fluorescent Display (VFD)
- Gauge Diameter: 3 3/8 inches (85mm)
- Input Voltage: 12V DC (nominal)
- Manufacturer: Dakota Digital
- Brand: Restoration Performance
- Item Weight: Approximately 4 pounds
9. Warranty and Support
For warranty information, technical support, or replacement parts, please contact Dakota Digital directly. Refer to the documentation included with your product or visit the official Dakota Digital website for the most current contact information and warranty terms.
Manufacturer: Dakota Digital
Model Number: ODYR-01-6
ASIN: B00455BO2Y