Introduction
This manual provides essential information for the safe and efficient operation of your Mitsubishi HC4000 1080p Front Projector. Please read these instructions thoroughly before using the projector and retain them for future reference. The HC4000 is designed to deliver high-definition images for home entertainment, utilizing DLP DarkChip3™ technology for detailed and color-accurate projection.
Important Safety Information
- Power Source: Connect the projector only to the type of power source indicated on the marking label.
- Ventilation: Do not block ventilation openings. Ensure adequate space around the projector for proper airflow.
- Heat: Do not place the projector near heat sources such as radiators, heat registers, stoves, or other apparatus that produce heat.
- Moisture: Do not expose the projector to rain or moisture to prevent fire or electric shock.
- Lamp: The lamp inside is under high pressure and may explode if improperly handled. Allow the lamp to cool before replacing.
- Servicing: Refer all servicing to qualified service personnel. Do not attempt to service this product yourself.
Package Contents
Verify that all items are present in the package:
- Mitsubishi HC4000 Projector
- Power Cord
- Remote Control with Batteries
- Lens Cap
- User Manual (this document)
Setup
1. Projector Placement
The HC4000 can be placed on a tabletop or ceiling-mounted. Ensure the projector is positioned to achieve the desired screen size and aspect ratio. The 1.5x short-throw zoom lens allows for flexibility in placement distance. For optimal image quality, position the projector as perpendicular to the screen as possible.
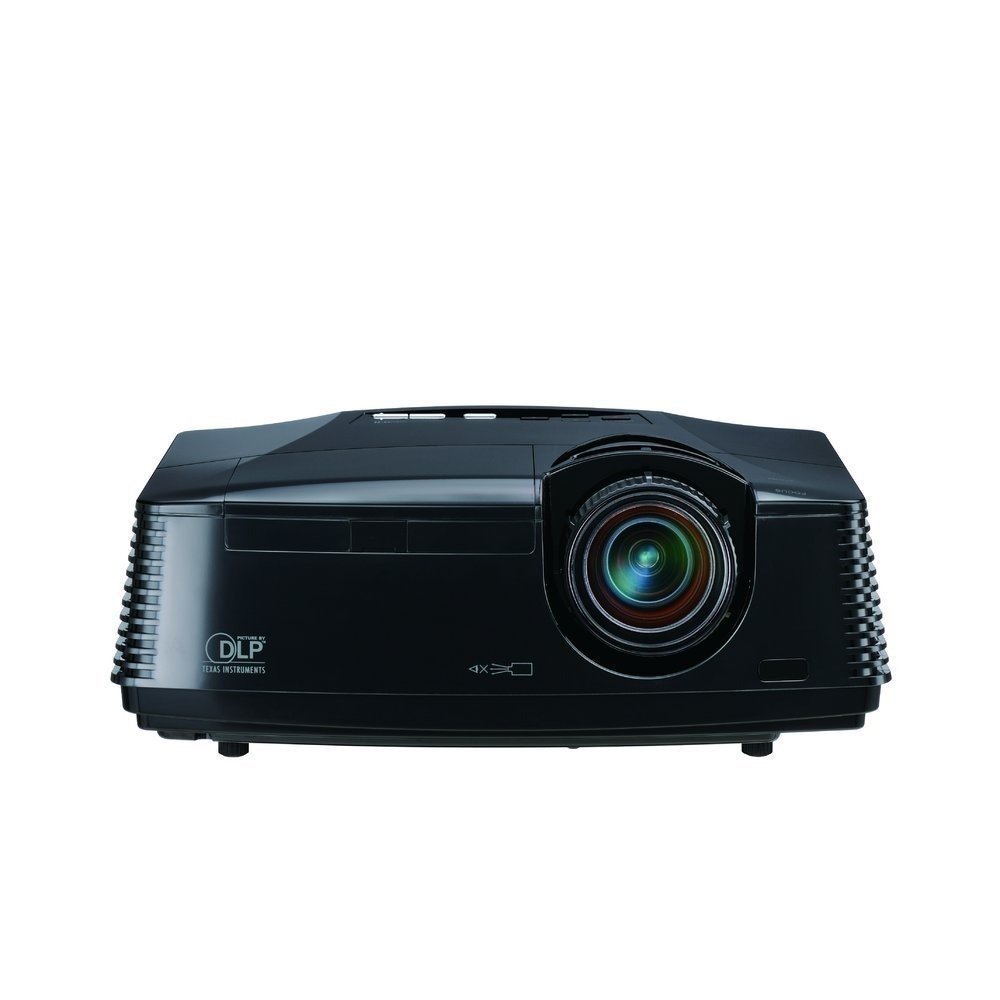
Figure 1: Front view of the Mitsubishi HC4000 projector. This image shows the lens and front ventilation.
2. Connecting Devices
Connect your video sources (e.g., Blu-ray player, gaming console, computer) to the projector using appropriate cables. The HC4000 features HDMI connectivity for high-definition digital signals.
- HDMI: For digital video and audio. Connect an HDMI cable from your source device to the HDMI input on the projector.
- Other Inputs: Refer to the projector's rear panel for additional input options (e.g., Component, VGA).

Figure 2: Rear panel of the Mitsubishi HC4000, illustrating various input ports including HDMI, component, and power input.
3. Power Connection
Plug the power cord into the projector's power inlet, then connect the other end to a grounded electrical outlet.
4. Initial Power On and Image Adjustment
- Press the Power button on the projector or remote control.
- Focus: Rotate the focus ring on the lens until the image is sharp.
- Zoom: Adjust the zoom ring to achieve the desired image size. The HC4000 features a manual zoom lens with a 1.5:1 ratio.
- Keystone Correction: If the image appears trapezoidal, use the keystone correction function in the projector's menu to square the image. While convenient, optical keystone correction is always preferred for best image quality.
Operating Instructions
1. Power On/Off
- To Power On: Press the POWER button once. The indicator light will turn blue.
- To Power Off: Press the POWER button twice. The projector will enter a cooling cycle before shutting down completely. Do not unplug the projector during the cooling cycle.
2. Input Source Selection
Use the INPUT button on the remote control or projector panel to cycle through available input sources (HDMI, Component, etc.) until your desired source is displayed.
3. Picture Settings
Access the projector's On-Screen Display (OSD) menu using the MENU button on the remote. Navigate using the arrow keys and confirm selections with the ENTER button.
- Brightness: Adjust to control the overall lightness or darkness of the image.
- Contrast: Adjust the difference between the lightest and darkest parts of the image. Note: Some users find that reducing the contrast from its default setting (e.g., to -18) can improve image quality by preventing whites from blooming and reducing pixelation.
- Color/Tint: Fine-tune color saturation and hue.
- Sharpness: Adjust for image detail.
- Aspect Ratio: Select the appropriate aspect ratio (e.g., 16:9 for widescreen content, 4:3). The HC4000 supports Blu-ray 24P direct output for smooth cinema film playback.
- Anamorphic Lens Mode: If using an anamorphic lens, enable this mode for proper image scaling.
4. Lamp Modes
The projector offers different lamp modes to balance brightness and lamp life.
- Standard Mode: Provides maximum brightness.
- Low Mode (Eco Mode): Reduces brightness slightly but significantly extends lamp life up to 5000 hours and lowers fan noise.
Maintenance
1. Lamp Replacement
The projector lamp has an estimated life of up to 5000 hours in low mode. When the lamp reaches the end of its life, a warning message will appear, and the lamp indicator light may flash. Always use a genuine Mitsubishi replacement lamp (Model: VLT-HC3800LP).
- Turn off the projector and unplug the power cord.
- Allow the projector to cool down for at least 60 minutes. The lamp operates at high temperatures.
- Locate the lamp cover (refer to the diagram in the full service manual).
- Remove the screw(s) securing the lamp cover and gently remove the cover.
- Unscrew the lamp module and carefully pull it out.
- Insert the new VLT-HC3800LP lamp module, ensuring it is seated correctly.
- Secure the new lamp with its screw(s) and replace the lamp cover.
- Plug in the power cord and reset the lamp timer in the projector's OSD menu.

Figure 3: Illustration of the lamp compartment and replacement procedure for the Mitsubishi HC4000.
2. Cleaning
- Lens: Use a soft, lint-free cloth specifically designed for optical lenses. Do not use abrasive cleaners.
- Projector Casing: Wipe with a soft, dry cloth. For stubborn dirt, use a slightly damp cloth and mild detergent, then wipe dry.
- Ventilation Openings: Periodically clean dust from the ventilation grilles using a soft brush or a low-power vacuum cleaner.
Troubleshooting
| Problem | Possible Cause | Solution |
|---|---|---|
| No image displayed |
|
|
| Image is blurry |
|
|
| Image is trapezoidal |
|
|
| Whites appear "blooming" or image pixelated |
|
|
| "Rainbow Effect" (brief color flashes) |
|
|
Specifications
| Model Name | HC4000 |
| Display Technology | DLP |
| Native Resolution | 1920 x 1080 (1080p) |
| Brightness | 1300 ANSI Lumens |
| Contrast Ratio | 4,000:1 (on/off) |
| Lamp Life | Up to 5000 hours (low mode) |
| Replacement Lamp | VLT-HC3800LP |
| Zoom Lens | Manual Focus & Zoom (1.5:1 ratio) |
| Connectivity | HDMI |
| Fan Noise | 31dBA (standard mode) |
| Weight | 3500 Grams |
| Maximum Image Size | 300 Inches |
| Minimum Image Size | 50 Inches |
Warranty and Support
Your Mitsubishi HC4000 projector comes with the following warranty:
- Projector: 2-Years Limited Parts and Labor Warranty.
- Lamp: 1-Year or 500-Hours lamp warranty, whichever comes first.
Please note that this item is non-returnable. Warranty claims are valid through the manufacturer. For technical support or warranty service, please contact Mitsubishi customer service directly. Contact information can typically be found on the official Mitsubishi website or in the warranty card included with your product.