1. Introduction
Thank you for choosing the WARN 74700 XDC Winch. This manual provides essential information for the safe and efficient installation, operation, and maintenance of your new winch. Please read this manual thoroughly before attempting to install or operate the winch. Keep this manual for future reference.
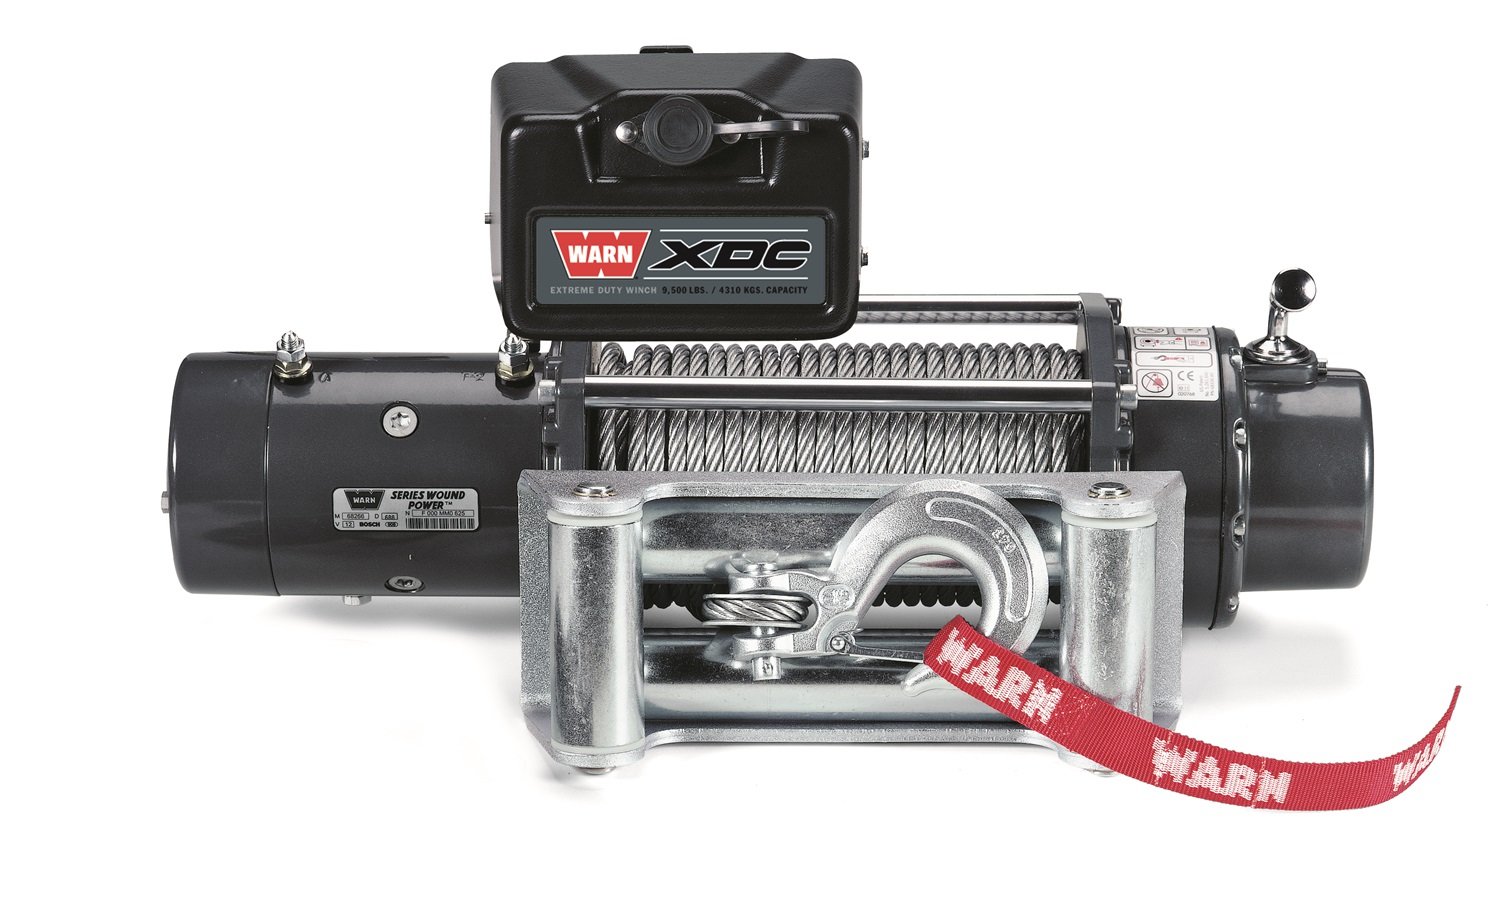
Image 1.1: The WARN 74700 XDC Winch, showcasing its robust design, steel rope, and roller fairlead. This image provides a general overview of the product.
2. Safety Information
Always prioritize safety when operating the winch. Failure to follow these instructions can result in serious injury or property damage.
- Read the Manual: Understand all instructions and warnings before use.
- Wear Protective Gear: Always wear gloves, eye protection, and sturdy footwear.
- Inspect Winch and Rope: Before each use, check the winch, rope, and all rigging for damage or wear. Do not use if damaged.
- Maintain Safe Distance: Keep bystanders clear of the winching area. Never step over a taut rope.
- Use a Winch Damper: Place a heavy blanket or winch damper over the rope during operation to absorb energy in case of rope failure.
- Avoid Overloading: Do not exceed the winch's rated capacity.
- Secure Vehicle: Always set the parking brake and block the wheels of the vehicle being winched and the anchor vehicle.
- Proper Anchoring: Use appropriate anchor points and recovery straps. Avoid wrapping the rope around an anchor point.
- Keep Hands Clear: Never guide the rope with your hands while the winch is operating.
- Avoid Shock Loads: Apply power smoothly. Do not jerk the rope.
- Disconnect Power: Disconnect the remote control when not in use to prevent accidental operation.
3. Package Contents
Upon unpacking, ensure all items are present and undamaged. If any items are missing or damaged, contact your dealer immediately.
- WARN 74700 XDC Winch Unit
- Roller Fairlead
- 100 ft. (30.5 m) Steel Rope (pre-installed)
- Wired Remote Control
- Mounting Hardware (bolts, washers, nuts)
- Electrical Wiring Kit (power cables, control wires)
- User Instruction Manual
An image depicting all components neatly laid out would be shown here, illustrating the complete package contents.
4. Setup and Installation
Proper installation is crucial for the safe and reliable operation of your winch. If you are unsure about any step, consult a qualified professional.
4.1 Mounting the Winch
- Choose a Mounting Location: The winch must be mounted on a flat, structural surface capable of supporting the winch's maximum pulling force. A dedicated winch bumper or mounting plate is recommended.
- Position the Winch: Place the winch on the mounting surface, ensuring the roller fairlead aligns correctly with the rope path.
- Drill Mounting Holes: If not pre-drilled, mark and drill holes according to the winch's mounting pattern. Refer to the winch dimensions in the specifications section.
- Secure the Winch: Use the provided high-grade bolts, washers, and nuts to securely fasten the winch to the mounting surface. Tighten all fasteners to the manufacturer's recommended torque specifications.
- Install Roller Fairlead: Attach the roller fairlead to the mounting plate or bumper using the appropriate hardware. Ensure the rollers move freely.
An image illustrating the winch being mounted onto a vehicle's bumper, showing the secure bolt connections and fairlead placement, would be beneficial here.
4.2 Electrical Wiring
Incorrect wiring can cause damage to the winch, vehicle, or lead to fire. Ensure the vehicle's battery is disconnected before starting any electrical work.
- Disconnect Battery: Disconnect the negative terminal of the vehicle's battery.
- Connect Power Cables: Connect the thick red power cable from the winch motor to the positive (+) terminal of the vehicle's battery. Connect the thick black ground cable from the winch motor to a clean, unpainted chassis ground point or the negative (-) terminal of the battery.
- Connect Control Wires: Connect the smaller control wires from the winch solenoid pack to the remote control receptacle, following the wiring diagram provided with your winch.
- Secure Wiring: Route all cables away from hot engine parts, sharp edges, and moving components. Use cable ties to secure them.
- Reconnect Battery: Once all wiring is secure and checked, reconnect the negative terminal of the vehicle's battery.
An image showing a simplified wiring diagram or the correct connection points on a vehicle battery and winch solenoid would be helpful for visual guidance.
5. Operating Instructions
Familiarize yourself with the winch controls and operation before attempting a recovery.
5.1 Engaging and Disengaging the Clutch
- Engage Clutch: To engage the clutch for winching, rotate the clutch lever to the "Engaged" position. This locks the drum to the motor.
- Disengage Clutch (Free Spool): To disengage the clutch for free spooling the rope, rotate the clutch lever to the "Disengaged" position. This allows the rope to be pulled out manually.
An image clearly showing the clutch lever and its "Engaged" and "Disengaged" positions would aid understanding.
5.2 Winching Procedure
- Prepare the Vehicle: Set the parking brake and block the wheels.
- Assess the Situation: Determine the best anchor point and path for the rope.
- Connect Remote Control: Plug the wired remote control into the winch's control box.
- Free Spool Rope: Disengage the clutch and pull out enough rope to reach the anchor point.
- Secure Anchor: Attach the rope hook to a recovery strap or tree saver wrapped around a secure anchor point. Do not wrap the rope directly around an anchor.
- Engage Clutch: Re-engage the clutch.
- Apply Winch Damper: Place a winch damper or heavy blanket over the middle of the taut rope.
- Begin Winching: Stand clear of the rope and use the remote control to slowly reel in the rope. Monitor the rope and anchor point.
- Spooling: Ensure the rope spools evenly onto the drum. If it piles up on one side, stop and redistribute it.
- Complete Recovery: Once the recovery is complete, release tension, disconnect the rope from the anchor, and carefully rewind the rope onto the drum.
- Disconnect Remote: Unplug the remote control.
An image illustrating a typical winching setup, showing the vehicle, anchor point, rope, and winch damper in place, would be highly informative.
6. Maintenance
Regular maintenance ensures the longevity and safe operation of your WARN winch.
- Rope Inspection: Regularly inspect the entire length of the steel rope for kinks, frayed strands, broken wires, or corrosion. Replace damaged rope immediately.
- Fairlead Inspection: Check the roller fairlead for smooth operation. Clean any debris and lubricate the rollers if necessary.
- Electrical Connections: Periodically check all electrical connections for corrosion or looseness. Clean and tighten as needed.
- Winch Housing: Keep the winch housing clean. Wash off dirt and debris with mild soap and water, then rinse thoroughly. Avoid high-pressure washing directly on seals.
- Lubrication: The winch gearbox is factory-lubricated and generally does not require user maintenance. Refer to the WARN service manual for specific lubrication points if performing advanced service.
- Test Operation: Periodically test the winch by spooling out and in a short length of rope under a light load to ensure proper function.
An image showing a close-up of the steel rope being inspected for damage or the fairlead rollers being cleaned would be a useful visual aid.
7. Troubleshooting
This section addresses common issues you might encounter with your WARN winch. For more complex problems, contact WARN customer support.
| Problem | Possible Cause | Solution |
|---|---|---|
| Winch does not operate (no power). |
|
|
| Winch operates slowly or with reduced power. |
|
|
| Rope spools unevenly. |
|
|
A diagram showing common electrical connection points for troubleshooting power issues could be included here.
8. Specifications
Key technical specifications for the WARN 74700 XDC Winch.
- Model: 74700 XDC Winch
- Rated Line Pull: 9500 lb. (4310 kg)
- Motor: 12V Gen II Series Wound, 4.6 HP
- Gear Train: 3-Stage Planetary
- Clutch: Sliding Ring Gear
- Brake: Automatic Direct Drive Cone
- Rope: 100 ft. (30.5 m) Steel Rope, 3/8 inch (9.5 mm) diameter
- Fairlead: Roller Fairlead
- Remote Control: Wired, 12 ft. (3.7 m) lead
- Dimensions (LxWxH): 67.31 x 20.32 x 13.97 cm (26.5 x 8.0 x 5.5 inches)
- Weight: 40.37 kg (89 lbs)
- Electrical System: 12V DC
A technical drawing or schematic showing the winch dimensions and mounting pattern would be useful here.
9. Warranty and Support
For specific warranty information, please refer to the warranty card included with your product or visit the official WARN website. WARN provides comprehensive customer support for all its products.
If you encounter any issues not covered in this manual or require technical assistance, please contact WARN customer service through their official channels. When contacting support, please have your winch model number (74700) and serial number ready.
An image of the WARN logo or contact information would be appropriate here.