Introduction
Thank you for purchasing the SENTRY CL933 Big Screen Weather Alarm Clock. This device combines a digital alarm clock with a large LCD display, providing essential information such as time, date, indoor temperature, humidity, and a weather forecast. This manual will guide you through the setup, operation, and maintenance of your new alarm clock.
Safety Information
- Do not expose the unit to extreme temperatures, direct sunlight, or high humidity.
- Avoid dropping or subjecting the unit to strong impacts.
- Do not mix old and new batteries, or different types of batteries.
- Remove batteries if the unit will not be used for an extended period.
- Clean the unit with a soft, dry cloth. Do not use abrasive cleaners or solvents.
- This product is for indoor use only.
Package Contents
Please check that all items are present:
- SENTRY CL933 Big Screen Weather Alarm Clock
- User Manual (this document)
Product Overview
The SENTRY CL933 features a large, easy-to-read LCD display and intuitive controls. Familiarize yourself with the main components:
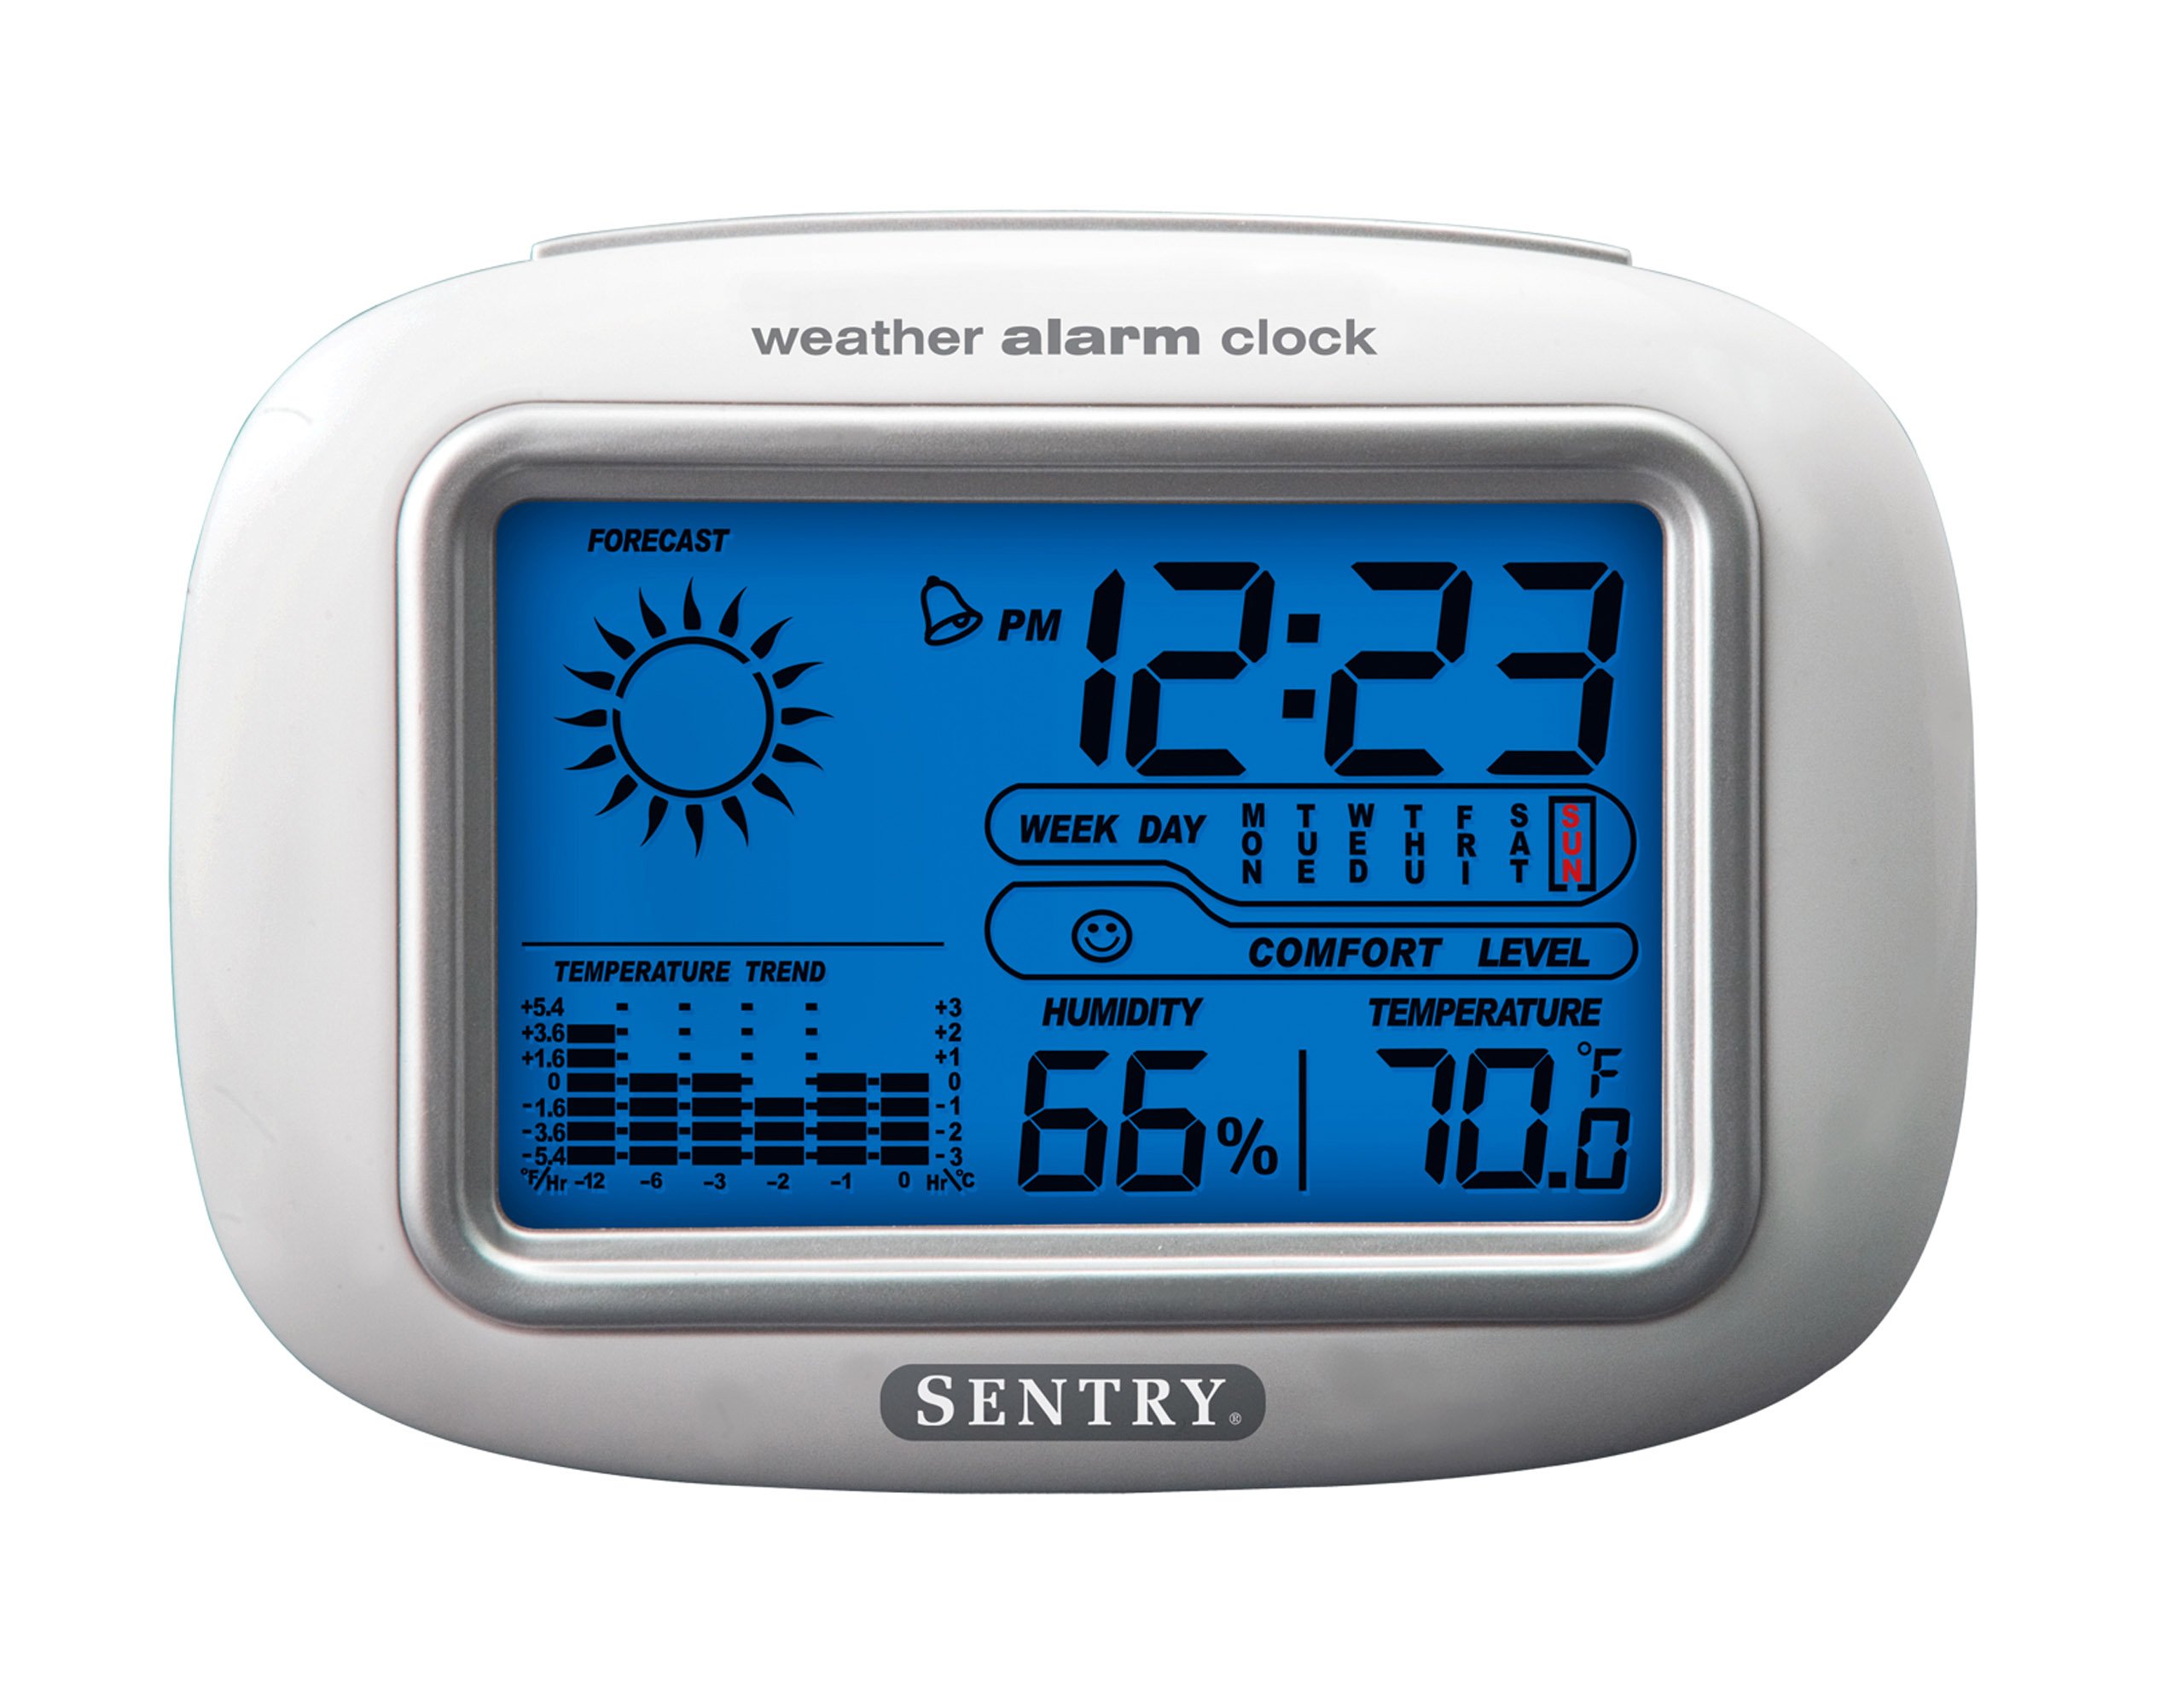
The SENTRY CL933 Big Screen Weather Alarm Clock displayed in its retail packaging, showing the clock face with time, weather forecast, humidity, and temperature readings.
Display Elements:
- Time Display: Shows current time (12/24 hour format).
- Date & Day of Week: Displays the current date and day.
- Weather Forecast Icon: Indicates predicted weather conditions (e.g., sunny, cloudy, rainy).
- Moon Phase Icon: Shows the current moon phase.
- Temperature Display: Shows indoor temperature in Celsius or Fahrenheit.
- Humidity Display: Shows indoor humidity percentage.
- Comfort Level Icon: Indicates the comfort level based on temperature and humidity.
- Temperature Trend Indicator: Shows if the temperature is rising, falling, or stable over the last 12 hours.
- Alarm Icon: Indicates when the alarm is set.
Control Buttons (typically on the back or sides):
- MODE/SET Button: Used to switch between display modes and enter setting mode.
- UP/DOWN Buttons: Used to adjust values during setting and sometimes to toggle display options.
- ALARM Button: Used to set or activate/deactivate the alarm.
- SNOOZE/LIGHT Button: Activates the backlight and functions as the snooze button when the alarm sounds.
- °C/°F Button: Toggles between Celsius and Fahrenheit temperature display.
Setup
1. Battery Installation
- Locate the battery compartment cover on the back of the unit.
- Remove the cover by sliding or lifting it.
- Insert two (2) new AAA batteries (not included) according to the polarity indicators (+ and -) inside the compartment.
- Replace the battery compartment cover securely.
- The clock will power on and the display will activate.
2. Initial Placement
Place the alarm clock on a stable, flat surface away from direct heat sources, strong vibrations, or areas with extreme temperature fluctuations for accurate readings.
Operating Instructions
1. Setting Time and Date
- Press and hold the MODE/SET button for approximately 3 seconds to enter time setting mode. The hour digit will start flashing.
- Use the UP or DOWN buttons to adjust the hour.
- Press MODE/SET again to confirm the hour and move to the minute setting.
- Repeat steps 2 and 3 for minutes, year, month, and day.
- After setting the day, press MODE/SET one last time to exit the setting mode.
- To switch between 12-hour and 24-hour time format, press the UP button while the hour is flashing during time setting.
2. Setting the Alarm
- Press the ALARM button once to display the current alarm time.
- Press and hold the ALARM button for approximately 3 seconds. The alarm hour digit will start flashing.
- Use the UP or DOWN buttons to adjust the alarm hour.
- Press ALARM again to confirm the hour and move to the alarm minute setting.
- Use the UP or DOWN buttons to adjust the alarm minute.
- Press ALARM one last time to confirm and exit alarm setting mode.
- To activate or deactivate the alarm, press the ALARM button briefly when the current time is displayed. An alarm icon will appear on the display when the alarm is active.
3. Snooze Function and Backlight
- When the alarm sounds, press the SNOOZE/LIGHT button to activate the snooze function. The alarm will temporarily stop and sound again after a few minutes (typically 5-10 minutes).
- To turn off the alarm completely, press any other button (e.g., ALARM, MODE/SET) when the alarm is sounding.
- Press the SNOOZE/LIGHT button at any time to activate the backlight for a few seconds, illuminating the display for easy viewing in low light conditions. The backlight is not designed to stay on continuously to conserve battery life.
4. Temperature Unit Selection (°C/°F)
Press the °C/°F button (usually located on the back or side) to toggle the temperature display between Celsius and Fahrenheit.
5. Understanding Weather and Environmental Displays
- Weather Forecast: The icon (e.g., sun, clouds, rain) represents a prediction of the weather for the next 12-24 hours based on atmospheric pressure changes detected by the internal sensor. This is an estimate and may not always match official weather reports.
- Humidity: Displays the current indoor relative humidity percentage.
- Comfort Level: An icon (e.g., smiley face, neutral face, frowny face) indicates the indoor comfort level based on the combination of temperature and humidity.
- Temperature Trend: The arrow indicator shows if the indoor temperature has been rising, falling, or remaining stable over the past 12 hours.
- Moon Phase: The moon icon changes to reflect the current phase of the moon.
Maintenance
- Cleaning: Wipe the unit with a soft, slightly damp cloth. Do not use harsh chemicals or abrasive materials.
- Battery Replacement: When the display becomes dim or functions become erratic, replace the two AAA batteries. Ensure correct polarity.
- Storage: If storing the clock for an extended period, remove the batteries to prevent leakage.
Troubleshooting
| Problem | Possible Cause / Solution |
|---|---|
| Display is blank or dim. | Batteries are low or incorrectly installed. Replace with new AAA batteries, ensuring correct polarity. |
| Time/Date cannot be set. | Ensure you are pressing and holding the MODE/SET button for 3 seconds to enter setting mode. |
| Alarm does not sound. | The alarm may not be activated. Press the ALARM button briefly to ensure the alarm icon is displayed. Check alarm time setting. |
| Inaccurate temperature/humidity. | The unit may be placed near a heat source, vent, or in direct sunlight. Move the clock to a more stable environment. Readings are for indoor conditions only. |
| Weather forecast seems incorrect. | The weather forecast is an estimate based on internal barometric pressure changes and may not always align with local weather reports. It is a general trend indicator. |
Specifications
- Model: CL933
- Brand: SENTRY
- Display Type: Digital LCD with Backlight
- Power Source: Battery Powered
- Batteries Required: 2 x AAA (not included)
- Dimensions: 6.5 x 2.25 x 4.25 inches (16.5 x 5.7 x 10.8 cm)
- Weight: 6.2 ounces (176 grams)
- Features: Time, Date, Day of Week, Alarm, Snooze, Indoor Temperature (°C/°F), Indoor Humidity, Weather Forecast Icons, Moon Phase, Comfort Level Indicator, 12-hour Temperature Trend.
- Mounting Type: Tabletop
Warranty and Support
SENTRY products are designed for reliability and performance. For any questions, technical support, or warranty inquiries, please refer to the contact information provided with your purchase or visit the official SENTRY website. Please retain your proof of purchase for warranty claims.