Introduction
The School Smart 90525 LED Clock is designed for high visibility, featuring large 4-inch digits. It displays time, calendar, and temperature, and includes a remote control for convenient operation. This clock is powered by an AC adapter and has a battery backup feature. It also includes a dual-buzzer alarm with a snooze function.
1. Setup
1.1 Unpacking
- Carefully remove all components from the packaging.
- Verify that all items are present: LED clock unit, AC power adapter, and remote control.
1.2 Power Connection
- Locate the DC input port on the back of the clock.
- Connect the AC power adapter to the DC input port.
- Plug the AC power adapter into a standard electrical outlet. The clock display should illuminate.

Image: Rear view of the School Smart LED Clock, illustrating the power input, battery compartment, and the included remote control and AC adapter.
1.3 Battery Backup Installation
The clock requires 3 AAA batteries (not included) for backup power. These batteries maintain time settings during a power outage but do not power the display.
- Open the battery compartment cover on the back of the clock.
- Insert 3 AAA batteries, ensuring correct polarity (+/-).
- Close the battery compartment cover.
1.4 Wall Mounting
The clock is designed for wall mounting.
- Identify a suitable location on a wall, ensuring it is near a power outlet.
- Use appropriate hardware (screws, anchors - not included) to secure the clock to the wall using the mounting slots on the back.
2. Operation
2.1 Remote Control Overview
The included remote control allows for convenient adjustment of settings from a distance. Ensure the remote has working batteries (typically 2 AAA, not included) and is pointed towards the clock's sensor.
Image: The remote control for the School Smart LED Clock, shown alongside the clock's rear panel.
2.2 Setting Time and Date
Use the remote control to set the current time and date.
- Press the SET button on the remote control. The display will enter setting mode.
- Use the UP and DOWN arrows to adjust the flashing digit.
- Press SET again to move to the next digit or setting (e.g., hours, minutes, year, month, day).
- Once all settings are correct, press the EXIT or MODE button to save and exit setting mode.
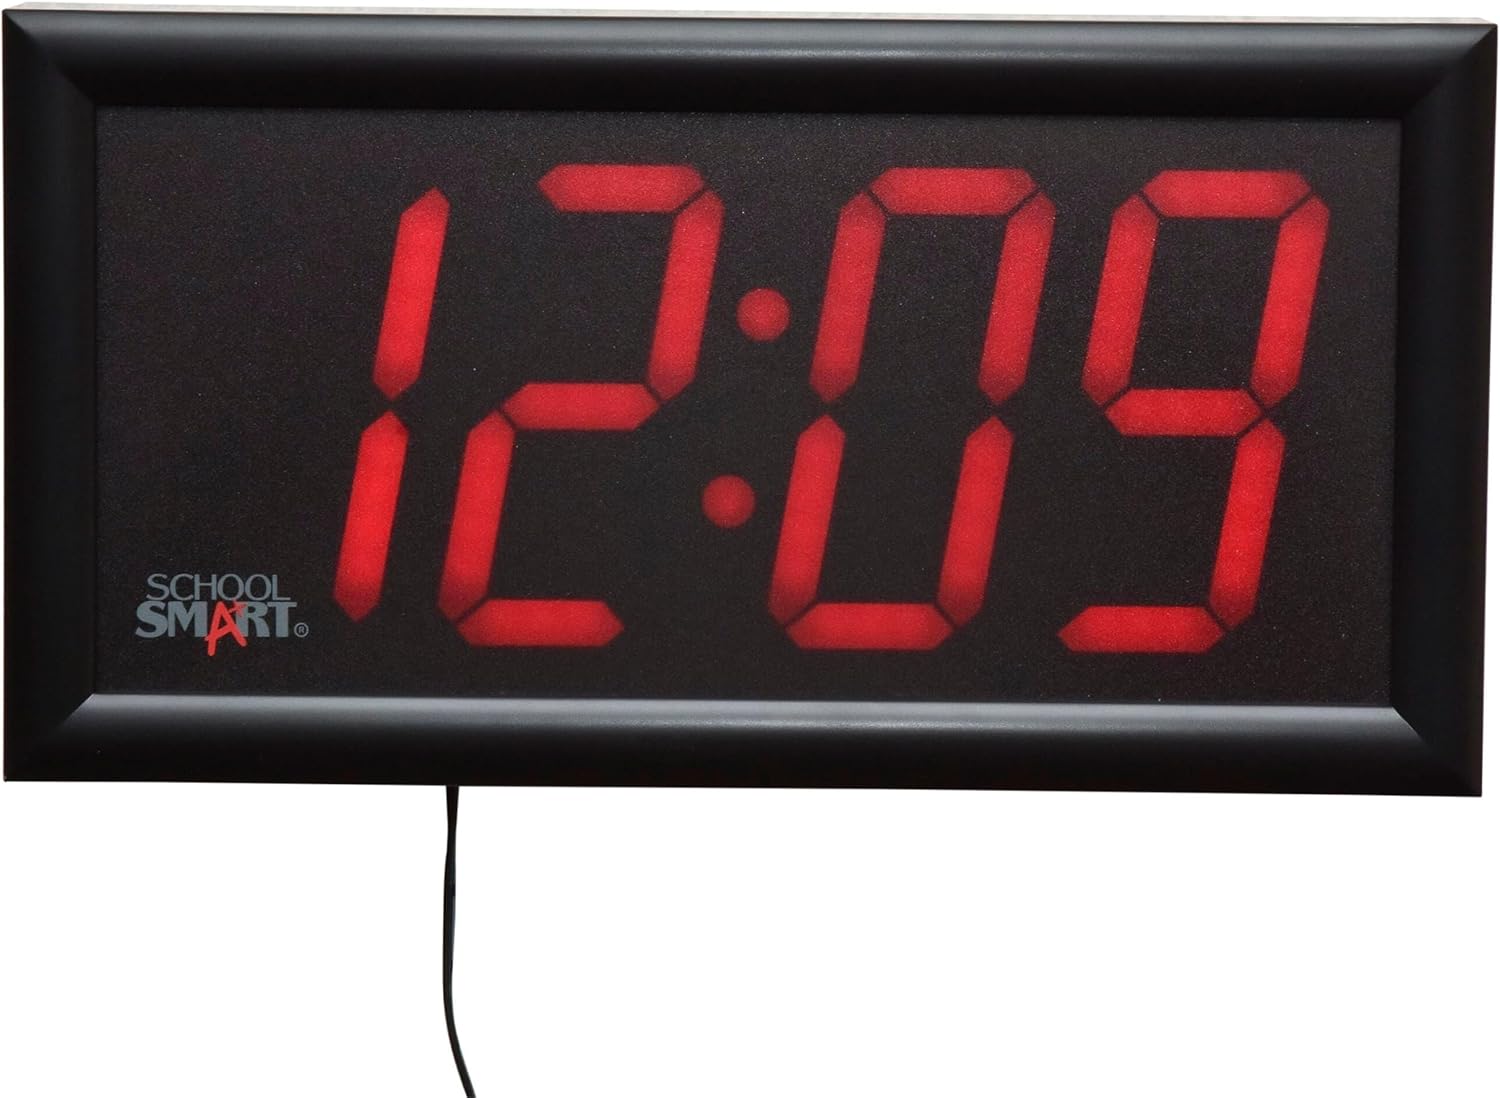
Image: The School Smart LED Clock displaying the time 12:09.

Image: The School Smart LED Clock displaying the date 10-1.
2.3 Alarm Function
The clock features a dual-buzzer alarm with a 9-minute snooze function.
- Press the ALARM button on the remote to enter alarm setting mode.
- Use the UP and DOWN arrows to set the desired alarm time.
- Press ALARM again to confirm and activate the alarm. An alarm icon may appear on the display.
- When the alarm sounds, press the SNOOZE button on the remote for a 9-minute delay.
- To turn off the alarm, press any other button on the remote or the ALARM button again.
2.4 Temperature Display
The clock can display the current temperature.
- The clock automatically cycles through time, date, and temperature displays.
- To manually switch to temperature display, press the MODE button on the remote until the temperature is shown.

Image: The School Smart LED Clock displaying 70.4 degrees Fahrenheit.
2.5 Display Brightness
The School Smart 90525 LED Clock features high-visibility red digits. While there is no direct brightness adjustment control, its design ensures clear readability in various environments. Consider placement in areas where its brightness is suitable for the intended use.
3. Maintenance
3.1 Cleaning
- Unplug the clock from the power outlet before cleaning.
- Wipe the display and casing with a soft, dry cloth.
- Do not use abrasive cleaners, solvents, or spray directly onto the clock.
3.2 Battery Replacement
Replace the 3 AAA backup batteries annually or if the clock fails to retain time settings during a power interruption.
- Open the battery compartment on the back of the clock.
- Remove the old batteries and dispose of them properly.
- Insert new 3 AAA batteries, observing correct polarity.
- Close the battery compartment.
4. Troubleshooting
- Clock not powering on or display is blank:
Ensure the AC power adapter is securely plugged into both the clock and a working electrical outlet. Check if the outlet has power. - Clock not retaining time during power outage:
Verify that 3 AAA backup batteries are installed correctly and are not depleted. Replace batteries if necessary. - Remote control not responding:
Check the batteries in the remote control and replace them if needed. Ensure there are no obstructions between the remote and the clock's sensor. Point the remote directly at the clock. - Alarm not sounding:
Confirm that the alarm time is set correctly and the alarm function is activated (look for an alarm icon on the display). - Incorrect time or date displayed:
Follow the instructions in Section 2.2 to reset the time and date using the remote control.
5. Specifications
| Feature | Specification |
|---|---|
| Model Number | 090525 |
| Display Type | Digital LED |
| Digit Height | 4 inches |
| Dimensions (L x W x H) | 13 x 7 x 1.75 inches (approx.) |
| Power Source | AC Power Adapter |
| Battery Backup | 3 x AAA batteries (not included) |
| Functions | Time, Date, Temperature, Dual Alarm, Snooze |
| Control Method | Remote Control |
| Mounting Type | Wall Mount |
6. Warranty and Support
For warranty information or technical support, please refer to the product packaging or contact School Smart customer service directly. Keep your purchase receipt for warranty claims.