1. Introduction
This instruction manual provides comprehensive guidance for the safe and effective use of your Sony Alpha A390 Digital Single-Lens Reflex (DSLR) camera. The A390 features a 14.2 megapixel sensor, a 2.7-inch tilting LCD screen, Live View functionality, and an integrated SteadyShot INSIDE image stabilization system. Please read this manual thoroughly before operating the camera and retain it for future reference.
Key Features:
- 14.2 MP resolution for detailed images.
- Live View with Quick Auto Focus for real-time composition.
- SteadyShot INSIDE in-camera image stabilization to reduce blur.
- Lightweight and ergonomic body design for improved handling.
- Integrated on-screen Help Guide for operational assistance.
- 2.7-inch tilting LCD screen for flexible viewing angles.
2. Product Overview
The Sony Alpha A390 is designed for both novice and experienced photographers, offering a balance of automatic convenience and manual control. Familiarize yourself with the camera's main components.
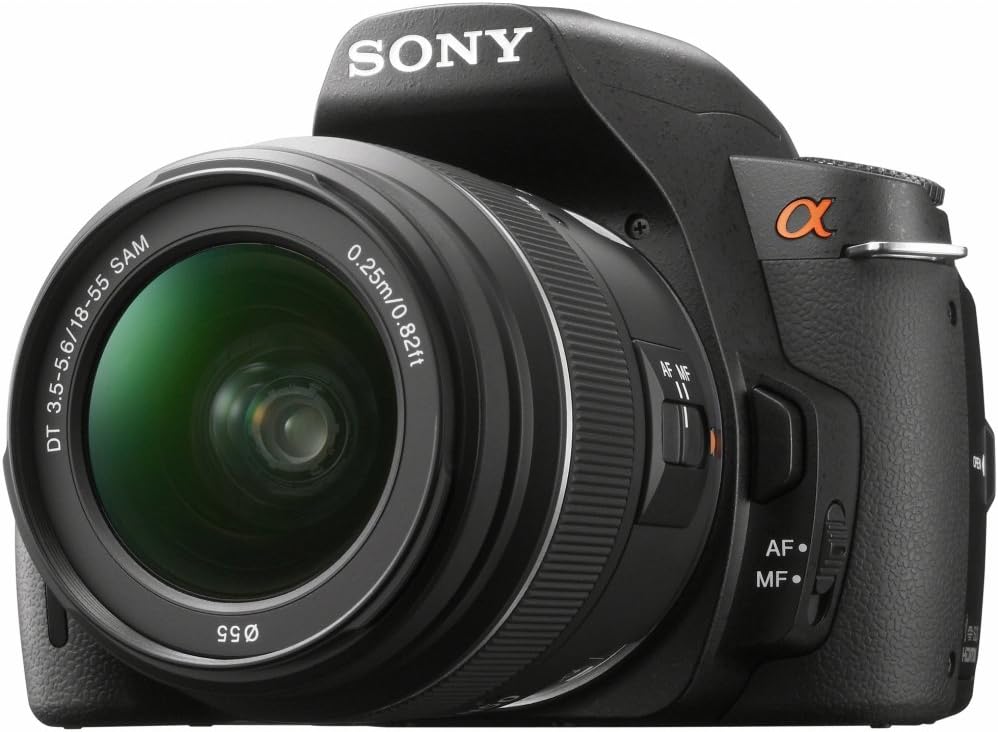
Figure 2.1: Front-Right View of the Sony Alpha A390. This image displays the camera body with the standard 18-55mm lens mounted, showing the lens barrel, focus switch, and the Alpha logo.

Figure 2.2: Ergonomic Grip. A user's hand demonstrates the comfortable and secure grip of the Sony A390 camera body, highlighting its improved design.

Figure 2.3: Rear View with Tilting LCD. This image shows the back of the camera, emphasizing the tilting LCD screen and various control buttons accessible to the thumb, such as the menu and playback buttons.

Figure 2.4: LCD Display. A detailed view of the camera's 2.7-inch LCD screen, showing typical shooting information such as aperture, shutter speed, ISO, and battery status.
3. Setup
3.1. Charging and Installing the Battery
- Insert the supplied NP-FH50 Lithium-Ion rechargeable battery into the battery charger.
- Plug the charger into a power outlet. The charging indicator will illuminate.
- Once charging is complete (indicator light changes or turns off), remove the battery.
- Open the battery compartment cover on the bottom of the camera.
- Insert the charged battery firmly until it clicks into place. Close the cover.
3.2. Attaching the Lens
- Remove the body cap from the camera and the rear lens cap from the lens.
- Align the white index mark on the lens with the white index mark on the camera body.
- Mount the lens by turning it clockwise until it locks into place with a click.
- Remove the front lens cap.
3.3. Inserting a Memory Card
The A390 supports SD/SDHC and Memory Stick Pro Duo cards.
- Open the memory card cover on the side of the camera.
- Insert the memory card with the correct orientation until it clicks.
- Close the memory card cover.
4. Operating the Camera
4.1. Power On/Off
To turn the camera on or off, slide the POWER switch located near the shutter button.
4.2. Shooting Modes
Rotate the mode dial to select your desired shooting mode:
- AUTO: Camera automatically sets optimal settings.
- P (Program Auto): Camera sets aperture and shutter speed, but you can adjust other settings.
- A (Aperture Priority): You set the aperture, camera sets shutter speed.
- S (Shutter Priority): You set the shutter speed, camera sets aperture.
- M (Manual Exposure): You control both aperture and shutter speed.
- SCENE: Various scene modes (e.g., Portrait, Landscape, Macro) for specific situations.
4.3. Focusing
The A390 offers both autofocus (AF) and manual focus (MF). Use the AF/MF switch on the lens or camera body to select.
- Autofocus: Half-press the shutter button to focus. The camera uses a 9-point TTL phase detection system.
- Live View Autofocus: When using Live View, the camera employs a quick AF system.
- Manual Focus: Rotate the focus ring on the lens to adjust focus manually.
4.4. Exposure Control
Adjust exposure using ISO sensitivity, shutter speed, and aperture.
- ISO: Range from 100 to 3200. Higher ISO increases sensitivity to light, useful in dim conditions, but may introduce noise.
- Metering: Multi, Center-weighted, and Spot metering modes are available to measure light.
4.5. White Balance
The camera features an automatic white balance setting to ensure accurate color reproduction under various lighting conditions.
4.6. Flash
The A390 has a built-in flash. Flash modes include Auto, On, and Off. Use the flash in low-light situations or to fill in shadows.
5. Maintenance
5.1. Cleaning the Camera
- Camera Body: Wipe with a soft, dry cloth. For stubborn dirt, use a cloth lightly dampened with water.
- Lens: Use a lens brush to remove dust, then a lens cleaning cloth with lens cleaning fluid. Avoid touching the lens surface with your fingers.
- Image Sensor: The camera has an anti-dust system. For persistent dust, consult a professional service center.
- LCD Screen: Gently wipe with a soft, dry cloth.
5.2. Storage
When not in use, store the camera in a cool, dry, and well-ventilated place, away from direct sunlight and extreme temperatures. Remove the battery if storing for extended periods.
6. Troubleshooting
This section addresses common issues you might encounter. For more complex problems, refer to the Sony support website or contact customer service.
| Problem | Possible Cause / Solution |
|---|---|
| Camera does not power on. | Battery is not charged or not inserted correctly. Ensure battery is charged and properly seated. |
| Cannot take pictures. | Memory card is full, not inserted, or locked. Check card status, replace if full, or unlock. |
| Images are blurry. | Lens is not focused, camera shake, or shutter speed is too slow. Ensure proper focus, use SteadyShot INSIDE, or increase shutter speed. |
| Flash does not fire. | Flash mode is set to "Off" or battery is low. Check flash settings and battery level. |
| LCD screen is blank. | Display settings may be off, or camera is in viewfinder mode. Press the DISPLAY button to cycle through display options. |
7. Specifications
| Feature | Detail |
|---|---|
| Model Name | ALPHA DSLR-A390 |
| Brand | Sony |
| Effective Still Resolution | 14.2 MP |
| Photo Sensor Technology | CCD |
| Photo Sensor Size | APS-C |
| Image Stabilization | Sensor-shift (SteadyShot INSIDE) |
| Compatible Mountings | Sony/Minolta Alpha, Sony/Minolta Alpha DT |
| Lens Type | Standard 18-55mm zoom lens (kit dependent) |
| Optical Zoom | 3x (with 18-55mm lens) |
| Minimum Focal Length | 18 Millimeters |
| Maximum Focal Length | 55 Millimeters |
| Maximum Aperture | F1.8 (lens dependent) |
| Expanded ISO Range | 100-3200 |
| Shutter Speed | 30 seconds to 1/4000 seconds |
| Continuous Shooting | 2.5 fps |
| Autofocus Points | 9 |
| Auto Focus Technology | Continuous, Face Detection, Live View, Multi-area, Phase Detection, Selective single-point, Single |
| Metering Description | Multi, Center-weighted, Spot |
| Display Type | LCD, Tilting |
| Screen Size | 2.7 Inches |
| Flash Memory Type | SD/SDHC, Memory Stick Pro Duo |
| Connectivity Technology | HDMI, USB |
| Battery Type | Lithium-Ion NP-FH50 rechargeable battery |
| Battery Average Life | Approx. 230 Photos |
| Item Weight | 1.2 Pounds (body only) |
| Dimensions (Height) | 3.82 inches |
| Supported File Format | JPEG, RAW |
| Processor Description | Bionz |
| UPC | 027242798281 |
8. Warranty and Support
8.1. Warranty Information
The Sony Alpha A390 camera comes with a 1 YEAR LIMITED WARRANTY from the manufacturer. Please refer to the warranty card included with your product for full terms and conditions. This warranty covers manufacturing defects but typically excludes damage caused by misuse, accidents, or unauthorized repairs.
8.2. Legal Disclaimer
NO ADDITIONAL MANUALS, CHARGERS, OR ITEMS ARE INCLUDED BEYOND what is specified in the product packaging.
8.3. Customer Support
For further assistance, technical support, or service inquiries, please visit the official Sony support website or contact their customer service department. Keep your proof of purchase and product serial number readily available.


