
Introduction
This manual provides instructions for the safe installation, operation, and maintenance of your Canarm Taylor ICW299A01ORB10 1-Bulb Wall Mount Track Light. This fixture features a clean modern design with an Oil Rubbed Bronze finish. It is designed for use with a 50W Type GU10 bulb (not included). Please read all instructions carefully before beginning installation.
Safety Information
WARNING: Risk of electric shock. Disconnect power at the circuit breaker or fuse box before installation or servicing. Consult a qualified electrician if you are unsure about wiring procedures.
- Ensure all electrical connections comply with local codes and ordinances, as well as the National Electric Code (NEC).
- Do not install this fixture in wet locations unless specifically rated for such use.
- Use only the specified bulb type and wattage (50W Type GU10). Exceeding the maximum wattage may cause overheating and damage to the fixture.
- Handle the fixture with care. Avoid dropping or subjecting it to strong impacts.
- Keep flammable materials away from the light fixture when in operation.
Package Contents
Verify that all parts are present before beginning installation. If any parts are missing or damaged, do not attempt to assemble or install the fixture. Contact customer service for assistance.
- 1 x Taylor 1-Bulb Wall Mount Track Light Fixture (Oil Rubbed Bronze)
- Mounting Hardware (screws, wire nuts)
- Instruction Manual
Note: A 50W Type GU10 bulb is not included and must be purchased separately.
Setup and Installation
Tools Required: Screwdriver, wire strippers, electrical tape, safety glasses, ladder (if necessary).
- Turn Off Power: Locate the circuit breaker or fuse box controlling the power to the installation location. Turn off the power completely to prevent electric shock.
- Prepare Mounting Surface: Ensure the wall surface is clean, dry, and structurally sound to support the fixture.
- Attach Mounting Bracket: Secure the fixture's mounting bracket to the wall using the provided screws. Ensure it is firmly attached.
- Make Electrical Connections: Carefully connect the electrical wires from the fixture to the corresponding wires from the wall outlet box.
- Connect the black (live) wire from the fixture to the black (live) wire from the wall.
- Connect the white (neutral) wire from the fixture to the white (neutral) wire from the wall.
- Connect the green or bare copper (ground) wire from the fixture to the green or bare copper (ground) wire from the wall.
- Mount the Fixture: Carefully align the fixture with the mounting bracket and secure it in place using the provided screws or fasteners. Ensure no wires are pinched during this step.
- Install Bulb: Insert a 50W Type GU10 bulb into the socket. Ensure the bulb is seated correctly.
- Restore Power: Once installation is complete and all connections are secure, restore power at the circuit breaker or fuse box.
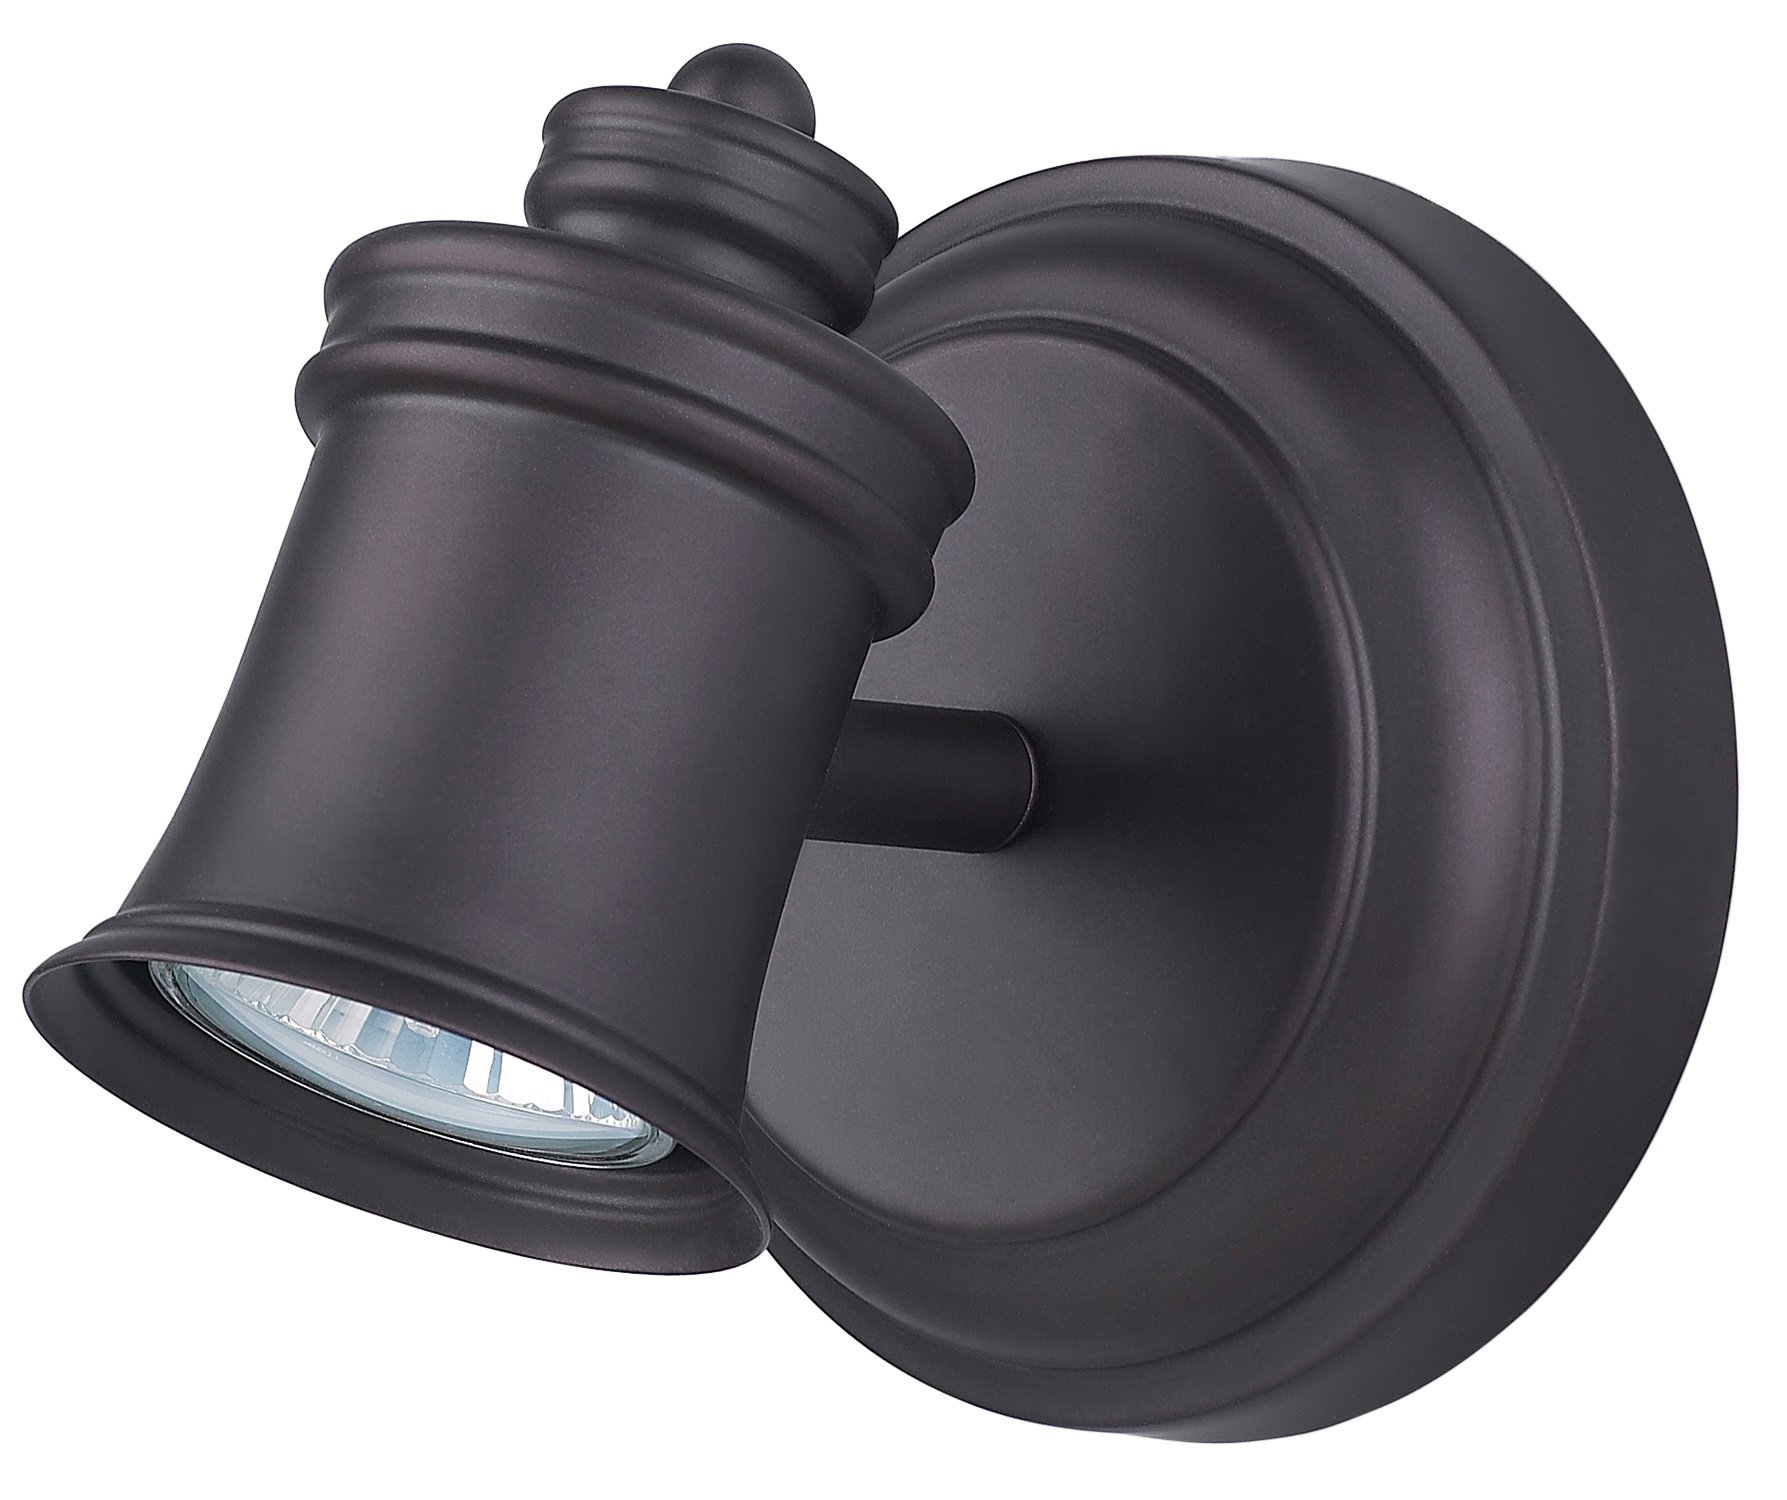
Image: Canarm Taylor 1-Bulb Wall Mount Track Light in Oil Rubbed Bronze finish, mounted on a wall.

Image: Close-up view of the Canarm Taylor track light head, showing the bulb housing.
Operating Instructions
Once installed and power is restored, operate the Canarm Taylor track light using the wall switch connected to the fixture's circuit.
- Turning On/Off: Use the standard wall switch to turn the light fixture on or off.
- Adjusting Light Direction: The light head is adjustable. Gently pivot or tilt the light head to direct illumination as desired. Avoid excessive force when adjusting.
Maintenance
Regular maintenance ensures optimal performance and longevity of your light fixture.
- Cleaning: Disconnect power before cleaning. Wipe the fixture with a soft, dry cloth. Do not use abrasive cleaners, solvents, or polishes as they may damage the finish.
- Bulb Replacement: Disconnect power before replacing the bulb. Allow the bulb to cool completely. Carefully remove the old GU10 bulb and insert a new 50W Type GU10 bulb. Ensure the new bulb is securely seated before restoring power.
- Inspection: Periodically inspect the fixture for any signs of damage, loose wiring, or wear. If any issues are found, disconnect power and consult a qualified electrician.
Troubleshooting
If your light fixture is not functioning correctly, refer to the following common issues and solutions:
| Problem | Possible Cause | Solution |
|---|---|---|
| Light does not turn on. | No power to the fixture. | Check circuit breaker or fuse. Ensure wall switch is in the 'ON' position. |
| Bulb is faulty or not installed correctly. | Replace bulb with a new 50W Type GU10 bulb. Ensure it is fully seated. | |
| Loose wire connections. | Turn off power at the circuit breaker. Check and tighten all wire connections. Consult an electrician if unsure. | |
| Light flickers. | Loose bulb or faulty bulb. | Tighten or replace the bulb. |
| Incompatible dimmer switch (if applicable). | Ensure dimmer switch is compatible with GU10 bulbs. |
Specifications
| Feature | Detail |
|---|---|
| Manufacturer | Canarm |
| Model Number | ICW299A01ORB10 |
| Style | Taylor |
| Color/Finish | Oil-Rubbed Bronze |
| Material | Bronze |
| Bulb Type | GU10 (not included) |
| Max Wattage | 50 watts |
| Voltage | 220 Volts |
| Power Source | Corded Electric |
| Mounting Type | Wall Mount |
| Special Features | Adjustable light head |
| Item Weight | 0.01 ounces |
| Item Package Quantity | 1 |
Warranty
This Canarm Taylor ICW299A01ORB10 Wall Mount Track Light comes with a Limited Lifetime Warranty. Please refer to the warranty documentation included with your purchase or contact Canarm customer support for full details regarding terms and conditions.
Support
For technical assistance, missing parts, or warranty inquiries, please contact Canarm customer support:
- Website: www.canarm.com
- Phone: Refer to the Canarm website for regional contact numbers.
