
UAC CN 4168PFC
UAC CN 4168PFC A/C Condenser User Manual
Model: CN 4168PFC | Brand: UAC
Product Overview
The UAC CN 4168PFC A/C Condenser is a critical component of your vehicle's air conditioning system. Its primary function is to release heat from the A/C refrigerant as it passes through, converting the high-pressure, high-temperature gaseous refrigerant into a high-pressure, moderate-temperature liquid. This process is essential for the efficient cooling operation of the vehicle's climate control system.
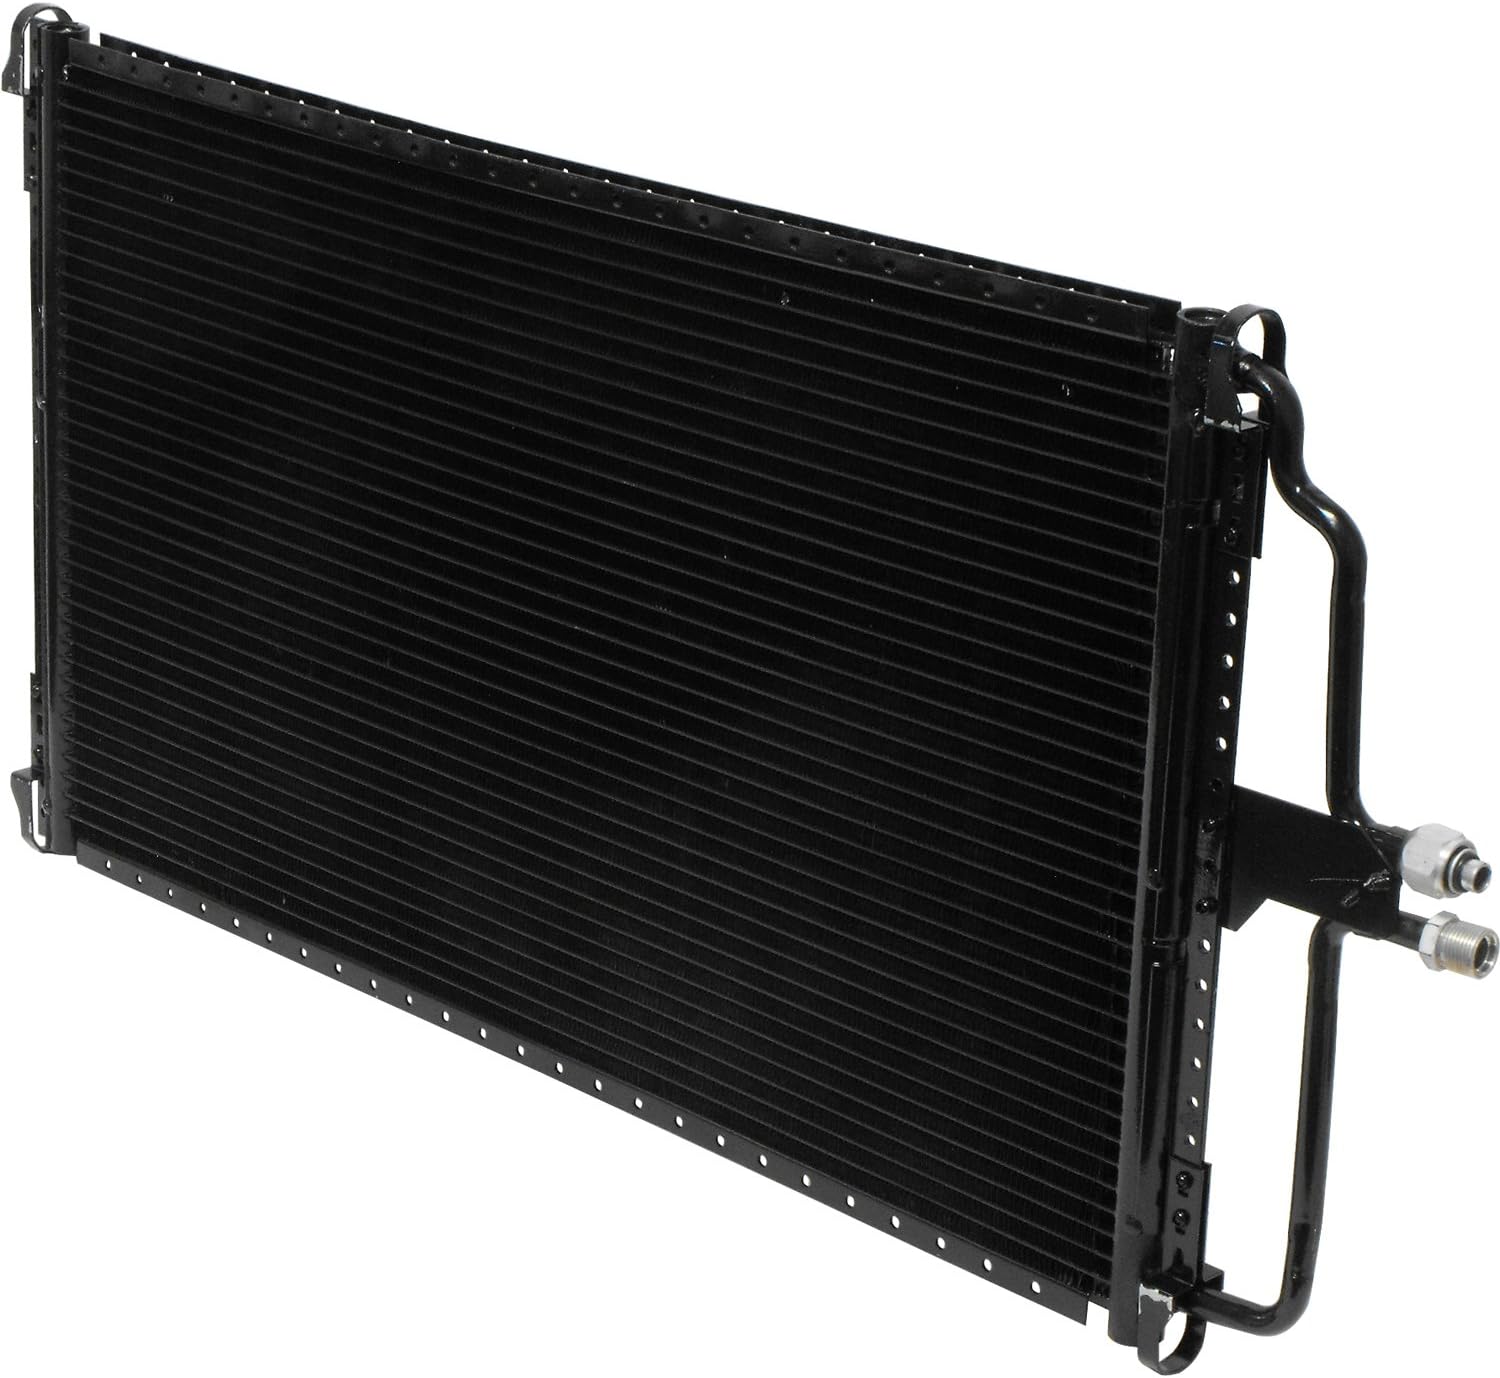
Image: The UAC CN 4168PFC A/C Condenser, a rectangular black finned heat exchanger with inlet and outlet ports on one side. This component is designed to dissipate heat from the refrigerant in an automotive air conditioning system.
Installation and Setup
Installation of an A/C condenser should ideally be performed by a certified automotive technician due to the specialized tools and knowledge required for handling refrigerants and A/C system components. Improper installation can lead to system damage, refrigerant leaks, and personal injury.
Safety Precautions:
- Always wear appropriate personal protective equipment (PPE), including safety glasses and gloves.
- Ensure the vehicle's battery is disconnected before beginning work.
- Refrigerant must be properly recovered from the old system before removal. Do not vent refrigerant into the atmosphere.
- Work in a well-ventilated area.
General Installation Steps (Professional Installation Recommended):
- System Evacuation: Recover all refrigerant from the existing A/C system using a certified recovery machine.
- Component Removal: Carefully disconnect and remove the old condenser, along with any associated lines or mounting hardware.
- New Condenser Installation: Install the new UAC CN 4168PFC condenser into the vehicle's mounting brackets. Ensure it is securely fastened.
- Line Connection: Connect the refrigerant lines to the new condenser. Replace any O-rings or seals with new ones designed for A/C systems. Apply a small amount of PAG oil to new O-rings before installation.
- Vacuum Test: Evacuate the A/C system using a vacuum pump to remove air and moisture. Hold the vacuum for at least 30 minutes to check for leaks.
- Refrigerant Recharge: Recharge the system with the correct type and amount of refrigerant and PAG oil specified by the vehicle manufacturer.
- Leak Detection: Use a leak detector to check all connections for leaks.
- System Performance Check: Start the vehicle and test the A/C system for proper operation and cooling performance.
System Function (Operating Principles)
The A/C condenser operates as a heat exchanger. High-pressure, high-temperature refrigerant vapor from the compressor enters the condenser. As this hot vapor flows through the condenser's tubes, heat is transferred to the cooler ambient air passing over the condenser fins. This heat dissipation causes the refrigerant to condense into a high-pressure, moderate-temperature liquid. This liquid then flows to the expansion valve or orifice tube, where its pressure drops, allowing it to evaporate in the evaporator and absorb heat from the passenger cabin, thus providing cooling.
Maintenance
Proper maintenance can extend the life and efficiency of your A/C condenser and the overall A/C system.
- Regular Inspection: Periodically inspect the condenser for any signs of damage, such as bent fins, corrosion, or leaks. Damage to fins can impede airflow and reduce heat transfer efficiency.
- Cleaning: Keep the condenser fins clean and free of debris (leaves, insects, dirt). A gentle stream of water or compressed air can be used to clear obstructions. Avoid high-pressure sprays that could bend the delicate fins.
- System Checks: Have your vehicle's A/C system professionally checked annually. This includes verifying refrigerant levels and system pressures, which can indicate underlying issues affecting the condenser.
- Leak Detection: If you suspect a refrigerant leak (e.g., reduced cooling performance), have the system inspected by a professional using appropriate leak detection methods.
Troubleshooting
If your vehicle's A/C system is not performing optimally, the condenser might be a contributing factor. Here are some common issues and potential causes:
| Symptom | Possible Cause (Condenser Related) | Action |
|---|---|---|
| Poor Cooling Performance |
|
|
| Visible Refrigerant Leaks |
|
|
| High System Pressures |
|
|
For complex issues or if you are unsure about diagnosis, it is always recommended to consult a qualified automotive technician.
Specifications
| Manufacturer | UAC |
| Brand | UAC |
| Model | CN 4168PFC |
| Item Weight | 9.5 pounds |
| Product Dimensions | 1 x 1 x 1 inches (Note: These dimensions appear to be placeholder values and may not reflect the actual physical size of the condenser.) |
| Item Model Number | CN 4168PFC |
| Manufacturer Part Number | CN 4168PFC |
| OEM Part Numbers | 156579; A212; 1036421; P36421; 704168; 204168M; 54168; AC4168; CF1006; 4168; 54332; 245188; 4168; 3059855; 4168; 4168C; 200096; C64210; 36421; 2431023; PC4168A; 4168; 36421; FCN314168M; 636421; C4168; 74168; 2300; 2300; 11940451; 40393; CND36421; 002300; |
Warranty and Support
For specific warranty information regarding the UAC CN 4168PFC A/C Condenser, please refer to the documentation provided with your purchase or contact UAC directly through their official website or customer service channels. Warranty terms typically cover manufacturing defects and may vary based on the retailer and region.
For technical support, installation assistance, or troubleshooting beyond the scope of this manual, it is recommended to contact a certified automotive technician or the manufacturer's support team.
Related documentsCN 4168PFC


Ask a question about this manual
Ask about setup, troubleshooting, compatibility, parts, safety, or missing instructions. Manuals+ will review the question and use this page’s manual context to help answer it.