1. Introduction
This manual provides comprehensive instructions for the Ambient Weather WS-1171B Wireless Advanced Weather Station. This device is designed to monitor indoor and outdoor environmental conditions, including temperature, humidity, and barometric pressure, offering valuable weather insights for your location.
2. Package Contents
Verify that all components are present before proceeding with setup:
- Ambient Weather WS-1171B Main Console
- Wireless Remote Temperature and Humidity Sensor
- User Manual (this document)
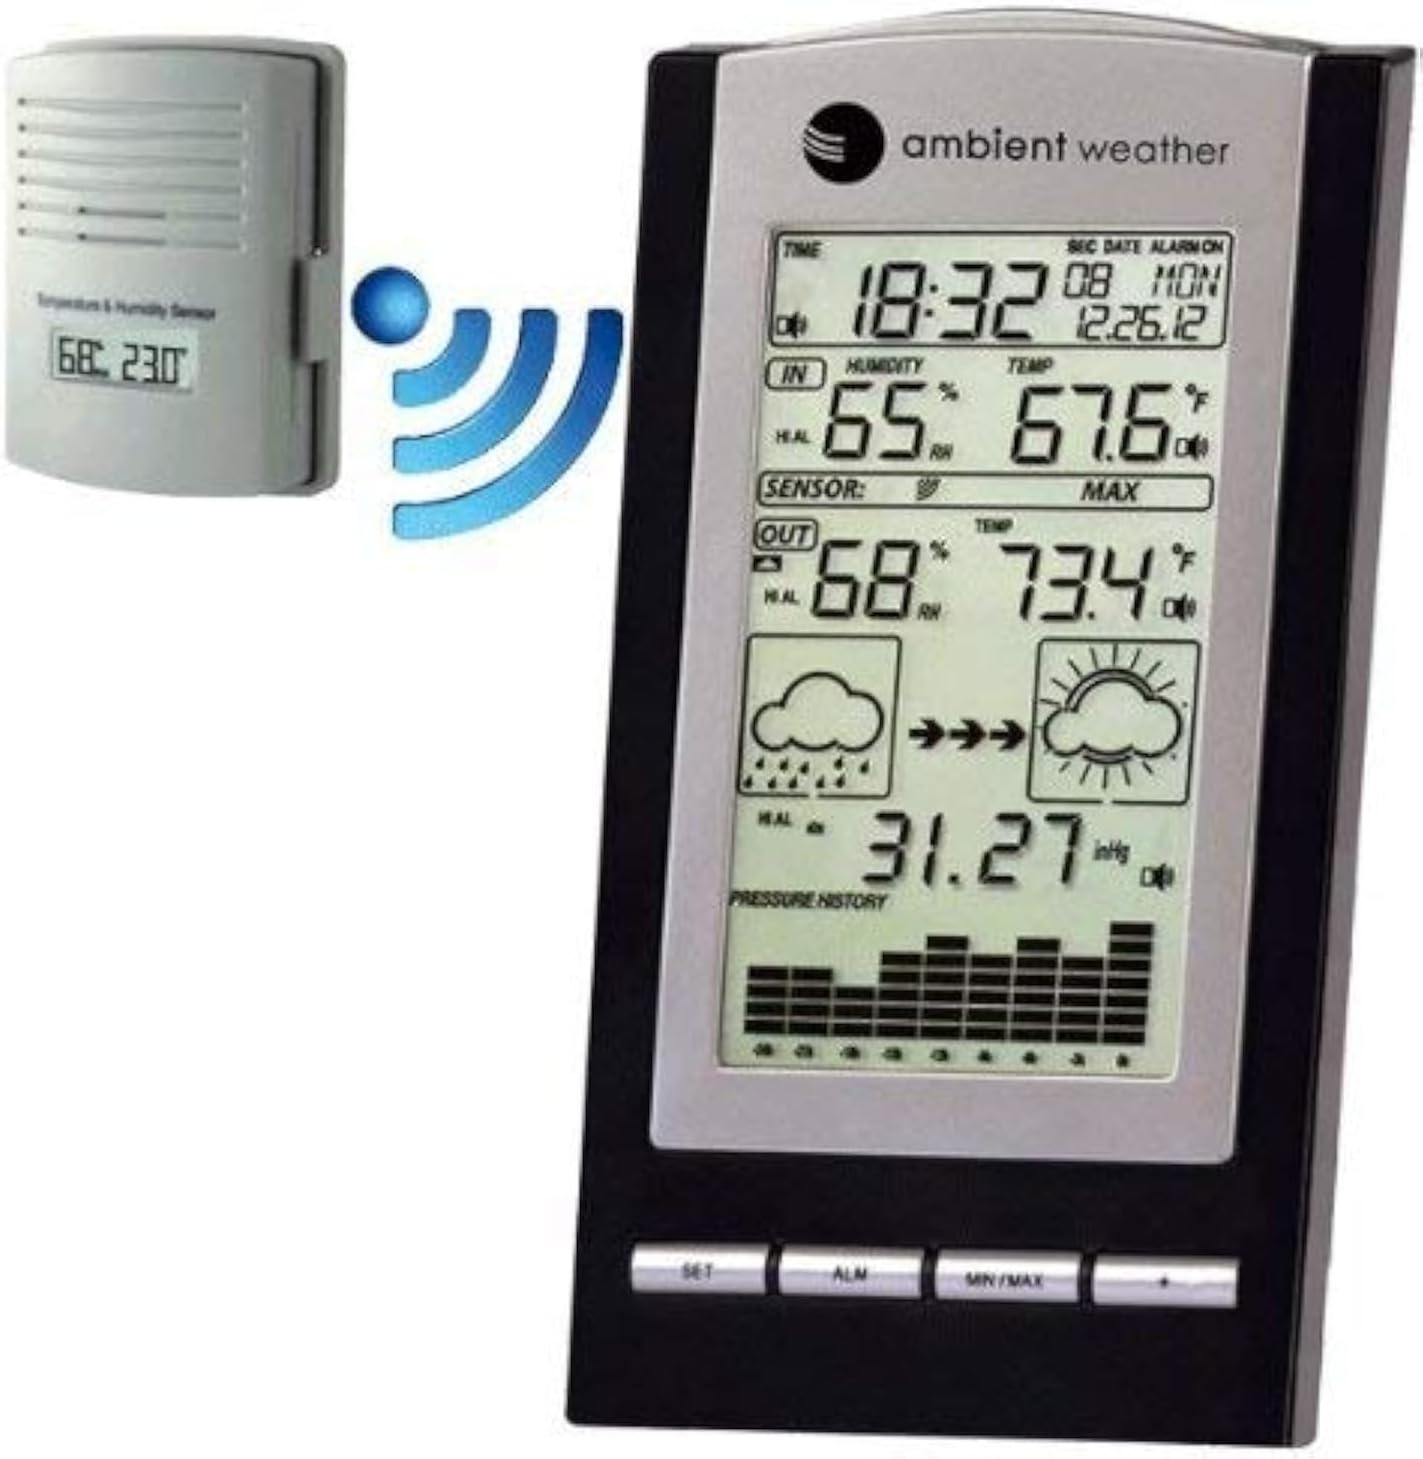
Figure 2.1: The Ambient Weather WS-1171B weather station's main console alongside its wireless outdoor temperature and humidity sensor. A blue wireless signal icon illustrates the communication between the two units.
3. Setup
3.1 Battery Installation
- Main Console: Open the battery compartment on the back of the main console. Insert three (3) 'AA' batteries (not included), observing the correct polarity (+/-). Close the battery compartment.
- Wireless Sensor: Open the battery compartment on the back of the wireless sensor. Insert two (2) 'AAA' batteries (not included), observing the correct polarity (+/-). Lithium batteries are recommended for extended life and cold weather performance. Close the battery compartment.
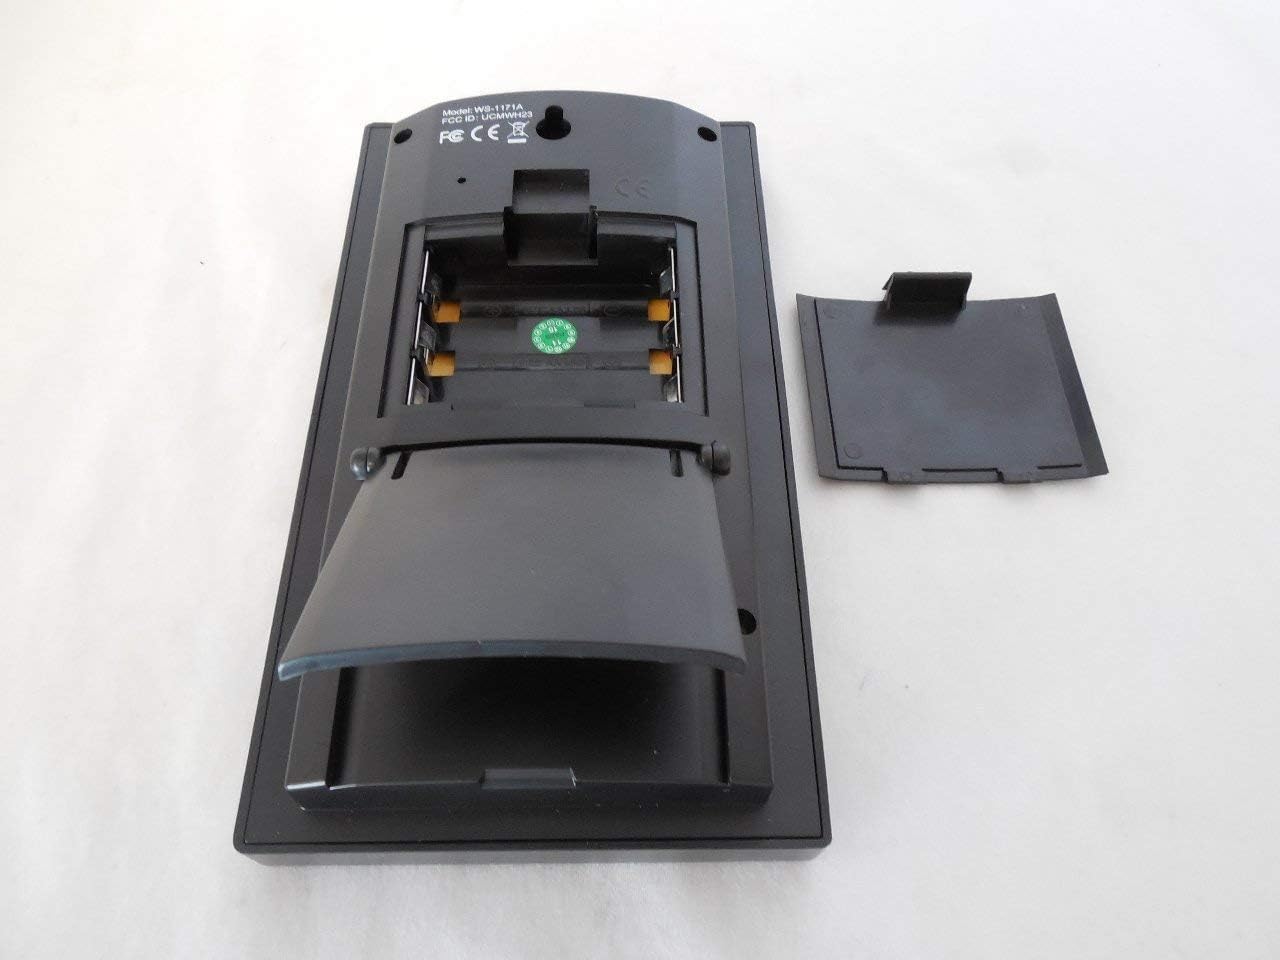
Figure 3.1: Rear view of the main console showing the battery compartment and integrated kickstand.
3.2 Sensor Placement
For optimal performance, place the wireless sensor in a shaded, dry location, protected from direct sunlight and precipitation. Ensure it is within the transmission range of the main console (up to 330 feet line of sight, typically 100 feet under most conditions). Avoid placing the sensor near large metal objects or electrical appliances that may interfere with the wireless signal.
3.3 Initial Synchronization
After installing batteries in both units, the main console will automatically begin searching for the wireless sensor. This process may take a few minutes. Once connected, the outdoor temperature and humidity readings will appear on the console display.
3.4 Atomic Clock Synchronization
The weather station is equipped with a radio-controlled clock (WWVB & DCF). Upon initial power-up, the console will attempt to synchronize with the atomic clock signal. This process can take several hours, especially in areas with weak signals. Ensure the console is placed away from electronic interference. The time will automatically update for daylight saving time (with an on/off option).
4. Operating Instructions
4.1 Display Overview
The main console's LCD displays various environmental data and time information:
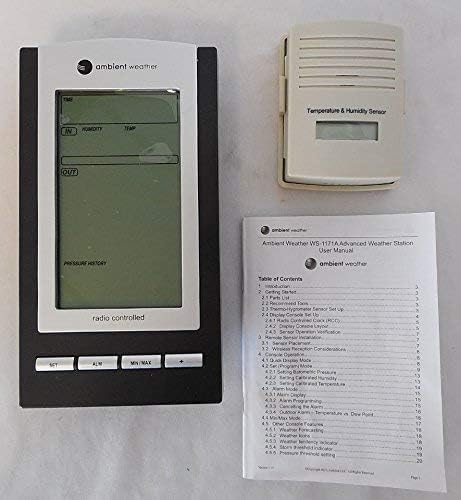
Figure 4.1: Detailed view of the WS-1171B main console's LCD screen.
- Time and Date: Displays current time (12 or 24-hour format) and date.
- Indoor Temperature & Humidity: Current readings inside.
- Outdoor Temperature & Humidity: Current readings from the wireless sensor.
- Barometric Pressure: Current pressure reading and a 24-hour history graph.
- Forecast Icons: Graphical representation of predicted weather based on pressure trends.
- Min/Max Records: Highest and lowest recorded values for temperature and humidity.
4.2 Setting Time and Alarm
Refer to the specific buttons (SET, ALM) on the console for adjusting time, date, and setting the alarm. The atomic clock typically handles time setting automatically, but manual adjustments are possible if needed. The alarm features a snooze function.
4.3 Min/Max Data
Press the MIN/MAX button to cycle through the minimum and maximum recorded indoor and outdoor temperature and humidity values. These records are timestamped with the date and time they occurred.
4.4 Barometric Pressure and Forecast
The console displays current barometric pressure (in Hg or hPa) and a 24-hour history graph, allowing you to track pressure trends. The forecast icons (sunny, cloudy, rainy) are generated based on these barometric pressure changes, providing a general weather prediction.
5. Features
- Wireless outdoor and indoor humidity (%RH) with calibration option for outdoor humidity.
- Wireless outdoor and indoor temperature (°F or °C).
- Records minimum and maximum temperature and humidity with date and time stamps.
- Barometric pressure 24-hour history graph (in Hg or hPa).
- Forecast icons based on changing barometric pressure.
- Radio-controlled time and date (WWVB & DCF) with automatic daylight saving time updates (on/off option).
- 12 or 24-hour time display and perpetual calendar.
- Time alarm with snooze function.
- Includes one wireless remote sensor.
- LED backlight for temporary illumination.
- Wall hanging or free-standing design.
- Low battery indicator for both console and sensor.
- Synchronized instant reception (SIR) for quick data updates.
6. Specifications
| Wireless Outdoor Humidity Range: | 1% to 99% RH (+/-5% accuracy) with calibration |
| Indoor Humidity Range: | 1% to 99% RH (+/-5% accuracy) |
| Wireless Outdoor Temperature Range: | -40.0°F to +149°F (+/- 2°F accuracy) |
| Indoor Temperature Range: | +32°F to +140°F (+/- 2°F accuracy) |
| Transmission Range: | Up to 330 feet (line of sight) |
| Transmission Frequency: | 433MHz |
| Receiver Power Requirements: | 3 "AA" batteries (not included) |
| Wireless Sensor Power Requirements: | 2 "AAA" batteries (not included) |
| Receiver Dimensions (LxWxH): | 7.25 x 4 x 1.25 inches |
| Sensor Dimensions (LxWxH): | 3.5 x 2.75 x 1.25 inches |
| Item Weight: | 0.65 Pounds (10.4 ounces) |
7. Maintenance
- Cleaning: Wipe the console and sensor with a soft, damp cloth. Avoid abrasive cleaners or solvents.
- Battery Replacement: Replace batteries in both units when the low battery indicator appears on the console. For the outdoor sensor, consider replacing batteries annually, especially before winter, to ensure continuous operation in cold temperatures.
- Sensor Protection: Periodically check the outdoor sensor for debris or insect nests that might obstruct ventilation or affect readings. Ensure it remains protected from direct heavy rain or snow.
8. Troubleshooting
- No Outdoor Data Displayed:
- Ensure batteries are correctly installed in both the console and sensor.
- Verify the sensor is within range and not obstructed by large metal objects or thick walls.
- Try bringing the sensor closer to the console temporarily to re-establish connection.
- Reset both units by removing batteries, waiting a few seconds, and then reinserting them, starting with the sensor.
- Inaccurate Readings:
- Ensure the outdoor sensor is placed in a shaded area, away from direct sunlight or heat sources.
- Allow sufficient time (at least 30 minutes) for readings to stabilize after setup or battery replacement.
- Outdoor humidity can be calibrated if necessary (refer to advanced settings in the full manual).
- Atomic Clock Not Syncing:
- Place the console near a window, away from electronic devices that may cause interference.
- Allow up to 24 hours for initial synchronization.
- Check if your location has a strong WWVB or DCF signal.
- Display Issues (e.g., dim, uneven lighting):
- Ensure batteries are fresh and fully charged.
- The LED backlight is temporary; press the appropriate button to activate it.
9. Warranty and Support
9.1 Warranty Information
The Ambient Weather WS-1171B Wireless Advanced Weather Station comes with a one-year warranty covering parts and labor from the date of purchase.
9.2 Customer Support
For further assistance, troubleshooting, or to access updated user manuals and product information, please visit the official Ambient Weather store or website. You can find more information at the Ambient Weather Store.


