Important Safeguards
When using electrical appliances, basic safety precautions should always be followed to reduce the risk of fire, electric shock, and/or injury to persons, including the following:
- Read all instructions before operating the coffee maker.
- Do not touch hot surfaces. Use handles or knobs.
- To protect against fire, electric shock, and injury to persons, do not immerse cord, plugs, or coffee maker in water or other liquid.
- Close supervision is necessary when any appliance is used by or near children.
- Unplug from outlet when not in use and before cleaning. Allow to cool before putting on or taking off parts, and before cleaning the appliance.
- Do not operate any appliance with a damaged cord or plug or after the appliance malfunctions, or has been damaged in any manner. Return appliance to the nearest authorized service facility for examination, repair, or adjustment.
- The use of accessory attachments not recommended by the appliance manufacturer may result in fire, electric shock, or injury to persons.
- Do not use outdoors.
- Do not let cord hang over edge of table or counter, or touch hot surfaces.
- Do not place on or near a hot gas or electric burner, or in a heated oven.
- Always attach plug to appliance first, then plug cord into the wall outlet. To disconnect, turn any control to "off", then remove plug from wall outlet.
- Do not use appliance for other than intended use.
- The glass carafe is designed for use with this appliance only. It must never be used on a range top.
- Do not set a hot carafe on a wet or cold surface.
- Do not use a cracked carafe or a carafe having a loose or weakened handle.
- Do not clean carafe with cleansers, steel wool pads, or other abrasive materials.
Product Overview
The Saeco 12-Cup Automatic Drip Coffee Maker integrates a conical burr grinder for fresh coffee. This section identifies the main components of your coffee maker.
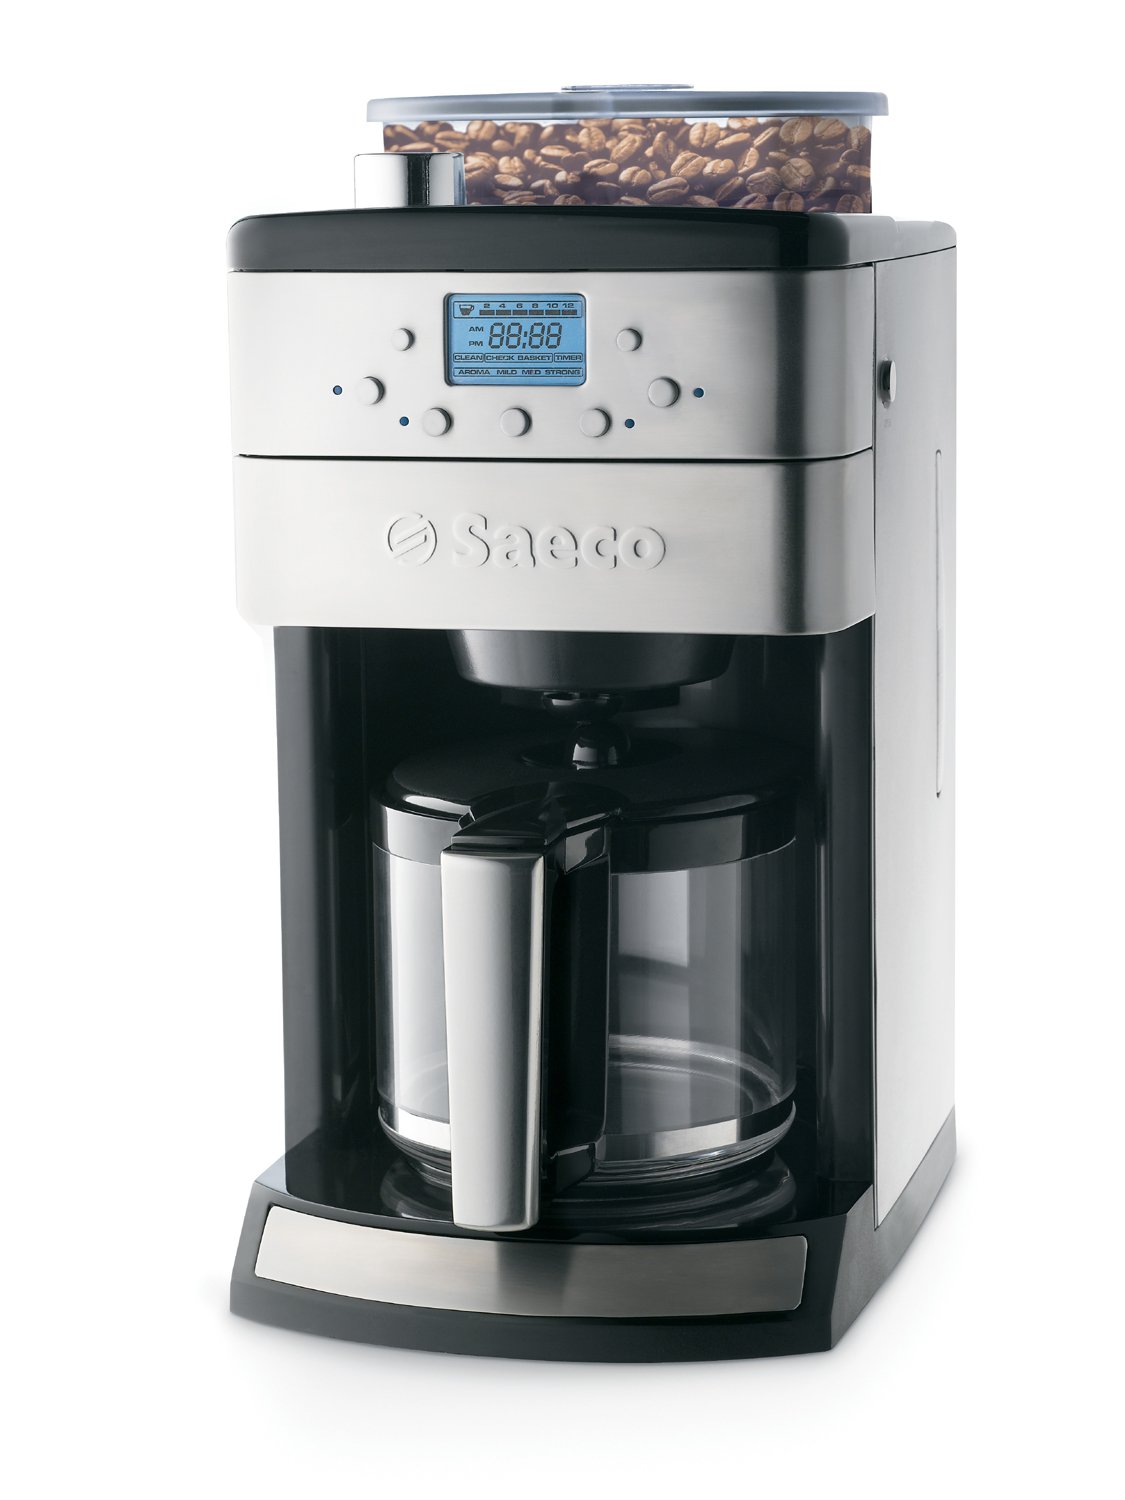
Image 1: Front view of the Saeco 12-Cup Automatic Drip Coffee Maker. Shows the main unit with the glass carafe, control panel, and bean hopper on top.
- Bean Hopper: Located on top, for whole coffee beans.
- Grind Setting Selector: Adjusts the fineness of the coffee grind.
- Water Tank: 12-cup capacity, located at the top for easy filling.
- Control Panel with LCD Display: Oversized display for functions and settings.
- Swing-Out Filter Basket: Holds the coffee filter and ground coffee.
- Removable Internal Basket: For easy cleaning and coffee loading.
- Glass Carafe: 12-cup capacity for brewed coffee.
- Warming Plate: Keeps brewed coffee warm.
- Power Cord: For connecting to an electrical outlet.
Setup
- Unpacking: Carefully remove all packaging materials and components. Retain packaging for future transport or storage.
- Initial Cleaning: Before first use, wash the glass carafe, lid, filter basket, and removable internal basket in warm, soapy water. Rinse thoroughly and dry. Wipe the exterior of the coffee maker with a damp cloth.
- First Brew Cycle (Cleaning):
- Fill the water tank with fresh, cold water up to the 12-cup mark.
- Place the empty filter basket with the removable internal basket into position. Do not add coffee beans or ground coffee.
- Place the carafe on the warming plate.
- Plug the coffee maker into a grounded electrical outlet.
- Run a full brew cycle without coffee to clean the internal components. Discard the water from the carafe.
- Water Filter Installation (Optional): If using a charcoal water filter (included or purchased separately), follow the filter's instructions for preparation and installation into the water tank.
Operating Instructions
1. Filling the Water Tank
Open the lid of the water tank. Fill the tank with fresh, cold water to the desired number of cups, indicated by the water level markings. Do not exceed the 12-cup maximum level.
2. Adding Coffee Beans
Open the bean hopper lid. Add whole coffee beans to the hopper. Ensure the lid is securely closed after adding beans to maintain freshness.
3. Adjusting Grind Settings
The conical burr grinder offers adjustable grind settings from fine to coarse. Rotate the grind setting selector on the bean hopper to your preferred fineness. A finer grind typically results in stronger coffee, while a coarser grind yields a milder flavor.
4. Brewing Coffee
- Ensure the glass carafe is empty and placed correctly on the warming plate.
- Verify the filter basket with the removable internal basket is properly seated.
- Press the "On" button. The oversized LCD display will show current settings.
- Select the desired number of cups and coffee strength using the control panel buttons. The machine will grind the appropriate amount of beans for your selection.
- The brewing process will begin automatically after grinding. The machine will automatically shut off when brewing is complete.
5. Programmable Features
The coffee maker features a programmable control panel. Refer to the detailed instructions in the full manual for setting the clock, programming delayed brewing, and customizing other settings.
Maintenance and Cleaning
Regular cleaning ensures optimal performance and extends the life of your coffee maker.
1. Daily Cleaning
- Always unplug the coffee maker before cleaning.
- Discard used coffee grounds and rinse the filter basket and removable internal basket. These parts can be washed in warm, soapy water or placed on the top rack of a dishwasher.
- Wash the glass carafe and its lid in warm, soapy water.
- Wipe the exterior of the coffee maker, warming plate, and control panel with a soft, damp cloth. Do not use abrasive cleaners or scouring pads.
- Empty and rinse the water tank.
2. Descaling
Mineral deposits (limescale) can build up in your coffee maker over time, affecting performance. Descale your coffee maker every 2-3 months, or more frequently if you have hard water.
- Prepare a descaling solution: Mix white vinegar and water in equal parts, or use a commercial descaling agent according to its instructions.
- Pour the solution into the water tank up to the 12-cup mark.
- Place the empty carafe on the warming plate.
- Run a full brew cycle. After about half the solution has brewed through, turn off the coffee maker and let it sit for 15-20 minutes to allow the solution to work.
- Turn the coffee maker back on to complete the brew cycle.
- Discard the descaling solution from the carafe.
- Run 2-3 full cycles with fresh, cold water only to rinse the coffee maker thoroughly.
Troubleshooting
| Problem | Possible Cause | Solution |
|---|---|---|
| Coffee does not brew. | No water in tank; coffee maker not plugged in; power outage; brew cycle not initiated. | Fill water tank; ensure power cord is securely plugged in; check circuit breaker; press "On" button to start brewing. |
| Coffee is too weak. | Insufficient coffee beans; grind setting too coarse; too much water for selected coffee amount; mineral buildup. | Add more beans; adjust grind setting to finer; ensure water level matches selected cups; descale the coffee maker. |
| Coffee is too strong. | Too many coffee beans; grind setting too fine. | Reduce bean quantity; adjust grind setting to coarser. |
| Grinder is not working. | Bean hopper empty; beans jammed; lid not properly closed. | Fill bean hopper; clear any jammed beans (unplug first); ensure bean hopper lid is securely closed. |
| Water leaks from coffee maker. | Water tank overfilled; carafe not properly placed; filter basket overflowing. | Do not exceed max fill line; ensure carafe is centered on warming plate; check filter basket for proper seating and ensure it's not clogged. |
Specifications
- Model Number: 104373
- Brand: Saeco
- Capacity: 12 Cups
- Material: Stainless Steel
- Special Features: Built-in Coffee Grinder, Programmable, Thermal (warming plate)
- Coffee Maker Type: Drip Coffee Machine
- Color: Black
- Item Weight: 6.1 kg (approximately 13.45 lbs)
- Item Dimensions (LxWxH): 30.5 x 21.6 x 41.9 cm (approximately 12 x 8.5 x 16.5 inches)
- Included Components: Filter, Glass Carafe
Warranty and Support
This Saeco coffee maker is covered by a 1-Year Limited Warranty from the date of purchase. This warranty covers defects in materials and workmanship under normal use.
For warranty claims, technical support, or service inquiries, please refer to the contact information provided with your product packaging or visit the official Saeco website. Please have your model number (104373) and proof of purchase available when contacting support.


