1. Introduction
Thank you for purchasing the Stagg 15-Watt Guitar Amplifier with Digital Reverb. This amplifier is designed to provide a versatile and reliable sound solution for guitar and double bass players. Please read this manual thoroughly to understand the features and proper operation of your new amplifier.
2. Safety Instructions
- Do not expose this appliance to rain or moisture.
- Do not block any ventilation openings.
- Ensure the power cord is not walked on or pinched.
- Unplug the amplifier during lightning storms or when unused for long periods.
- Refer all servicing to qualified service personnel.
3. Package Contents
Verify that all items listed below are included in your package:
- Stagg 15-Watt Guitar Amplifier (Model: 15 GA DR USA)
- Power Cord
- User Manual (this document)
4. Product Overview: Controls and Features
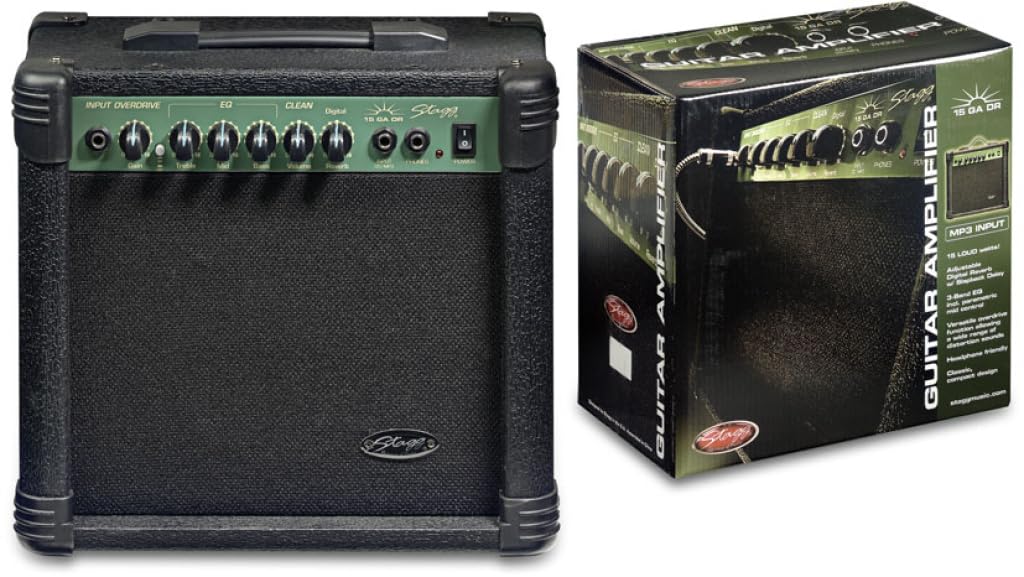
Figure 1: Front panel of the Stagg 15-Watt Guitar Amplifier. Shows input jack, control knobs, and switches.
The Stagg 15-Watt Guitar Amplifier features a comprehensive set of controls for shaping your sound:
- Input Jack: Connect your guitar or other instrument here.
- Gain Control: Adjusts the input sensitivity and the amount of overdrive.
- Overdrive Switch: Engages the built-in distortion effect for versatile sounds.
- Volume Control: Adjusts the overall output level of the amplifier.
- 3-Band EQ (Bass, Middle, Treble): Allows for precise tonal shaping across low, mid, and high frequencies.
- Parametric Mid Control: Provides additional control over the mid-range frequencies for fine-tuning your sound.
- Digital Reverb: Adds a spacious, ambient effect to your sound.
- Headphone Output: For silent practice. Connect standard stereo headphones.
- Stereo Jack Input (CD/MP3 Players): Connect external audio sources like CD or MP3 players for practice along.
5. Setup
- Placement: Place the amplifier on a stable, flat surface. Ensure adequate ventilation around the unit.
- Power Connection: Ensure the amplifier's power switch is in the OFF position. Connect the supplied power cord to the amplifier's power input and then to a suitable AC power outlet.
- Instrument Connection: Connect your guitar or double bass to the Input Jack using a standard 6.35mm instrument cable.
- External Audio (Optional): If desired, connect an external audio source (e.g., CD/MP3 player) to the Stereo Jack Input using an appropriate cable.
- Headphones (Optional): For silent practice, connect headphones to the Headphone Output. This will mute the amplifier's speaker.
6. Operating Instructions
- Power On: Turn the amplifier's power switch to the ON position. The power indicator light should illuminate.
- Initial Settings:
- Set the Volume control to its minimum position.
- Set the Gain control to a low setting.
- Set the Bass, Middle, and Treble EQ controls to their center (12 o'clock) positions.
- Ensure the Overdrive Switch is disengaged for a clean sound.
- Adjusting Volume and Gain: Slowly increase the Volume control to your desired listening level. Adjust the Gain control to achieve the desired amount of input sensitivity and clean tone. For distorted sounds, engage the Overdrive Switch and then adjust the Gain control to increase the distortion level.
- Tone Shaping: Use the Bass, Middle, and Treble controls to adjust the amplifier's tonal characteristics. The Parametric Mid Control allows for more precise adjustments to the mid-range frequencies.
- Reverb Effect: Adjust the Digital Reverb control to add depth and ambiance to your sound.
- Power Off: Before disconnecting any cables or moving the amplifier, turn the Volume control to minimum and then switch the power OFF.
7. Maintenance
- Cleaning: Use a soft, dry cloth to clean the amplifier's exterior. Do not use abrasive cleaners or solvents.
- Storage: Store the amplifier in a dry, cool environment away from direct sunlight and extreme temperatures.
- Ventilation: Ensure the ventilation openings are clear of dust and debris to prevent overheating.
- Cable Care: Regularly inspect power and instrument cables for damage. Replace any damaged cables immediately.
8. Troubleshooting
| Problem | Possible Cause | Solution |
|---|---|---|
| No sound |
|
|
| Distorted sound (unintended) |
|
|
| Humming or buzzing noise |
|
|
9. Specifications
| Model | 15 GA DR USA |
| Output Wattage | 15 Watts |
| Dimensions (L x W x H) | 12.2 x 13.8 x 7.5 inches |
| Item Weight | 13.9 pounds |
| Connector Type | 6.35mm Jack |
| Power Source | Corded Electric |
| Compatible Devices | Guitar, Double Bass |
10. Warranty and Support
For warranty information and technical support, please refer to the warranty card included with your purchase or visit the official Stagg website. Keep your proof of purchase for any warranty claims.
Manufacturer: Stagg
Website: www.staggmusic.com