1. Introduction
This manual provides essential information for the proper installation, maintenance, and safe use of your PRO COMP 95-351 3.5" Rear Block. Please read these instructions thoroughly before beginning any work on your vehicle. Proper installation is crucial for vehicle safety and performance.
2. Safety Information
WARNING: Improper installation or modification of suspension components can lead to serious injury or death. Always consult a qualified professional if you are unsure about any step.
- Always wear appropriate personal protective equipment (PPE), including safety glasses and gloves.
- Ensure the vehicle is securely supported on jack stands on a level surface before working underneath it. Never rely solely on a jack.
- Do not exceed the vehicle's Gross Vehicle Weight Rating (GVWR) after installation.
- After installation, perform a thorough inspection of all fasteners and components. Re-torque all fasteners after 500 miles of driving.
- Check local and state laws regarding vehicle modifications before installation.
3. Package Contents
Verify that all components are present before beginning installation:
- 1x PRO COMP 95-351 3.5" Rear Block (Cast Iron)
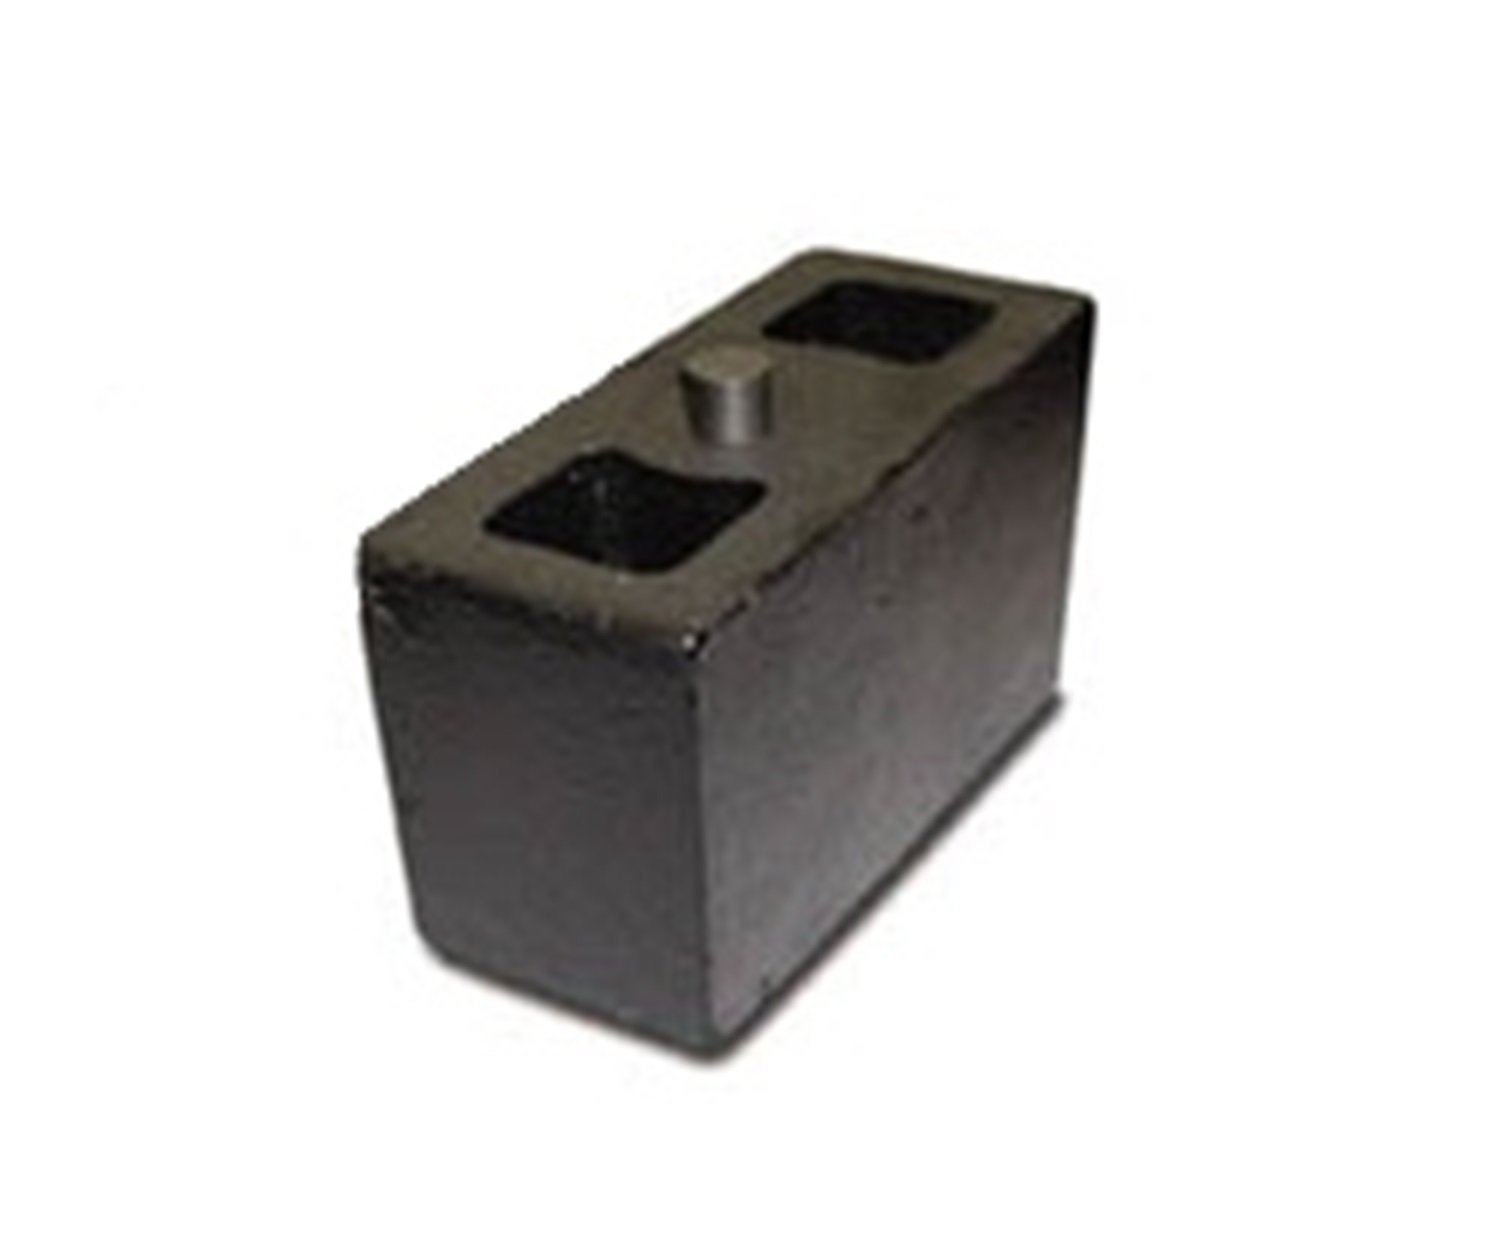
An image showing the Pro Comp 95-351 3.5 inch Rear Block, a cast iron component designed for vehicle suspension lift.
4. Setup and Installation
This section outlines the general steps for installing the rear block. Specific vehicle models may require additional steps or tools. Refer to your vehicle's service manual for detailed instructions.
4.1 Tools Required (Typical)
- Floor Jack and Jack Stands
- Wheel Chocks
- Socket Wrench Set
- Torque Wrench
- Penetrating Oil (optional)
4.2 Installation Steps (General)
- Prepare Vehicle: Park the vehicle on a level surface. Engage the parking brake and chock the front wheels. Loosen the rear lug nuts.
- Lift Vehicle: Safely lift the rear of the vehicle using a floor jack and support it with jack stands under the frame. Ensure the axle is hanging freely. Remove the rear wheels.
- Support Axle: Place a jack under the rear axle to support its weight.
- Remove U-Bolts: Carefully remove the existing U-bolts that secure the leaf spring to the axle. Keep track of all hardware.
- Lower Axle: Slowly lower the axle using the jack until there is enough clearance to insert the new block between the leaf spring and the axle pad.
- Install Block: Position the PRO COMP 95-351 3.5" Rear Block between the leaf spring and the axle pad. Ensure the block is correctly oriented (tapered side, if applicable, should match the leaf spring angle).
- Raise Axle: Slowly raise the axle with the jack, guiding the leaf spring onto the new block and aligning the center pin.
- Install New U-Bolts: Install new, longer U-bolts (typically required with lift blocks, not included with this single block) over the leaf spring and around the axle, securing them with the provided nuts and washers.
- Torque U-Bolts: Torque the U-bolt nuts to the vehicle manufacturer's specifications, typically in a crisscross pattern. Re-check torque after the vehicle has been driven a short distance.
- Reinstall Wheels: Reinstall the rear wheels and hand-tighten the lug nuts.
- Lower Vehicle: Carefully lower the vehicle to the ground.
- Final Torque: Torque the lug nuts to the vehicle manufacturer's specifications.
5. Operating Considerations
The PRO COMP 95-351 3.5" Rear Block is a passive suspension component designed to provide a lift to the rear of your vehicle. It does not require active operation. After installation, be aware of the following:
- Vehicle Handling: A lifted vehicle may exhibit different handling characteristics. Drive cautiously until you are accustomed to the changes.
- Alignment: It is highly recommended to have a professional alignment performed after installing lift components to ensure proper steering and tire wear.
- Brake Lines/ABS Wires: Verify that brake lines and ABS sensor wires have sufficient slack and are not stretched or pinched at full suspension droop.
- Driveshaft Angles: Monitor driveshaft angles for excessive vibration, which may indicate the need for shims or other driveline modifications.
6. Maintenance
Regular inspection of your suspension components is essential for safety and longevity.
- Initial Re-torque: Re-torque all U-bolt nuts and other fasteners after the first 500 miles of driving.
- Periodic Inspection: Every 3,000 to 5,000 miles, or during routine vehicle maintenance, inspect the rear blocks and U-bolts for signs of wear, damage, or looseness.
- Corrosion: The cast iron block is durable, but inspect for severe corrosion, especially in harsh environments.
- Damage: If any component appears damaged or excessively worn, replace it immediately.
7. Troubleshooting
If you experience issues after installation, consider the following:
- Vibration: Check U-bolt torque. Inspect driveshaft angles. Ensure blocks are correctly seated and oriented.
- Uneven Lift: Verify that the correct block size was installed on both sides (if applicable for a pair, though this product is a single block). Ensure blocks are fully seated.
- Noise: Check for loose fasteners. Ensure no components are rubbing.
If problems persist, consult a certified automotive technician.
8. Specifications
| Model Number: | 95-351 |
| Brand: | PRO COMP |
| Auto Part Position: | Rear |
| Material: | Cast Iron |
| Included Components: | Lift Block (single unit) |
| Maximum Lifting Height: | 3.5 Inches |
| Item Weight: | 8 pounds |
| Product Dimensions: | 4 x 3 x 6 inches |
| UPC: | 614901121919 |
9. Warranty and Support
For specific warranty information and technical support, please refer to the official PRO COMP website or contact their customer service directly. Keep your purchase receipt for warranty claims.
PRO COMP Contact Information:
- Website: www.procompusa.com (Example link, actual link may vary)
- Customer Service: Refer to the website for current contact methods.