1. Introduction
This manual provides instructions for the installation, operation, and maintenance of the NETGEAR WN2000RPT Universal WiFi Range Extender. This device is designed to expand the coverage of an existing wireless network, eliminating dead zones and improving signal strength in areas with weak Wi-Fi connectivity.
2. Package Contents
Verify that your package contains the following items:
- NETGEAR WN2000RPT Universal WiFi Range Extender
- Power adapter
- Ethernet cable
If any items are missing or damaged, please contact NETGEAR support.
3. Product Overview
The NETGEAR WN2000RPT is a compact device designed to blend into various environments. It features indicator lights on the front panel and multiple ports on the rear for connectivity.
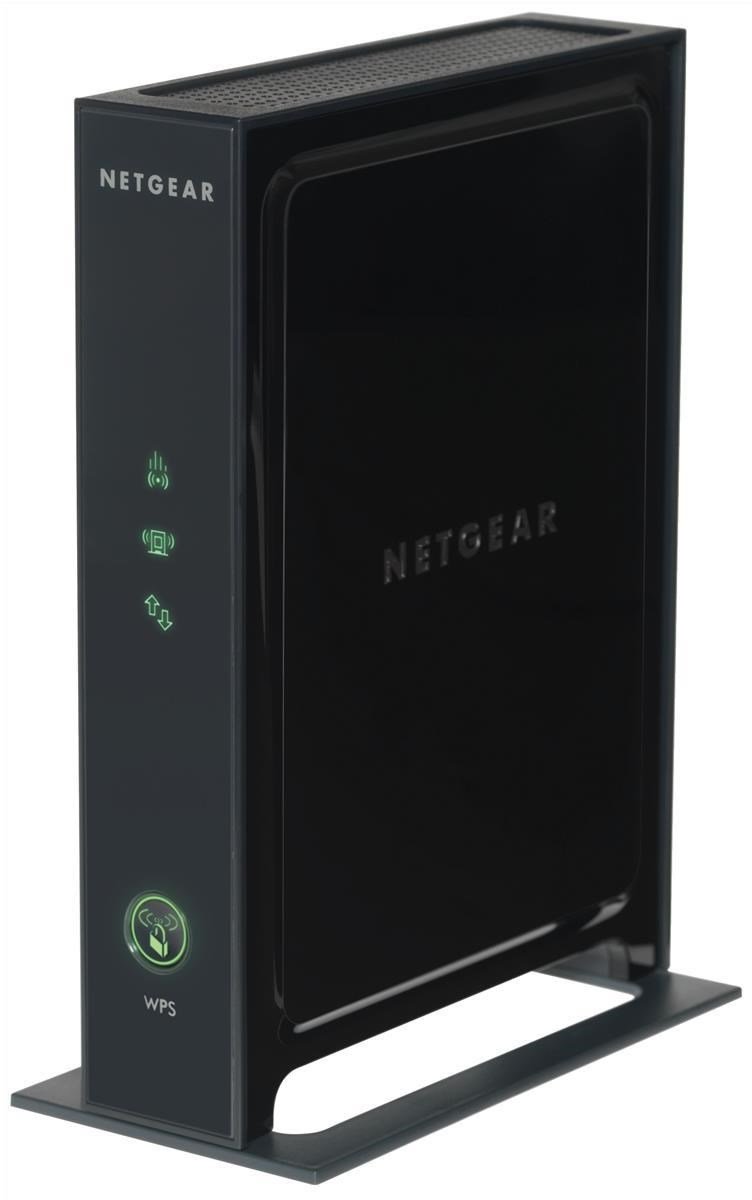
Figure 3.1: Front view of the NETGEAR WN2000RPT Universal WiFi Range Extender. The front panel displays status indicator lights and a WPS button.
3.1 Front Panel Indicators
- Power LED: Indicates the power status of the device.
- Router Link LED: Shows the connection status to your main wireless router.
- Client Link LED: Indicates the connection status to client devices.
- WPS Button: Used for easy setup with WPS-compatible routers.
3.2 Rear Panel Ports

Figure 3.2: Rear view of the NETGEAR WN2000RPT, illustrating the four Ethernet LAN ports, power switch, and DC-in jack.
- Ethernet LAN (RJ-45) Ports (x4): For connecting wired devices such as desktop PCs, notebooks, or gaming consoles.
- Power On/Off Button: Controls the power supply to the device.
- DC-in Jack: Connects to the power adapter.
4. Setup
Follow these steps to set up your NETGEAR WN2000RPT Universal WiFi Range Extender:
- Placement: Place the extender in a location between your wireless router and the area where you want to improve Wi-Fi coverage. Ensure it is within the range of your existing router's Wi-Fi signal.
- Power On: Connect the power adapter to the DC-in jack on the extender and plug it into an electrical outlet. Press the Power On/Off button. Wait for the Power LED to turn solid green.
- Connect to Extender: On a computer or mobile device, connect to the extender's default Wi-Fi network. This network typically has a name like "NETGEAR_EXT" or similar. The network name and password can usually be found on a label on the extender.
- Access Setup Wizard: Open a web browser and navigate to the extender's setup page. This is often http://www.mywifiext.net or the extender's IP address (e.g., 192.168.1.250). Follow the on-screen instructions to select your existing Wi-Fi network and enter its password.
- Connect to Router: The extender will connect to your main router. The Router Link LED should turn green, indicating a good connection.
- Relocate (Optional): If the Router Link LED is not green, try moving the extender closer to your router. Once connected, you can optionally rename the extended network or use the same name as your main network.
5. Operating the Extender
Once set up, the NETGEAR WN2000RPT operates automatically to extend your Wi-Fi signal. Devices within the extended range will connect to the extender's network.
- Wireless Connectivity: Your wireless devices (laptops, smartphones, tablets) can connect to the extended Wi-Fi network for improved signal strength and coverage.
- Wired Connectivity: Use the Ethernet LAN ports to connect wired devices to your network. This is useful for devices that require a stable wired connection or do not have Wi-Fi capabilities.
- Access Point Mode: The device supports Access Point Mode, allowing it to function as a new Wi-Fi access point when connected to a router via an Ethernet cable.
6. Maintenance
Regular maintenance ensures optimal performance of your range extender:
- Firmware Updates: Periodically check the NETGEAR support website for firmware updates. Updating the firmware can improve performance, add new features, and fix bugs.
- Cleaning: Keep the device clean and free from dust. Use a soft, dry cloth to wipe the exterior. Do not use liquid cleaners.
- Ventilation: Ensure the extender is placed in a well-ventilated area to prevent overheating.
- Resetting: If the device experiences persistent issues, a factory reset may be necessary. Refer to the troubleshooting section for instructions.
7. Troubleshooting
If you encounter issues with your NETGEAR WN2000RPT, refer to the following common problems and solutions:
- No Power:
Symptom: Power LED is off.
Solution: Ensure the power adapter is securely connected to the extender and a working electrical outlet. Press the Power On/Off button. - Cannot Access Setup Wizard:
Symptom: Web browser does not load the setup page (e.g., http://www.mywifiext.net).
Solution: Ensure your device is connected to the extender's Wi-Fi network (e.g., "NETGEAR_EXT"). Try clearing your browser's cache or using a different browser. Restart the extender and your computer/device. - Weak or No Extended Signal:
Symptom: Devices connected to the extender still have poor signal or no internet access.
Solution: Relocate the extender closer to your main wireless router. Ensure the Router Link LED is green, indicating a strong connection to the router. Avoid placing the extender near large metal objects, concrete walls, or other sources of interference. - Intermittent Connection:
Symptom: Devices frequently disconnect from the extended network.
Solution: Check for interference from other electronic devices. Ensure the extender's firmware is up to date. Try changing the Wi-Fi channel on your main router if possible. - Factory Reset:
Symptom: Persistent issues or forgotten login credentials.
Solution: With the extender powered on, use a paperclip to press and hold the Reset button (usually a small pinhole) for about 7-10 seconds until the LEDs flash. The extender will restart with factory default settings, requiring re-setup.
8. Specifications
| Brand | NETGEAR |
| Model | WN2000RPT |
| Wireless Communication Standard | 802.11n |
| Data Transfer Rate | Up to 300 Mbps |
| Frequency Band | 2.4 GHz |
| Connectivity Technology | Wireless |
| Ethernet LAN (RJ-45) Ports | 4 |
| Special Features | Access Point Mode, QoS |
| Color | Black |
| Power Input | DC-in jack |
9. Warranty and Support
For warranty information and technical support, please refer to the official NETGEAR website or the documentation included with your product. You can typically find support resources, FAQs, and contact information at www.netgear.com/support.


