1. Product Overview
The Work Sharp Knife & Tool Sharpener (WSKTS) is designed to sharpen a wide variety of knives and bladed tools. It utilizes flexible abrasive belts that conform to the blade's shape, allowing for sharpening of straight blades, curved blades, tanto blades, filet knives, serrated knives, and gut hooks. Precision angle sharpening guides ensure consistent and accurate sharpening results.
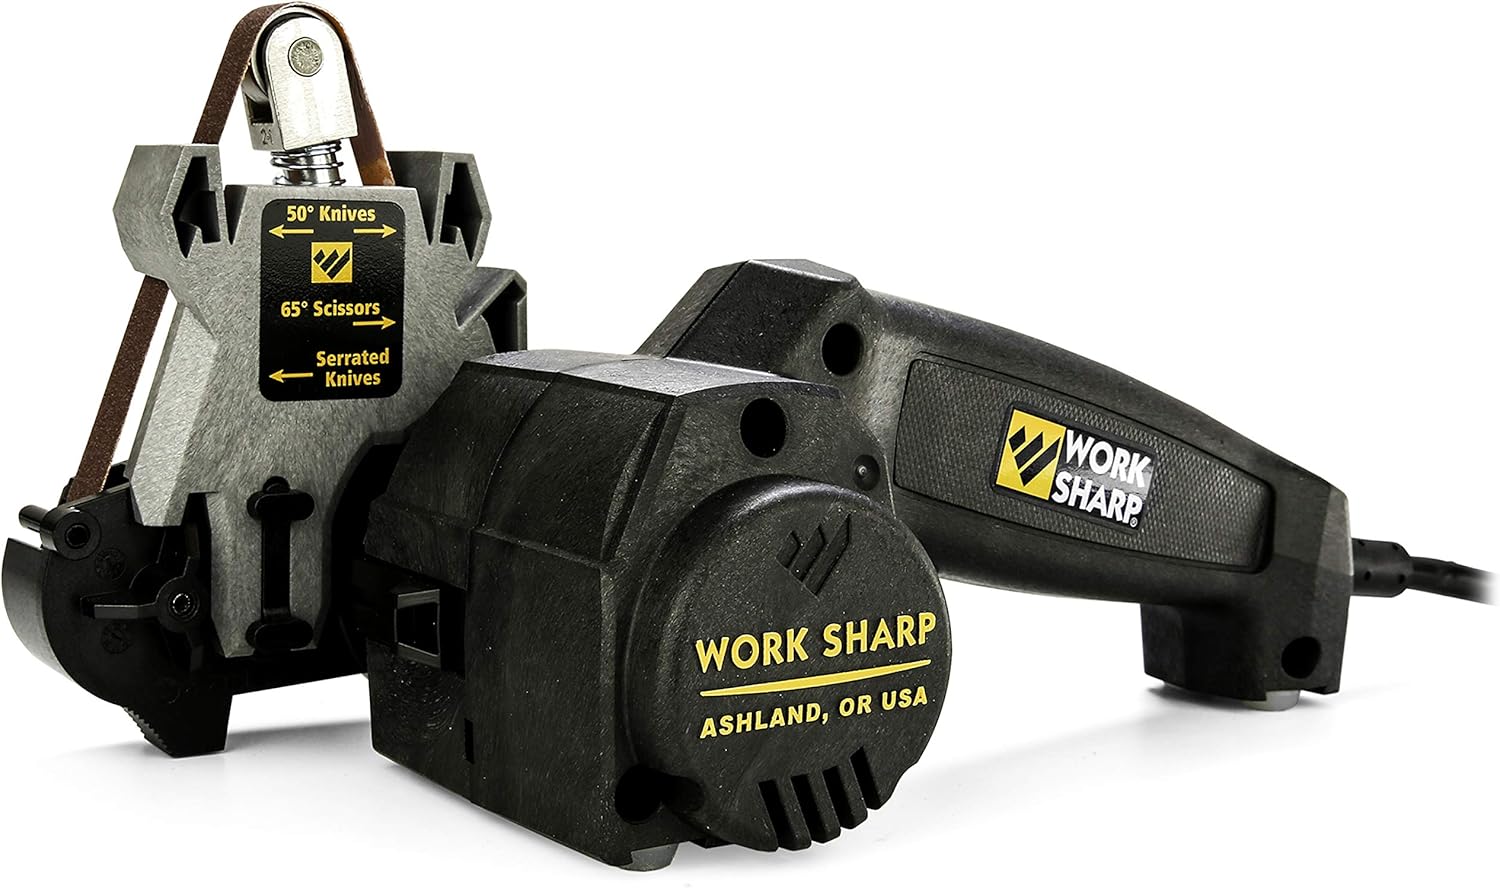
Image: The Work Sharp Knife & Tool Sharpener (WSKTS) showing the 50° and 65° guides for knives, scissors, and serrated knives.
2. Package Contents and Setup
2.1 Included Components
- Original Knife & Tool Sharpener unit
- 40° Kitchen Knife Guide
- 50° Outdoor Knife Guide
- (2) P80 Coarse Abrasive Belts
- (2) P220 Medium Abrasive Belts
- (2) 6000 Extra-Fine Abrasive Belts
- User's Guide
2.2 Initial Setup
- Select the appropriate abrasive belt: Choose a belt based on the current dullness of your blade. Start with a coarser grit (P80) for very dull or damaged blades, then progress to medium (P220), and finish with fine (6000) for a polished edge.
- Install the abrasive belt: Ensure the sharpener is unplugged. Carefully stretch the chosen abrasive belt over the drive and idler pulleys. The belt should be centered and taut.
- Attach the sharpening guide: Select either the 40° Kitchen Knife Guide or the 50° Outdoor Knife Guide, depending on the type of blade you are sharpening. Align the guide with the slots on the sharpener and press firmly until it clicks into place. For sharpening tools, the guide can be removed.

Image: The Work Sharp Knife & Tool Sharpener with an abrasive belt and sharpening guide installed, ready for use.
3. Operating Instructions
3.1 General Sharpening Principles
- Always maintain light, consistent pressure. Let the abrasive belt do the work.
- Draw the blade through the guide at a consistent speed.
- Ensure the sharpener is placed on a stable, flat surface.
3.2 Sharpening Knives
- Kitchen Knives (40° Guide): For thinner blades and kitchen knives, use the 40° guide (20° per bevel). Insert the blade into the guide slot, ensuring the blade is flat against the guide. Pull the blade through the slot from heel to tip, maintaining light pressure. Repeat on both sides until sharp.
- Outdoor/Hunting Knives (50° Guide): For thicker, more robust blades, use the 50° guide (25° per bevel). Follow the same technique as for kitchen knives, pulling the blade through the guide from heel to tip.
- Serrated Knives: The 50° guide also has a dedicated slot for sharpening serrated knives. Insert each serration into the slot and pull through.
- Fillet Knives: The flexible belts are ideal for fillet knives, conforming to their thin, flexible blades. Use the 40° guide and pull the blade through.
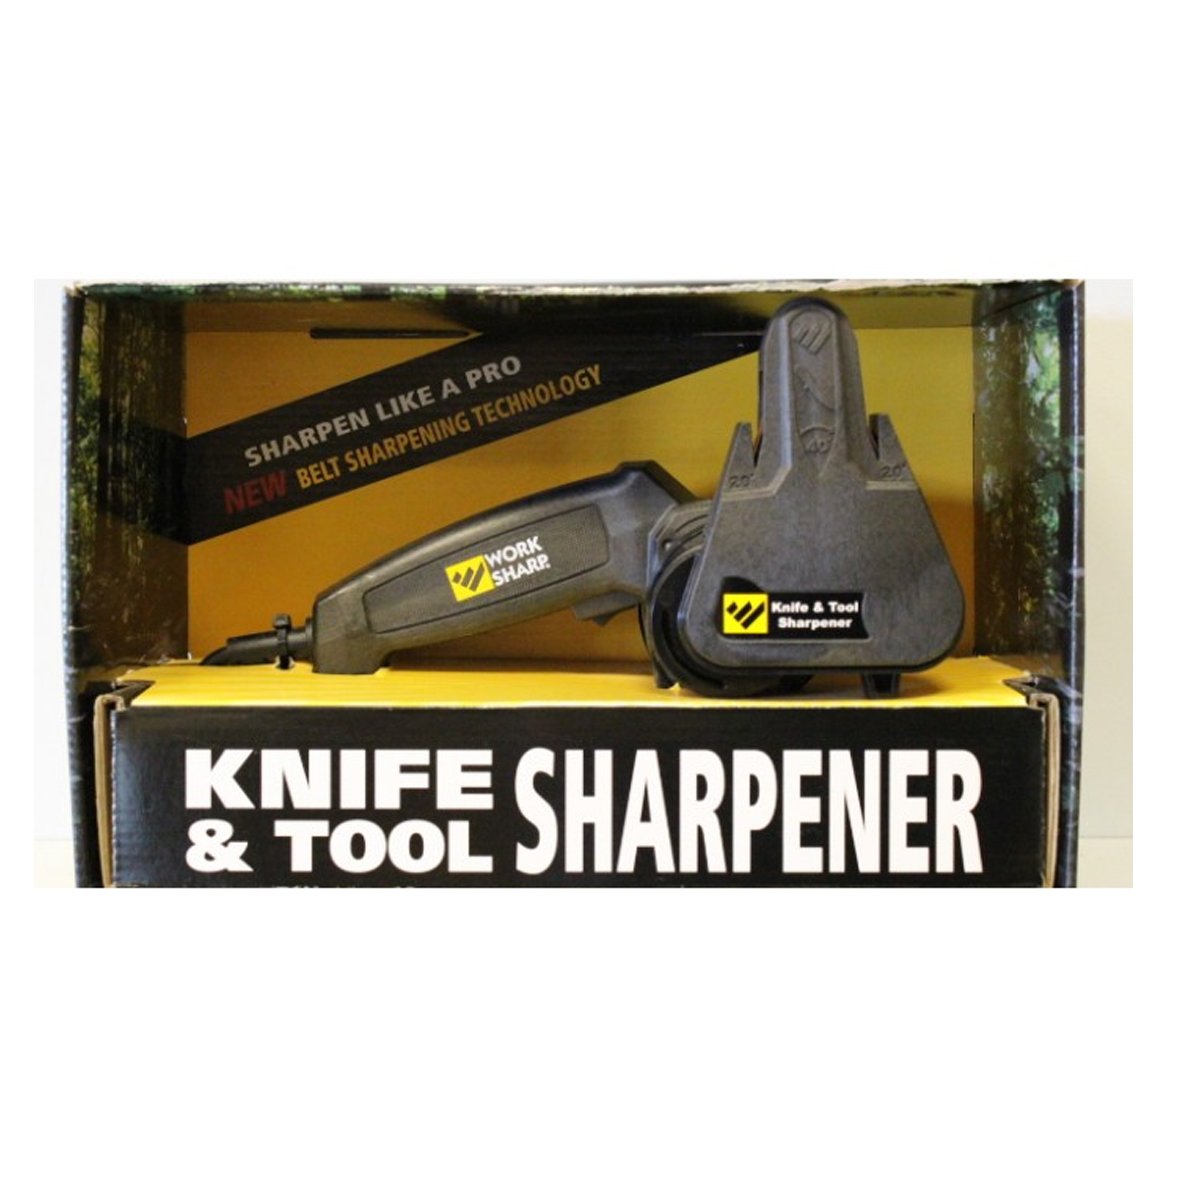
Image: A close-up view of a knife blade being drawn through the sharpening guide on the Work Sharp WSKTS.
3.3 Sharpening Tools
For sharpening various bladed shop tools and lawn and garden tools, remove the sharpening guide. This allows for freehand sharpening of items such as lawn mower blades, garden pruners, shears, shovels, and scrapers. Hold the tool firmly and carefully present the blade edge to the moving abrasive belt at the desired angle. Maintain control and observe the sharpening process closely.

Image: A person sharpening a garden tool using the Work Sharp Knife & Tool Sharpener without the guide attached.
4. Maintenance
4.1 Abrasive Belt Replacement
The abrasive belts are easily replaceable. When a belt becomes worn or clogged, unplug the sharpener, remove the old belt, and install a new one as described in the 'Initial Setup' section. Regularly inspect belts for wear to ensure optimal sharpening performance.
4.2 Cleaning
Periodically clean the sharpener to remove metal dust and debris. Unplug the unit before cleaning. Use a dry cloth or soft brush to wipe down the exterior and the area around the pulleys and guides. Do not use water or liquid cleaners.
5. Troubleshooting
5.1 Blade Not Sharpening Effectively
- Check Belt Grit: Ensure you are using the correct grit for the task. Start with a coarser belt if the blade is very dull.
- Verify Angle Guide: Confirm the correct angle guide (40° or 50°) is installed and the blade is held flat against it.
- Apply Light Pressure: Excessive pressure can hinder sharpening and wear out belts faster.
- Consistent Pull Speed: An inconsistent pull speed can lead to an uneven edge.
- Worn Belt: Replace the abrasive belt if it appears worn or is no longer effectively removing material.
5.2 Uneven Edge
- Blade Alignment: Ensure the blade is consistently aligned with the guide throughout the sharpening stroke.
- Even Strokes: Apply an equal number of strokes to each side of the blade.
6. Specifications
- Material: Synthetic
- Brand: WORK SHARP
- Color: Black
- Product Dimensions: 9"L x 5"W x 5"H
- Item Weight: 1.9 Pounds
- Grit Type: Coarse (P80), Medium (P220), Fine (6000)
- Power Source: 110v (North American applications)
7. Warranty & Support
7.1 Manufacturer Warranty
The Work Sharp Knife & Tool Sharpener (WSKTS) comes with a 1-Year Warranty. This warranty covers defects due to workmanship and design, excluding abrasive belts. The warranty is valid for consumer use only, not industrial or commercial applications. It is specifically for North American 110v power source applications; use of power converters for 220V is not recommended.
7.2 Customer Support
For further assistance, questions, or to purchase replacement parts, please refer to the official Work Sharp website or contact their customer service department. Ensure you have your product model number (WSKTS) and purchase information available when contacting support.