
1. Overview
The ELK Lighting Westbrook 1-Light Wall Sconce, Model 11220/1, is designed to provide adjustable lighting with a classic aesthetic. This fixture features a swing arm mechanism, allowing for flexible light positioning to suit various needs and decor styles. The design combines versatility with a sleek profile, finished in antique brass with a cream shade.
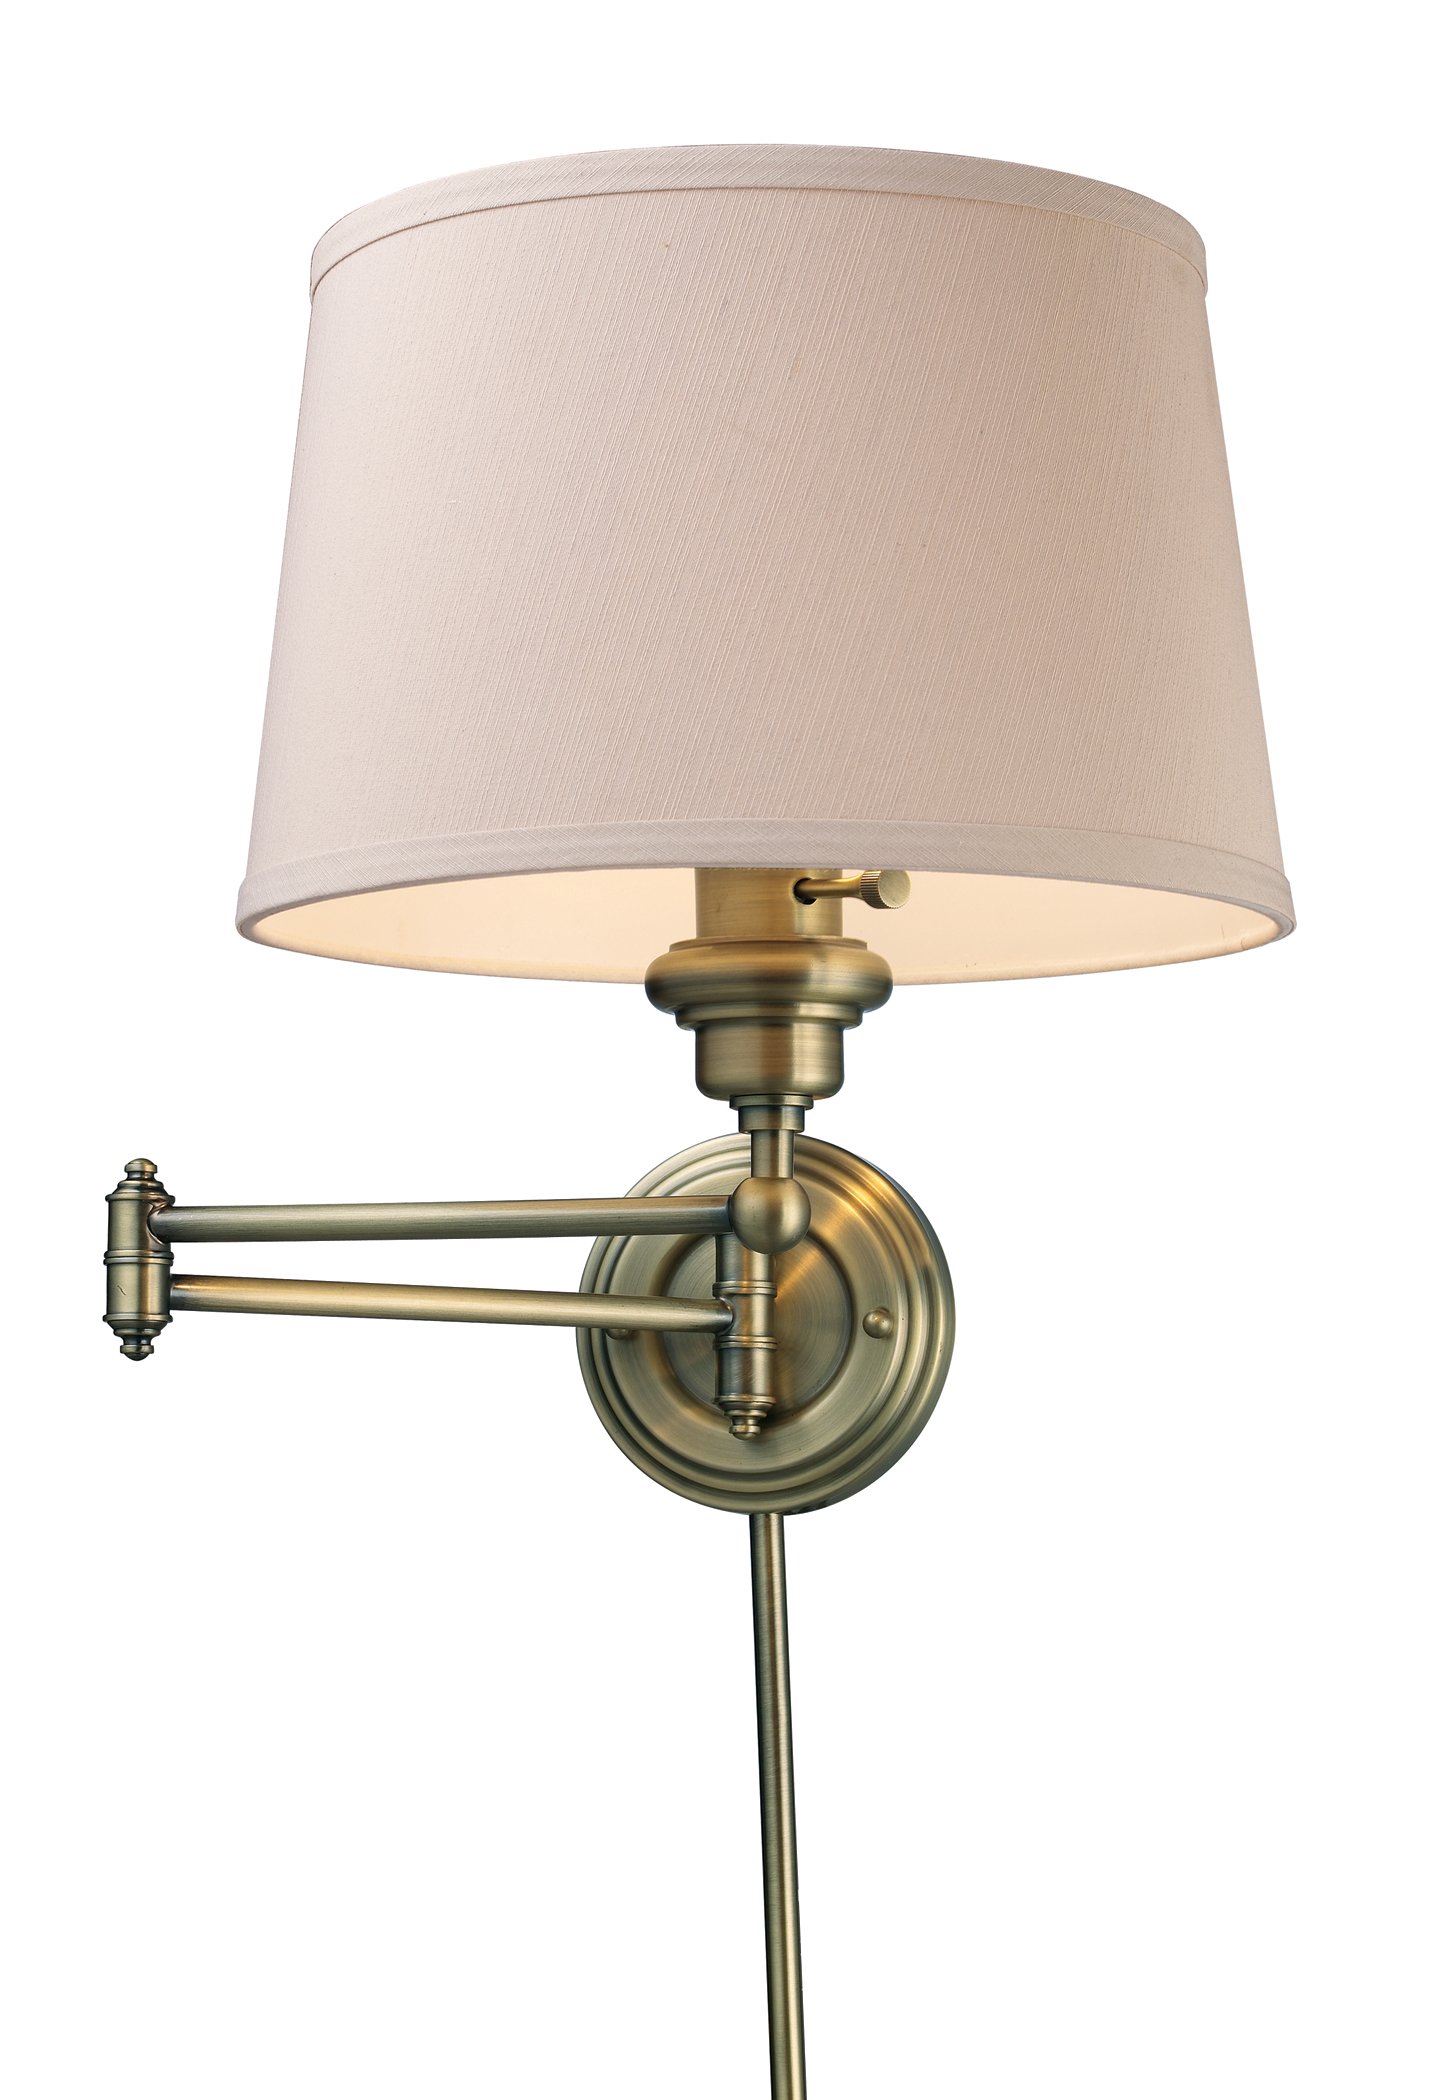
Figure 1: ELK Lighting Westbrook 1-Light Wall Sconce (Model 11220/1)
2. Safety Information
WARNING: This product can expose you to chemicals including lead, which is known to the State of California to cause cancer and birth defects or other reproductive harm. For more information go to www.P65Warnings.ca.gov.
- Always turn off the electrical supply at the main fuse or circuit breaker box before beginning installation.
- Consult a qualified electrician if you are not experienced in electrical wiring.
- Ensure all connections are secure and properly insulated.
- Do not exceed the maximum wattage specified for the bulb.
- This fixture is designed for indoor use only.
3. Package Contents
Verify that all components are present and undamaged before proceeding with installation.
- Wall Sconce Fixture (1)
- Fabric Shade (1)
- Mounting Hardware (screws, wire nuts, mounting plate)
- Instruction Manual (1)

Figure 2: Product Specification Sheet, detailing dimensions and components.
4. Setup & Installation
This wall sconce is designed for hardwired installation. Professional installation is recommended for safety and proper functionality.
4.1 Tools Required (Not Included)
- Screwdriver (Phillips and Flathead)
- Wire Strippers
- Pliers
- Electrical Tape
- Safety Glasses
4.2 Installation Steps
- Turn Off Power: Locate the circuit breaker controlling the desired installation location and turn off the power. Verify power is off using a voltage tester.
- Prepare Mounting Plate: Attach the mounting plate to the junction box in the wall using the provided screws. Ensure it is securely fastened.
- Wire Connections:
- Connect the ground wire (usually bare copper or green) from the fixture to the ground wire from the junction box using a wire nut.
- Connect the hot wire (usually black) from the fixture to the hot wire from the junction box using a wire nut.
- Connect the neutral wire (usually white) from the fixture to the neutral wire from the junction box using a wire nut.
- Ensure all wire nuts are tightly secured and connections are insulated with electrical tape if necessary.
- Attach Fixture: Carefully tuck the wires into the junction box. Align the fixture base with the mounting plate and secure it with the provided screws.
- Install Shade: Attach the fabric shade to the fixture according to the specific design.
- Install Bulb: Insert one 3-way 150W Medium base bulb (not included) into the socket. Do not exceed the maximum wattage.
- Restore Power: Turn the power back on at the circuit breaker.


Figure 3: Details of the sconce base and swing arm for installation reference.
5. Operation
5.1 Turning On/Off
The wall sconce is operated by a push-button controller, typically located on the fixture itself. Press the button to cycle through the light settings (if using a 3-way bulb) or to turn the light on and off.
5.2 Adjusting the Swing Arm
The fixture features a swing arm that allows you to adjust the position of the light. Gently move the arm to the desired angle. Avoid excessive force to prevent damage to the mechanism.

Figure 4: Close-up of the fabric shade, highlighting its texture and the bulb area.
6. Maintenance
6.1 Cleaning
- Fixture: Ensure power is off. Wipe the metal parts with a soft, dry cloth. Do not use abrasive cleaners or polishes as they may damage the finish.
- Shade: Gently dust the fabric shade with a soft brush or a lint roller. For stubborn spots, lightly dab with a damp cloth and mild soap, then blot dry.
6.2 Bulb Replacement
- Turn Off Power: Always turn off the electrical supply at the main fuse or circuit breaker box before replacing the bulb.
- Allow to Cool: Allow the old bulb to cool completely before touching it.
- Remove Old Bulb: Unscrew the old bulb counter-clockwise.
- Install New Bulb: Screw in a new 3-way 150W Medium base bulb (E26) clockwise until snug. Do not overtighten.
- Restore Power: Turn the power back on.
7. Troubleshooting
| Problem | Possible Cause | Solution |
|---|---|---|
| Light does not turn on. |
|
|
| Light flickers. |
|
|
| Swing arm is stiff or loose. |
|
|
8. Specifications
| Brand | ELK Lighting |
| Model Name | Westbrook 1-Light Wall Sconce |
| Model Number | 11220/1 |
| Dimensions | 12" W x 14.5" H (Product Dimensions: 12 x 25 x 15 inches) |
| Color | Antique Brass |
| Material | Metal, Glass (Shade Material: Fabric) |
| Shade Color | White (Cream) |
| Light Source | 1 Bulb |
| Bulb Type | 3-Way 150W Medium (E26) |
| Wattage | 150 watts (max) |
| Voltage | 120 Volts |
| Power Source | Corded Electric (Hardwired) |
| Special Feature | Adjustable Swing Arm |
| Item Weight | 3 Pounds |
| Certification | UL Listed |
9. Warranty
This ELK Lighting product is covered by a 1-year manufacturer's limited warranty. This warranty covers defects in materials and workmanship under normal use. It does not cover damage resulting from improper installation, accident, misuse, abuse, or normal wear and tear. Please retain your proof of purchase for warranty claims.
10. Customer Support
For technical assistance, replacement parts, or any questions regarding your ELK Lighting Westbrook Wall Sconce, please contact ELK Lighting customer service. Refer to the contact information provided with your purchase or visit the official ELK Lighting website for support details.
Website: www.elklighting.com (Example, actual URL may vary)
Phone: (Example, refer to product packaging)