Honeywell T6360B1036
Honeywell T6360 Room Thermostat User Manual
Model: T6360B1036
Brand: Honeywell
Introduction
This manual provides comprehensive instructions for the installation, operation, and maintenance of your Honeywell T6360 Room Thermostat. Designed for reliable temperature control, this thermostat features a neon indicator lamp to show when heating is active. Please read this manual thoroughly before installation and use to ensure safe and efficient operation.
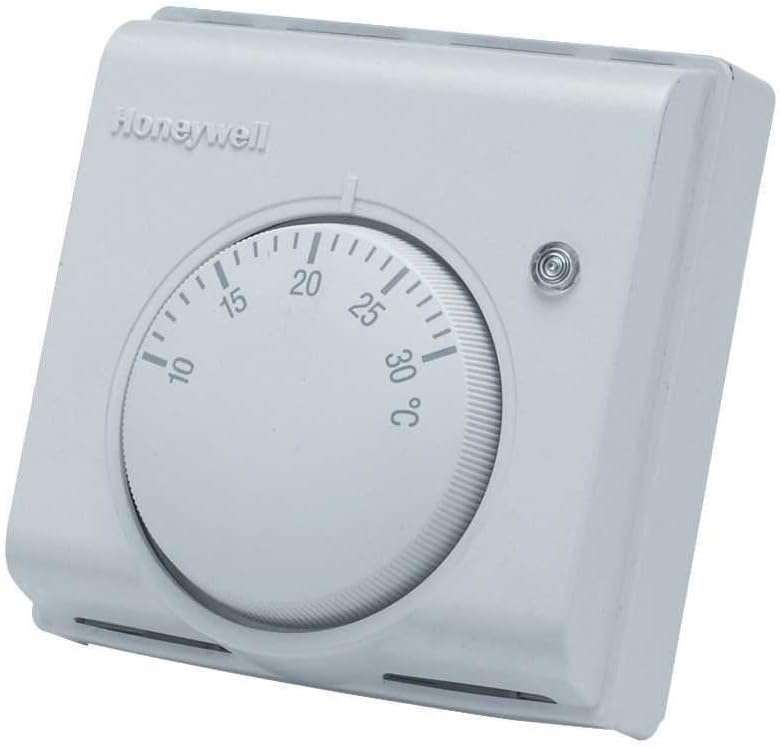
Figure 1: Front view of the Honeywell T6360 Room Thermostat, showing the temperature dial and neon indicator lamp.
Safety Information
WARNING: Electrical shock hazard. Installation should only be performed by a qualified electrician or competent person. Disconnect power at the circuit breaker or fuse box before beginning installation to prevent electrical shock or equipment damage.
- Always follow local electrical codes and regulations.
- Ensure all wiring connections are secure and properly insulated.
- Do not operate the thermostat with damaged wiring or if it has been exposed to water.
- Keep the thermostat away from direct sunlight, drafts, and heat sources that could affect temperature readings.
Setup and Installation
Tools Required:
- Screwdriver (Phillips and flathead)
- Wire strippers
- Drill (if mounting new back box)
- Spirit level
Mounting Location:
Select a location on an inside wall, approximately 1.5 meters (5 feet) from the floor. Avoid locations near windows, doors, or air vents, and away from direct sunlight or heat-emitting appliances.
Wiring Instructions:
- Disconnect Power: Before starting, ensure the main power supply to the heating system is turned off at the consumer unit or fuse box.
- Remove Old Thermostat (if applicable): Carefully disconnect and remove any existing thermostat, noting the wiring connections.
- Mounting the Back Box: The Honeywell T6360 typically uses a standard back box. Note that the fixing holes are not on the horizontal centerline (approximately 37.5mm to the top and 42.5mm to the bottom). Use the supplied back box and route wiring through the designated entry points.
- Connect Wiring: The T6360B1036 model requires a three-wire connection for the neon indicator lamp to function correctly:
- Live (L): Connect the permanent live wire.
- Switched Live (A): Connect the switched live wire that goes to the boiler/heating system.
- Neutral (N): Connect the neutral wire. This connection is essential for the neon indicator lamp, especially if the circuit current is below 6 amps.
- Attach Thermostat to Back Box: Carefully align the thermostat with the mounted back box and secure it with screws.
- Restore Power: Once installation is complete and all connections are secure, restore power to the heating system.

Figure 2: Angled view of the Honeywell T6360 Room Thermostat, highlighting its compact design.
Calibrating the Temperature Knob:
After installation, you may need to calibrate the temperature knob to correspond accurately with the actual room temperature. To do this:
- Turn off power to the thermostat.
- Gently remove the front cover.
- Carefully pull the temperature dial off its shaft.
- Using a reliable thermometer, measure the actual room temperature.
- Re-position the dial onto the shaft so that the indicator mark aligns with the current room temperature on the scale.
- Replace the front cover, ensuring the lugs at the bottom correctly locate in their recesses.
- Restore power.
Operating Instructions
Setting the Temperature:
To set your desired room temperature, simply rotate the large dial on the front of the thermostat. Turn the dial clockwise to increase the temperature setting and counter-clockwise to decrease it. The scale indicates temperatures in degrees Celsius (°C).
Neon Indicator Lamp:
The small neon lamp located on the front of the thermostat illuminates when the thermostat is calling for heat, indicating that the boiler or heating system is active. When the room temperature reaches the set point, the lamp will turn off, and the heating system will cease operation.
Maintenance
The Honeywell T6360 Room Thermostat requires minimal maintenance.
- Cleaning: Periodically wipe the thermostat's exterior with a soft, damp cloth. Do not use abrasive cleaners or solvents, as these can damage the finish.
- Dusting: Ensure the vents on the thermostat are free from dust accumulation to allow for accurate temperature sensing.
- No User-Serviceable Parts: There are no user-serviceable parts inside the thermostat. Do not attempt to open or repair the unit beyond the calibration steps outlined in this manual.
Troubleshooting
| Problem | Possible Cause | Solution |
|---|---|---|
| Heating system not turning on. |
|
|
| Heating system not turning off. |
|
|
| Neon indicator lamp not lighting up. |
|
|
| Inaccurate temperature readings. |
|
|
Specifications
| Feature | Detail |
|---|---|
| Brand | Honeywell |
| Model Number | T6360B1036 |
| Colour | White |
| Voltage | 230 Volts |
| Material | Acrylonitrile Butadiene Styrene (ABS) |
| Special Features | Neon Indicator Lamp |
| Item Weight | 100 g |
| Package Dimensions | 9.1 x 8.5 x 5.2 cm |
| Controller Type | Push Button (referring to internal mechanism, user interface is dial) |
| Specific Uses | Boiler control |
Warranty and Support
Warranty Information:
Honeywell products typically come with a manufacturer's warranty. Please refer to the warranty card included with your product packaging or visit the official Honeywell website for detailed warranty terms and conditions specific to the T6360B1036 model. Keep your proof of purchase for warranty claims.
Customer Support:
For technical assistance, troubleshooting beyond this manual, or warranty inquiries, please contact Honeywell customer support. Contact details can usually be found on the Honeywell website or in your product documentation.