1. Introduction
This manual provides instructions for the safe and efficient use of your UNITEC Remote Control Outlet Set. This set includes three wireless outlets and one remote control, designed to provide convenient control over your electrical appliances and help reduce energy consumption.
2. Safety Instructions
- For indoor use only. Do not expose to moisture or wet conditions.
- Do not exceed the maximum load capacity of 1000 W. Overloading can cause damage or fire.
- Ensure the outlets are properly inserted into grounded wall sockets.
- Do not disassemble or attempt to repair the device. Contact qualified personnel for service.
- Keep out of reach of children. The outlets feature enhanced touch protection for safety.
- Do not connect devices that require constant supervision or could cause hazards if switched on/off remotely (e.g., medical equipment, heating devices).
3. Package Contents
- 3 x UNITEC Remote Control Outlets
- 1 x Remote Control (1x CR2032 battery required, not included)
4. Product Features
- Wireless Control: Easily switch connected devices on or off using the remote control.
- Self-Learning Function: Allows for flexible pairing and replacement of remote controls and outlets.
- Energy Saving: Helps reduce standby power consumption by allowing you to switch off devices completely.
- Extended Range: Operates wirelessly up to 25 meters (unobstructed).
- Enhanced Touch Protection: Designed with increased safety to prevent accidental contact with live parts.
- LED Status Indicator: Provides visual feedback on the outlet's status.

Figure 1: UNITEC Remote Control Outlet with key features highlighted. The image shows the socket with enhanced touch protection, an indicator for up to 25m wireless range, and an LED status light.
5. Setup and Pairing
The UNITEC remote control outlets feature a self-learning function for easy setup.
- Insert Remote Battery: Open the battery compartment on the back of the remote control and insert one CR2032 battery (positive side up).
- Plug in the Outlet: Plug one of the remote control outlets into a standard wall socket. The LED indicator on the outlet may flash briefly.
- Pairing: Within approximately 5 seconds of plugging in the outlet, press and hold one of the channel buttons (A, B, C, or ALL) on the remote control for about 3 seconds. The LED indicator on the outlet should flash rapidly and then turn off, indicating successful pairing.
- Test: Press the ON/OFF button for the corresponding channel on the remote to test if the outlet responds.
- Repeat: Repeat steps 2-4 for the remaining outlets, assigning them to different channels (A, B, C) or the same channel if you wish to control them simultaneously.

Figure 2: Remote control illustrating individual channel control (A, B, C) and an 'ALL' button for simultaneous operation.
6. Operating Instructions
Once paired, operating your devices is straightforward:
- Individual Control: Press the 'ON' or 'OFF' button corresponding to the channel (A, B, or C) assigned to a specific outlet to control the device plugged into it.
- Group Control: Press the 'ALL ON' or 'ALL OFF' button to switch all paired outlets on or off simultaneously.

Figure 3: Example of a remote control outlet in use, demonstrating its application for various household appliances.
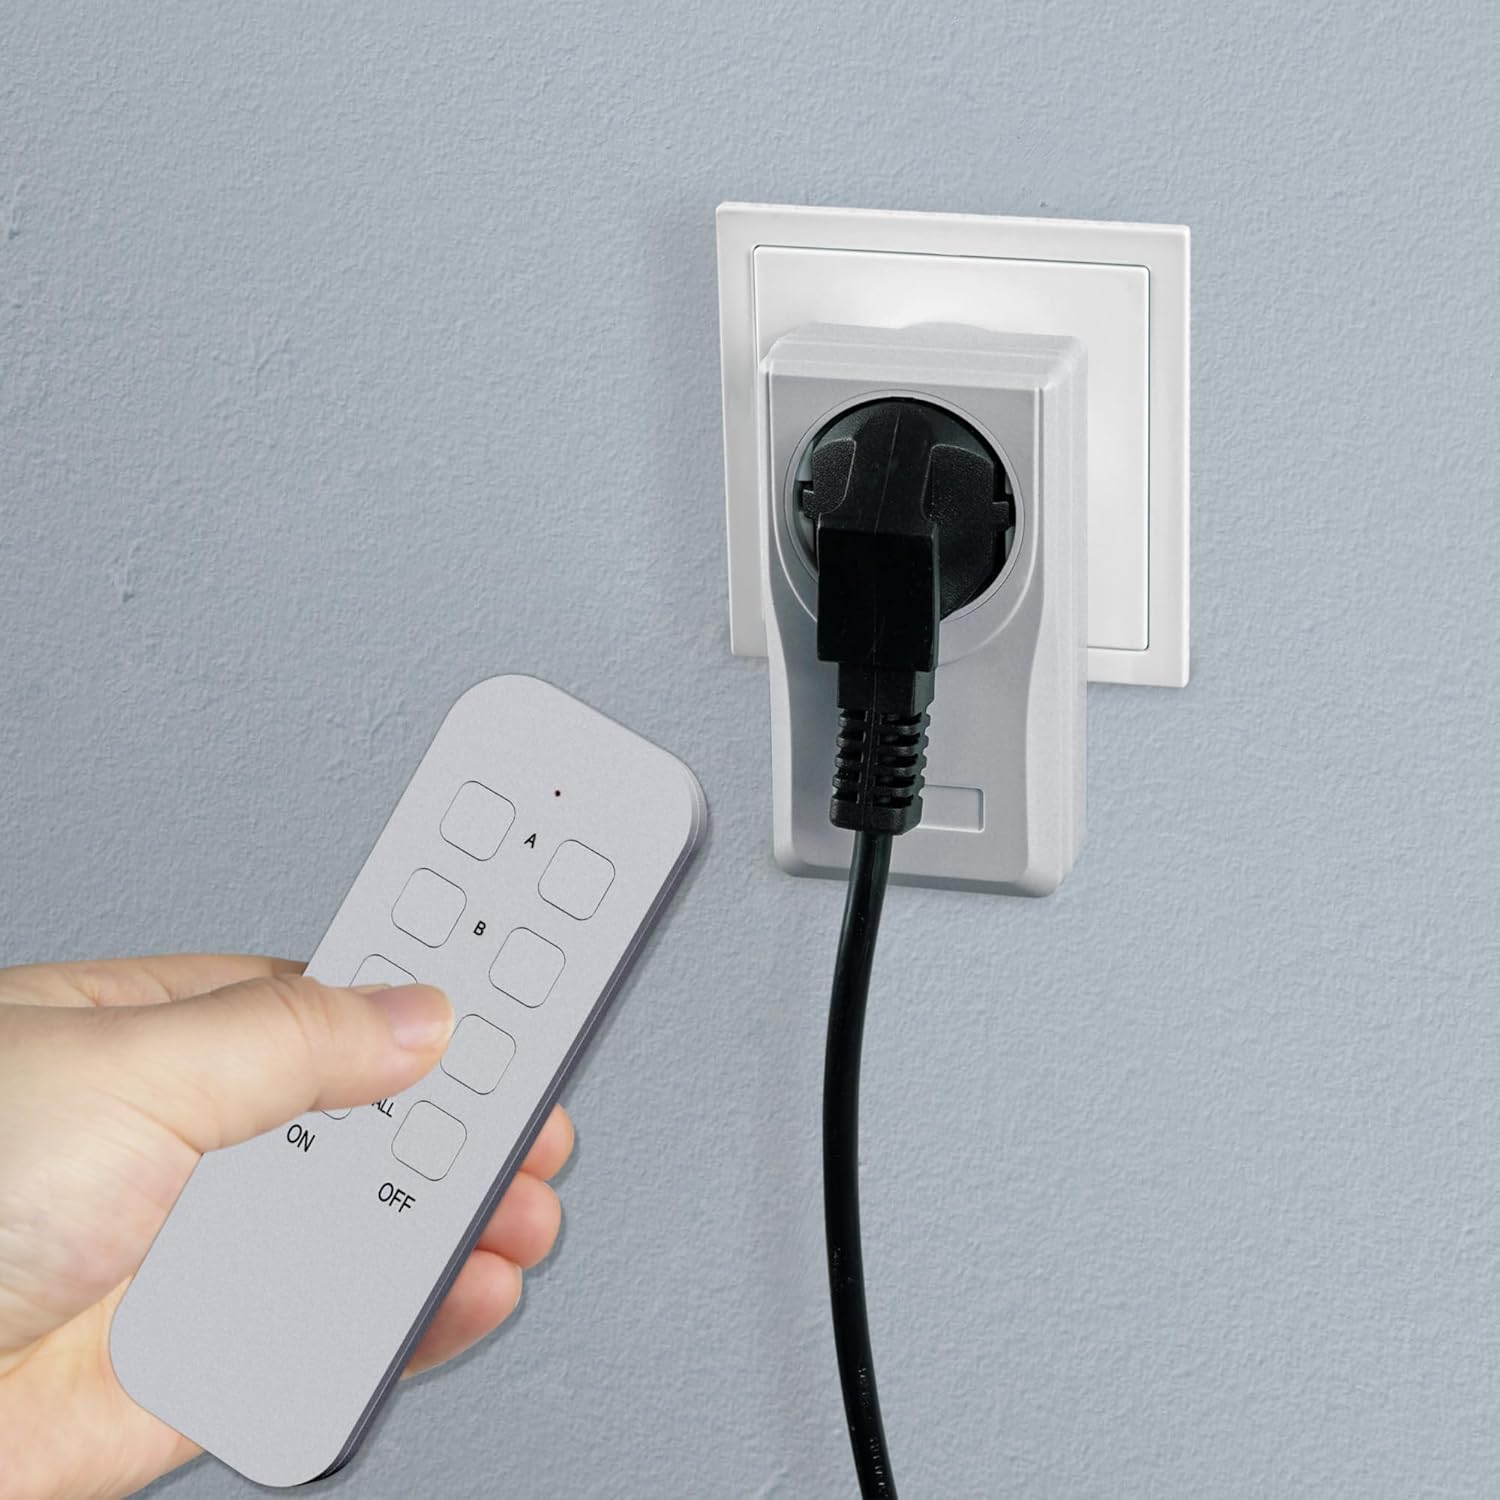
Figure 4: User operating the remote control to switch an appliance connected to the outlet.
7. Resetting Outlets
If you need to clear the pairing or reassign an outlet, follow these steps to reset it:
- Unplug the remote control outlet from the wall socket.
- Press and hold the small programming button (usually located near the LED indicator) on the outlet.
- While still holding the button, plug the outlet back into the wall socket.
- Continue holding the button until the LED indicator on the outlet flashes rapidly and then turns off. This indicates a successful reset.
- The outlet is now unpaired and can be re-paired with a new channel or remote control as described in the "Setup and Pairing" section.
8. Maintenance
- Cleaning: Clean the outlets and remote control with a soft, dry cloth. Do not use liquid cleaners or abrasive materials.
- Battery Replacement: When the remote control's range decreases or it stops responding, replace the CR2032 battery. Ensure correct polarity.
- Storage: Store the devices in a cool, dry place when not in use for extended periods.
9. Troubleshooting
| Problem | Possible Cause | Solution |
|---|---|---|
| Outlet does not respond to remote. |
|
|
| Connected appliance does not turn on/off. |
|
|
| Reduced wireless range. |
|
|
10. Specifications
| Model Number | 48111 |
| Protection Class | 1 |
| IP Rating | IP20 (Indoor use only) |
| Rated Voltage | 230 V~, 50 Hz |
| Rated Current | 4.35 A |
| Maximum Load | 1000 W |
| Radio Frequency | 433.92 MHz |
| Wireless Range | Up to 25 meters (unobstructed) |
| Remote Control Battery | 1x CR2032 (not included) |
| Dimensions (L x W x H) | 11 x 6 x 3.5 cm |
| Material (Internal) | Copper |
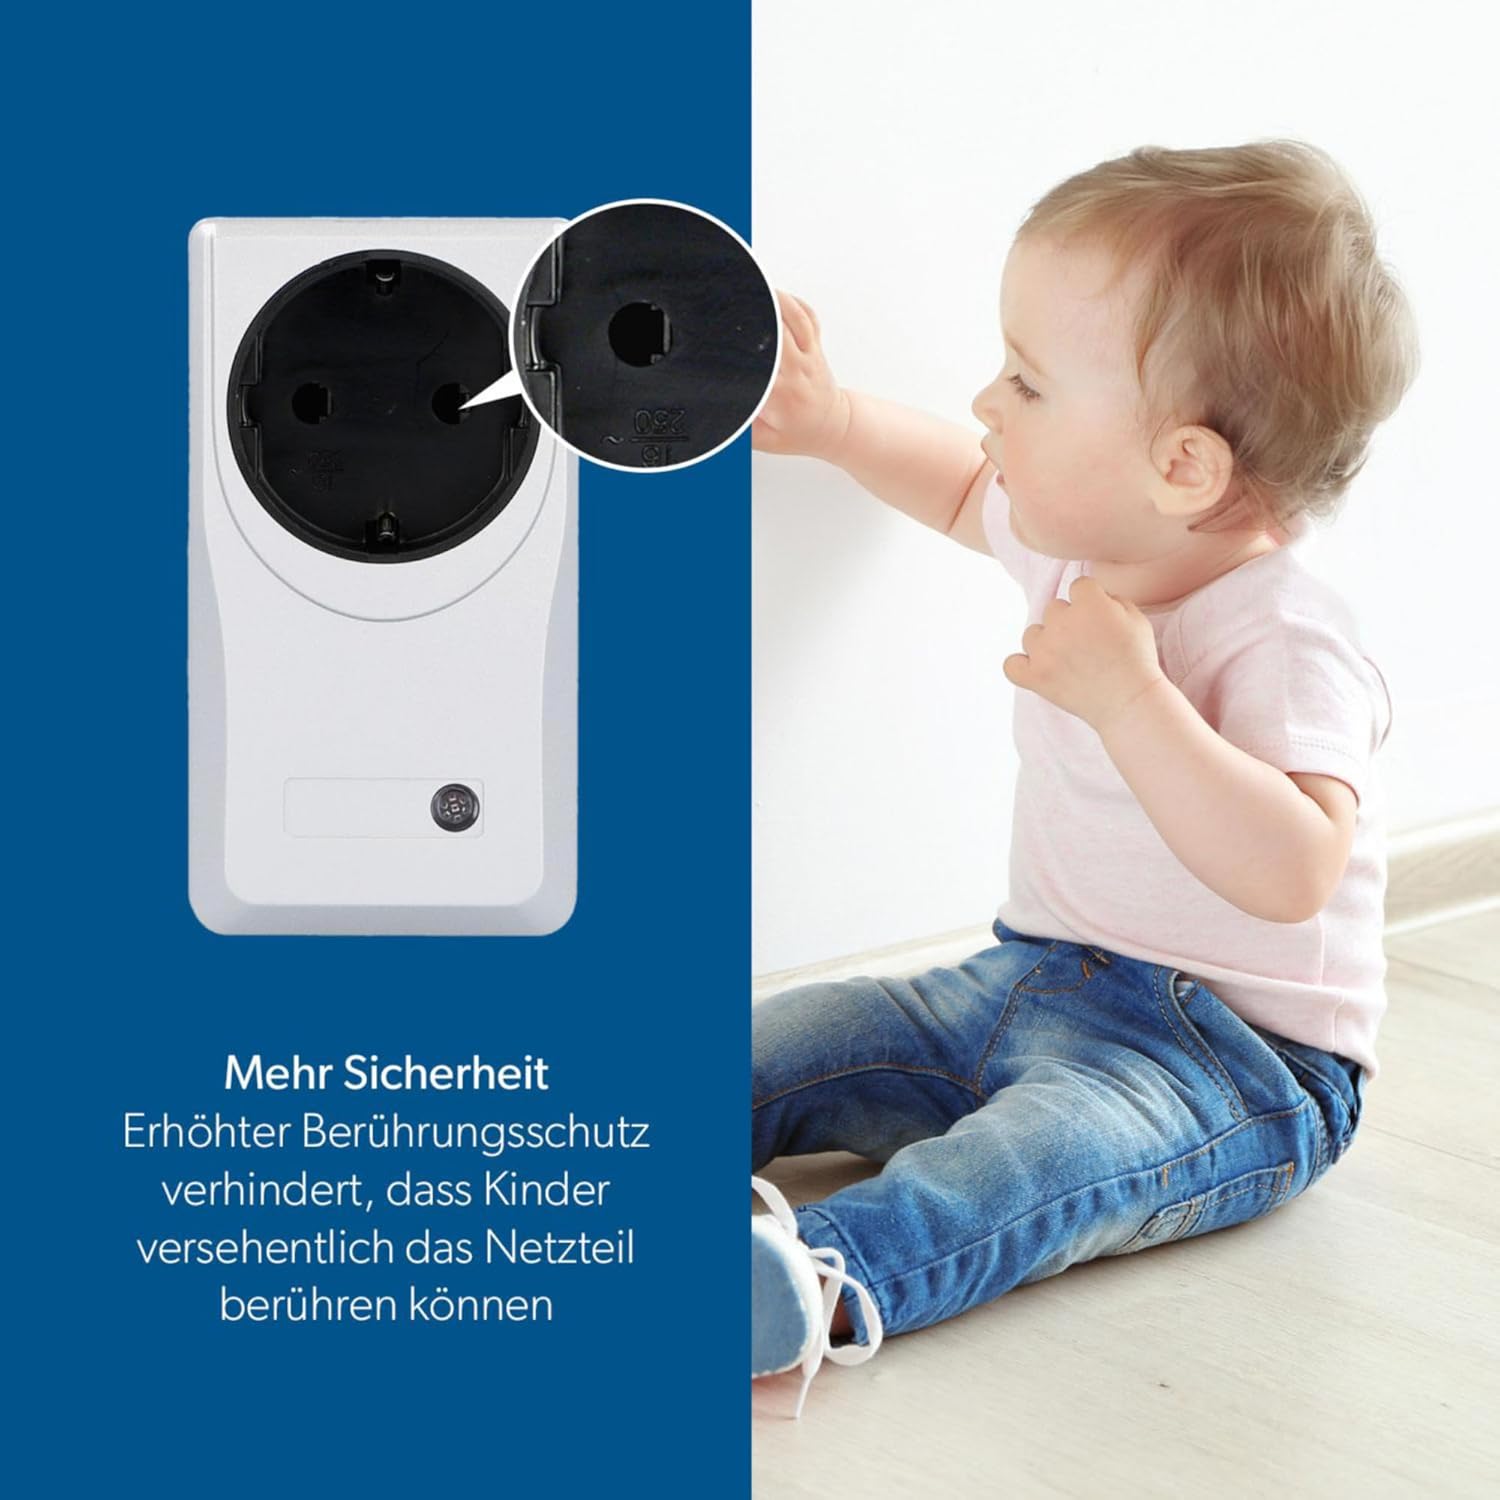
Figure 5: Enhanced touch protection feature, providing additional safety against accidental contact.
11. Warranty and Support
For warranty information and customer support, please refer to the retailer where you purchased the product or visit the official UNITEC website. Keep your proof of purchase for warranty claims.