
Introduction
The Pioneer CD-MC20 Auto-EQ Microphone is designed to enhance the audio sound quality in your vehicle by enabling compatible Pioneer in-dash receivers to automatically adjust the equalizer curve and time alignment. This process optimizes the acoustics within your car's interior, providing a balanced and clear sound experience.
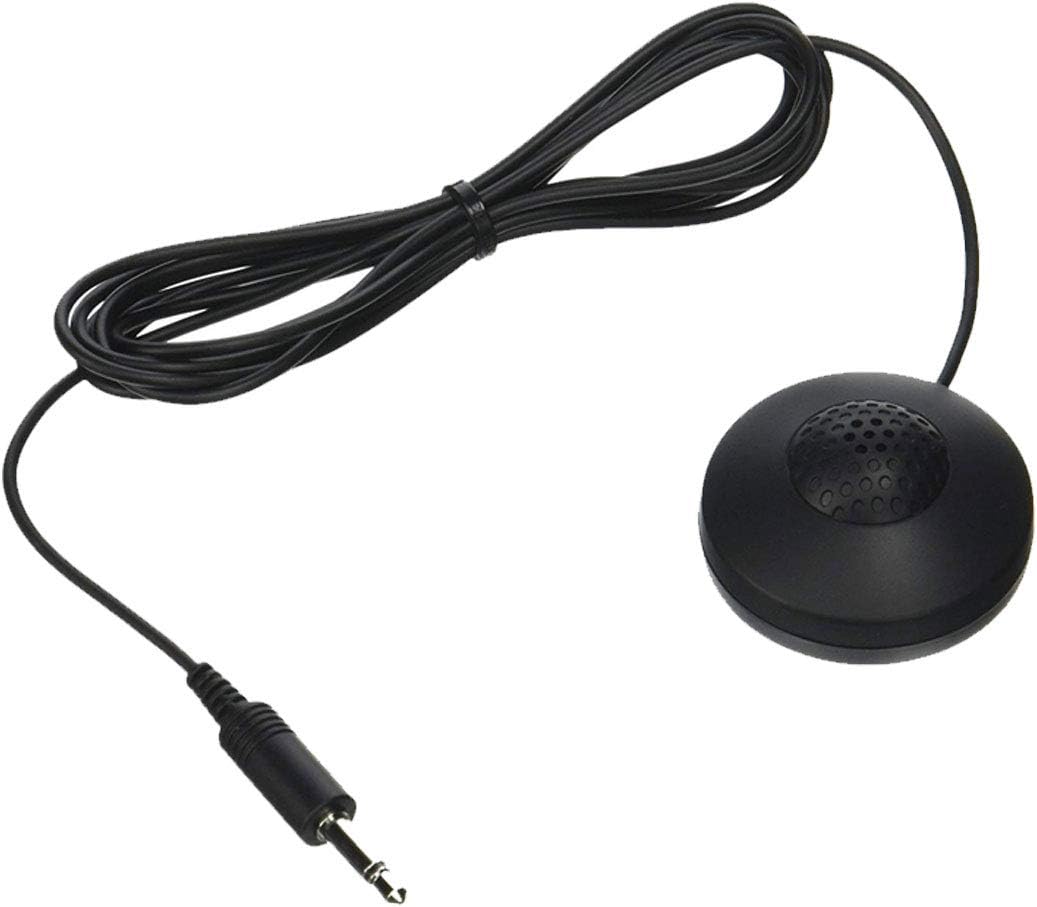
Image: The Pioneer CD-MC20 Auto-EQ Microphone, featuring a compact black microphone unit, a coiled black cable, and a 3.5mm jack connector. This microphone is used for automatic sound calibration in compatible Pioneer car audio systems.
Setup
- Connect the Microphone: Locate the Auto EQ & TA microphone input jack on your compatible Pioneer A/V receiver. Plug the 3.5mm jack of the CD-MC20 microphone into this input. The microphone cable is approximately 6.5 feet long.
- Position the Microphone: For optimal measurement results, position the microphone towards the center of the driver's seat headrest. Ensure it is stable and facing forward.
- Prepare the Environment: The automatic equalization process requires a quiet environment. Ensure all car doors are closed, windows are up, and the engine is off. Minimize any external noise sources.
Operation
- Access Auto-EQ Function: Refer to your specific Pioneer head unit's manual for detailed instructions on how to access and initiate the Auto-EQ and time alignment function. This typically involves navigating through the audio settings menu.
- Set Head Unit Input: Ensure the head unit's input is switched to "off" or a neutral setting as per your receiver's instructions before starting the calibration.
- Initiate Calibration: Once the Auto-EQ process is initiated on your receiver, the system will emit a series of test tones. It is recommended to exit the vehicle and close the doors during this process to avoid interference from your presence.
- Completion: The calibration process typically takes approximately 6-8 minutes. The receiver will indicate when the process is complete.
- Review Settings: After calibration, you can often toggle the auto equalization setting on and off within your receiver's menu to hear the difference. The system will have adjusted the equalizer curve and time alignment for improved sound.
Maintenance
The Pioneer CD-MC20 microphone requires minimal maintenance. Keep the microphone clean and free from dust. Store it in a safe place when not in use to prevent damage to the cable or microphone unit. Avoid exposing the microphone to extreme temperatures or moisture.
Troubleshooting
- No Sound or Incorrect Calibration:
- Ensure the microphone is securely plugged into the correct input jack on your receiver.
- Verify that the environment is quiet during the calibration process.
- Confirm that your head unit is compatible with the CD-MC20 and that the Auto-EQ function is correctly activated as per your receiver's manual.
- Perceived Lack of Bass After Calibration:
The Auto-EQ system aims for a balanced and accurate sound reproduction. If you perceive a lack of bass, it may be due to previous settings that exaggerated bass frequencies. Allow your ears to adjust to the calibrated sound. If desired, you can use the calibrated settings as a starting point and make minor, moderate adjustments to the bass levels through your receiver's equalizer settings to suit your personal preference.
Specifications
| Model Number | CD-MC20 |
| Brand | PIONEER |
| Connector Type | 3.5mm Jack |
| Compatible Devices | Pioneer in-dash receivers with Auto-EQ and time alignment |
| Item Weight | 0.01 ounces |
| Product Dimensions | 7 x 7 x 7 inches (packaging dimensions) |
| Color | Black |
| Special Feature | Microphone for automatic sound calibration |
Warranty and Support
The Pioneer CD-MC20 Auto-EQ Microphone typically comes with a 1-year warranty. For specific warranty details, claims, or technical support, please refer to the documentation included with your Pioneer receiver or visit the official Pioneer support website. Ensure you have your product model number (CD-MC20) and proof of purchase available when contacting support.
Legal Disclaimer: This product contains chemicals known to the State of California to cause cancer and birth defects or other reproductive harm. Please handle with care and refer to safety guidelines.


