Introduction
Thank you for choosing the BLT Light System Super Doppler DX. This high-performance light system is designed to provide superior illumination and visibility. It features included batteries, a super white LED, an Amplux lens for optimal light distribution, digital control for precise operation, and adjustable color temperature for various conditions. This manual will guide you through the setup, operation, and maintenance of your new light system to ensure long-lasting performance and satisfaction.
Product Features
- Super White LED: Provides powerful and clear illumination.
- Amplux Lens: Engineered for efficient light projection and wide beam coverage.
- Digital Control: Allows for precise management of light modes and settings.
- Adjustable Color Temperature: Optimize light output for different environments.
- Battery Powered: Convenient and portable operation.
- Durable Construction: Designed for reliability and longevity.
Setup
1. Unpacking and Inspection
Carefully remove all components from the packaging. Inspect the light system for any signs of damage. Ensure all parts are present: the BLT Super Doppler DX light unit and its mounting bracket.
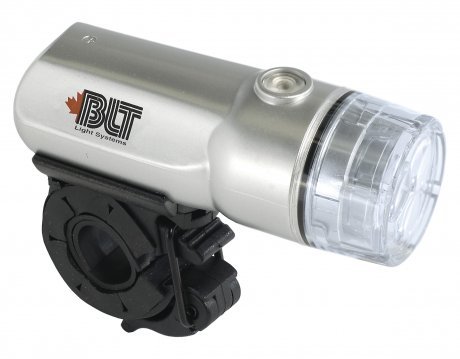
Image: The BLT Light System Super Doppler DX, showing its silver casing, clear lens, and black mounting bracket attached underneath. The BLT logo is visible on the side.
2. Battery Installation
The BLT Super Doppler DX comes with batteries included. To access the battery compartment, carefully twist or slide open the rear cap of the light unit. Insert the batteries according to the polarity indicators (+/-) inside the compartment. Close the cap securely to ensure water resistance.
3. Mounting the Light
- Identify a suitable mounting location on your bicycle, such as the handlebars or seat post.
- Open the clamp of the mounting bracket.
- Position the bracket around the desired location and tighten the screw or lever until the bracket is firmly secured and does not rotate.
- Slide the BLT Super Doppler DX light unit onto the bracket until it clicks into place. Ensure it is securely attached before riding.
Operating Instructions
Power On/Off
To turn the light ON, press and hold the power button located on the top of the unit for approximately 2 seconds. To turn the light OFF, press and hold the power button again for 2 seconds.
Changing Light Modes
Once the light is ON, short press the power button to cycle through the available light modes. These typically include:
- Constant Beam: Provides a steady, continuous light.
- Flashing Mode: Emits a blinking light for increased visibility.
- (Additional modes may vary by model, refer to product packaging for specifics.)
Adjusting Color Temperature (if applicable)
If your model supports adjustable color temperature, a dedicated button or a long press on the mode button may allow you to cycle through different color temperature settings (e.g., warm white, cool white). Refer to the specific product details for this feature.
Maintenance
- Cleaning: Wipe the light unit with a soft, damp cloth. Do not use abrasive cleaners or solvents. Ensure the lens is clean for optimal light output.
- Battery Replacement: When the light dims significantly or fails to turn on, it's time to replace the batteries. Follow the battery installation steps in the Setup section. Always use fresh batteries of the specified type.
- Storage: If storing the light for an extended period, remove the batteries to prevent leakage and corrosion. Store in a cool, dry place away from direct sunlight.
- Mounting Bracket: Periodically check the mounting bracket for tightness and wear. Tighten if necessary.
Troubleshooting
| Problem | Possible Cause | Solution |
|---|---|---|
| Light does not turn on. | Dead or incorrectly installed batteries. | Replace batteries with fresh ones, ensuring correct polarity. |
| Light is dim or flickers. | Low battery power. | Replace batteries. |
| Light unit falls off mounting bracket. | Bracket not securely tightened or light not fully engaged. | Ensure bracket is tight on handlebars/seat post. Push light firmly onto bracket until it clicks. |
| Light beam is uneven or obstructed. | Dirty lens or obstruction. | Clean the lens. Ensure no cables or other objects are blocking the beam. |
Specifications
| Feature | Detail |
|---|---|
| Brand Name | BLT |
| Model | Super Doppler DX |
| Color | White |
| Manufacturer | BLT light systems |
| Power Source | Battery Powered |
| ASIN | B0035LXWD8 |
| UPC | 058817564796 |
| First Available | January 22, 2010 |
Warranty Information
BLT light systems products are manufactured to high quality standards. For specific warranty terms and conditions, please refer to the warranty card included with your product or visit the official BLT light systems website. Keep your proof of purchase for any warranty claims.
Support
If you encounter any issues or have questions regarding your BLT Light System Super Doppler DX that are not covered in this manual, please contact BLT light systems customer support. You can typically find contact information on the manufacturer's official website or product packaging. Always refer to the official manufacturer's resources for the most accurate and up-to-date support information.
For more information, visit: www.bltlightsystems.com (Note: This is a placeholder URL as no official support link was provided in the product data.)