
Chef's Choice 0115200
Chef'sChoice Professional Electric Knife Sharpener
Model 1520 - AngleSelect for 15- and 20-Degree Straight-Edge and Serrated Knives
Introduction
The Chef'sChoice Model 1520 is a compact 3-stage electric knife sharpener designed for kitchen knives. It features 100-percent diamond abrasives for efficient sharpening and is suitable for both straight-edge and serrated knives with 15-degree and 20-degree angles. This sharpener creates a durable, arch-shaped edge by forming two distinct facets at different angles. The first stage is for 15-degree knives, the second for 20-degree knives, and the final stage uses patented stropping disks to achieve a polished finish. It is compatible with American, European, and Asian-style household knives, including Santoku and traditional Japanese-style single-bevel edges, as well as sports and pocket knives. Initial sharpening typically takes about 1 minute, while resharpening requires approximately 10 seconds. Precision angle guides ensure consistent sharpening along the entire blade.

Image: Front view of the Chef'sChoice Model 1520 Electric Knife Sharpener in black, showing the brand logo and model number.
Important Safety Instructions
- Read all instructions before using the sharpener.
- To protect against electrical hazards, do not immerse the sharpener in water or other liquid.
- Always unplug the sharpener from the outlet when not in use, before putting on or taking off parts, and before cleaning.
- Avoid contact with moving parts.
- Do not operate any appliance with a damaged cord or plug, or after the appliance malfunctions or has been dropped or damaged in any manner. Contact customer service for examination, repair, or electrical or mechanical adjustment.
- The use of attachments not recommended or sold by the manufacturer may cause fire, electric shock, or injury.
- Do not use outdoors.
- Do not let the cord hang over the edge of a table or counter or touch hot surfaces.
- This appliance is intended for household use only.
- Keep hands clear of the sharpening slots during operation.
- Do not attempt to sharpen ceramic knives or scissors with this device.
Setup
- Place the sharpener on a stable, flat surface.
- Ensure the power switch is in the "OFF" position.
- Plug the power cord into a standard 120V AC outlet.
- Confirm the sharpener is securely positioned before beginning operation.
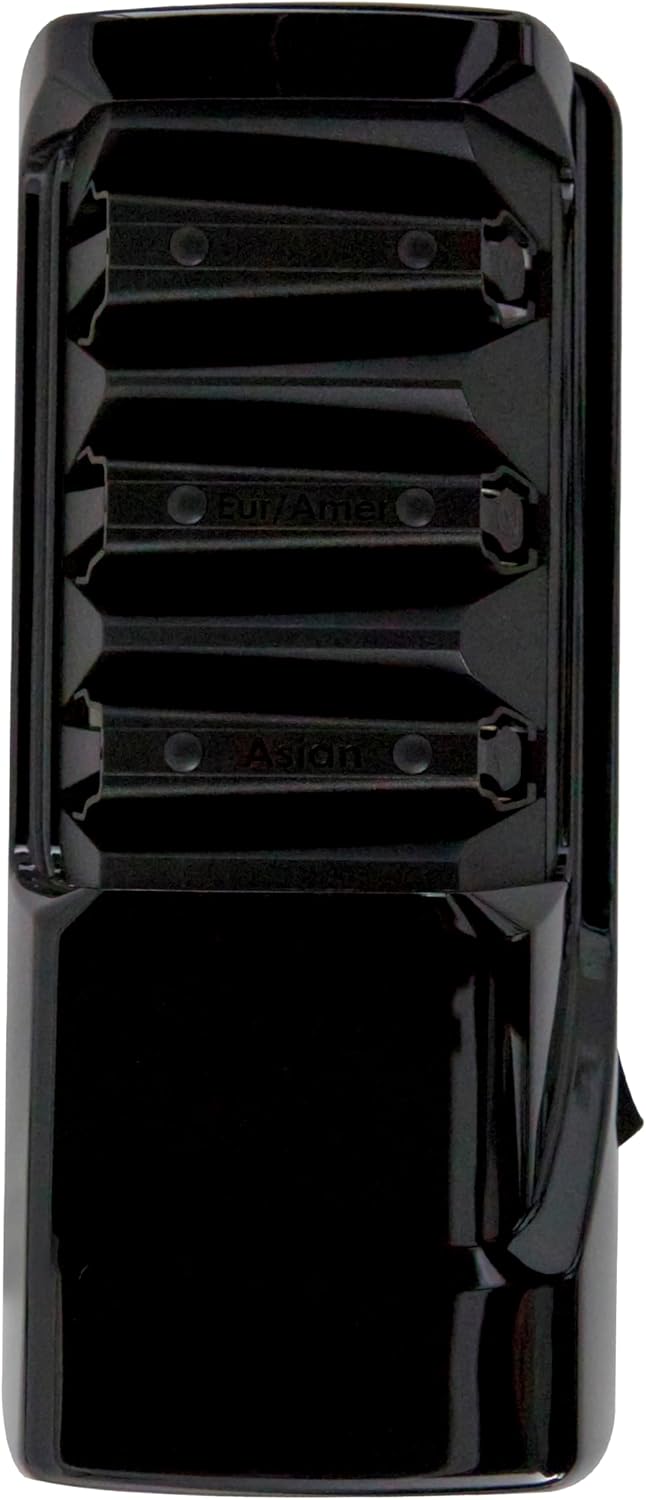
Image: Rear view of the sharpener showing the power cord and on/off switch.
Operating Instructions
The Chef'sChoice Model 1520 features three sharpening stages, each with specific functions to achieve a sharp, durable edge.
Understanding the Sharpening Stages:
- Stage 1 (Asian/15-Degree): Utilizes diamond abrasives to sharpen knives to a 15-degree angle, suitable for most Asian-style knives and contemporary European/American knives designed for a finer edge.
- Stage 2 (Eur/Amer/20-Degree): Employs diamond abrasives to sharpen knives to a 20-degree angle, ideal for traditional European and American-style knives.
- Stage 3 (Stropping/Polishing): Features patented stropping disks to hone and polish the knife edge, removing any burrs and creating an ultra-sharp, durable finish for both 15-degree and 20-degree knives. This stage is also used for sharpening serrated knives.
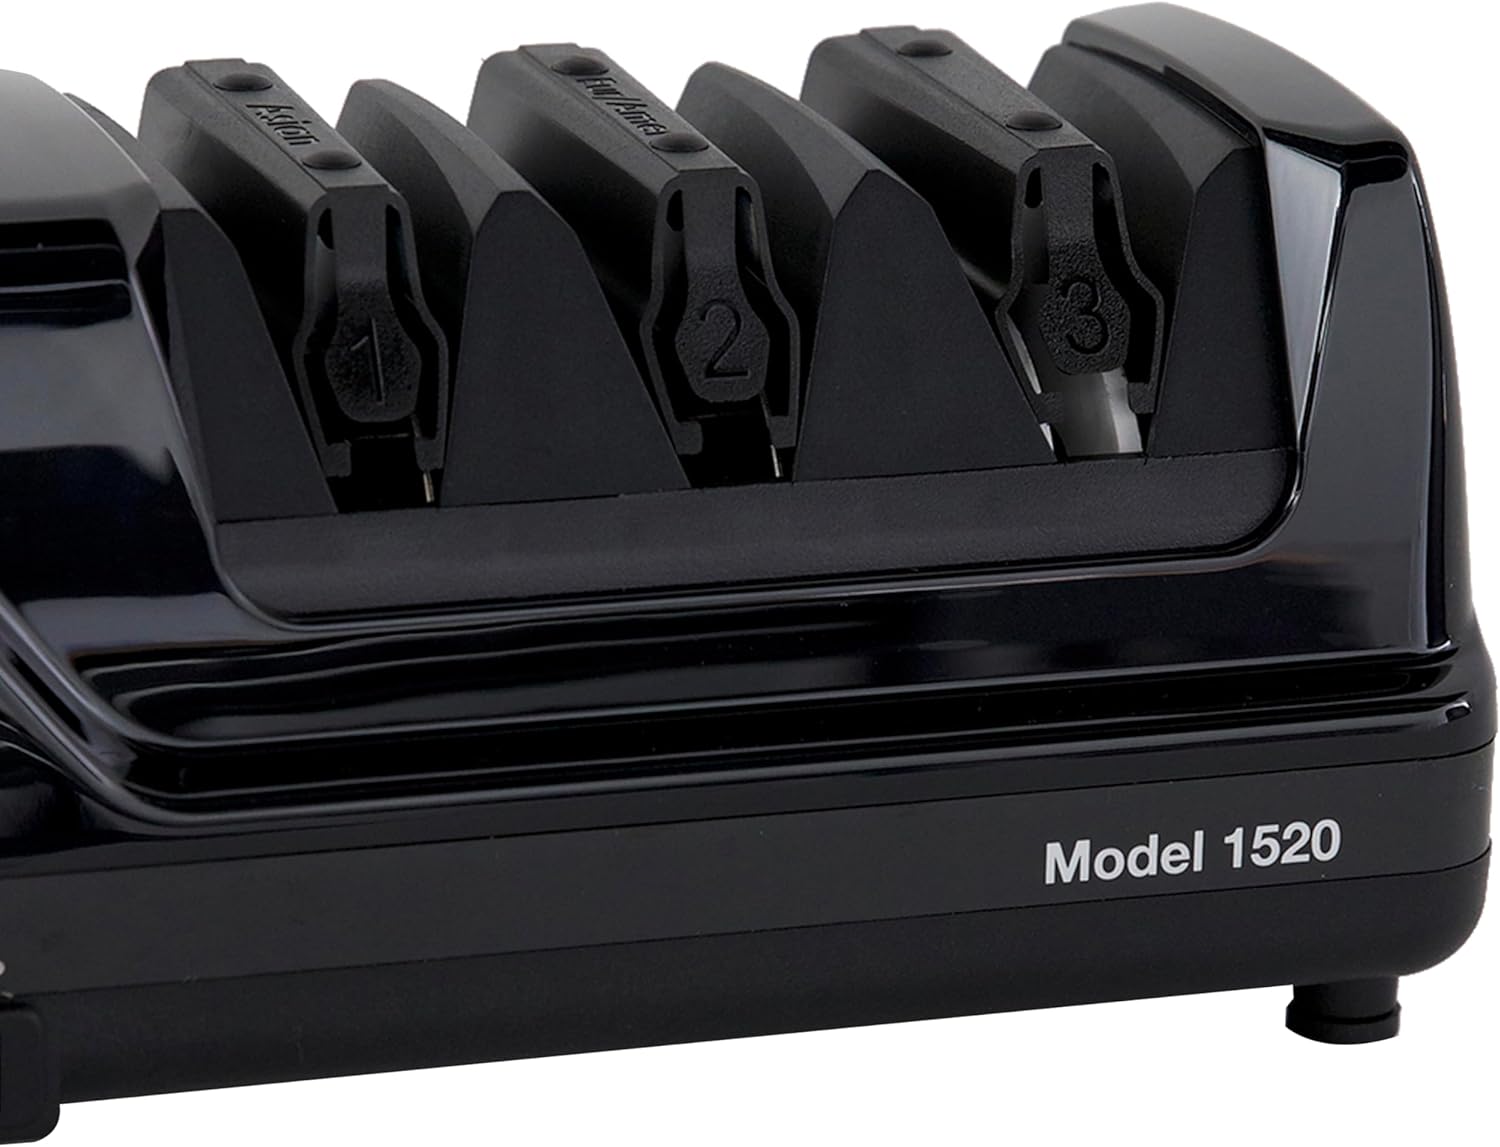
Image: Top view of the sharpener indicating the "Asian" (Stage 1) and "Eur/Amer" (Stage 2) slots, along with the final Stage 3.
Sharpening Straight-Edge Knives:
Before sharpening, determine if your knife requires a 15-degree or 20-degree edge. Most Asian knives and some modern European/American knives use a 15-degree edge, while traditional European/American knives use a 20-degree edge.
- Initial Sharpening (Dull or Damaged Knives):
- Turn the sharpener ON.
- For 15-degree knives, use Stage 1. For 20-degree knives, use Stage 2.
- Insert the knife blade into the left slot of the chosen stage, holding the blade flat against the angle guide. Pull the knife towards you at a moderate speed (approximately 4 seconds per pull) while maintaining constant contact with the guide. Repeat 2-3 times.
- Immediately move to the right slot of the same stage and repeat the pulling motion 2-3 times.
- Alternate between the left and right slots, reducing the number of pulls with each pass, until a burr is felt along the entire length of the opposite side of the blade. This indicates sufficient material removal.
- Proceed to Stage 3 for honing and polishing. Insert the blade into the left slot of Stage 3 and pull the knife towards you 2-3 times. Repeat in the right slot 2-3 times. Alternate 1-2 times in each slot until the burr is removed and the edge is polished.
- Resharpening (Slightly Dull Knives):
- Turn the sharpener ON.
- Go directly to Stage 3. Insert the knife blade into the left slot of Stage 3 and pull the knife towards you 2-3 times. Repeat in the right slot 2-3 times.
- Test the sharpness. If not sufficiently sharp, repeat the process in Stage 3.

Image: Knife in Stage 1 slot.

Image: Knife in Stage 2 slot.

Image: Knife in Stage 3 slot.
Sharpening Serrated Knives:
Serrated knives should only be sharpened in Stage 3.
- Turn the sharpener ON.
- Insert the serrated blade into the left slot of Stage 3. Pull the knife towards you, ensuring the entire serrated edge passes through the slot. Repeat 5-10 times, depending on the dullness of the blade.
- Repeat the process in the right slot of Stage 3, pulling the knife towards you 5-10 times.
- The serrations will be sharpened and the burrs removed, resulting in a sharper edge.
Maintenance and Care
- Always unplug the sharpener before cleaning.
- Wipe the exterior of the sharpener with a damp cloth. Do not use abrasive cleaners or immerse the unit in water.
- Periodically, use a soft brush to clean any metal dust from the sharpening slots.
- Store the sharpener in a dry, safe place when not in use.
Troubleshooting
| Problem | Possible Cause | Solution |
|---|---|---|
| Knife not sharpening effectively. | Incorrect sharpening stage used, insufficient pulls, or blade not held correctly against guides. | Ensure the correct stage (1 or 2) is used for the knife's angle. Increase the number of pulls in the sharpening stages until a burr is formed. Verify the blade is held flat against the angle guides. |
| Uneven edge or burr remains. | Inconsistent pressure or speed during pulls, or insufficient honing in Stage 3. | Maintain consistent, moderate pressure and speed. Ensure equal numbers of pulls in both left and right slots of each stage. Perform additional pulls in Stage 3 to remove any remaining burr. |
| Sharpener does not turn on. | Power cord not properly plugged in, or power switch is off. | Check that the power cord is securely plugged into a live outlet. Ensure the power switch is in the "ON" position. |
Specifications
| Model Number | 0115200 |
| Material | Diamond Abrasives |
| Color | Black |
| Product Dimensions | 12"L x 3.37"W x 6.25"H |
| Item Weight | 4.9 Pounds |
| Grit Type | Fine |
| Voltage | 120V |
| Wattage | 125W |
| Manufacturer | Edgecraft |

Image: Diagram illustrating the dimensions of the Chef'sChoice Model 1520 Electric Knife Sharpener.
Warranty and Support
The Chef'sChoice Model 1520 Electric Knife Sharpener comes with a 3-year manufacturer's warranty. For warranty claims, technical assistance, or product support, please refer to the contact information provided in the product packaging or visit the official Chef'sChoice website.
Ask a question about this manual
Ask about setup, troubleshooting, compatibility, parts, safety, or missing instructions. Manuals+ will review the question and use this page’s manual context to help answer it.