
1. Introduction
This instruction manual provides essential information for the proper installation, usage, and maintenance of your Remo Weather King Ambassador Coated 14-inch drumhead, Model 10527. Adhering to these guidelines will help ensure optimal performance and longevity of your drumhead.
The Remo Ambassador Coated drumhead is a single-ply, 10-mil Mylar film head known for its bright attack, controlled sustain, and warm tonal characteristics. It is a versatile choice for various musical applications, commonly used as a batter head for snare drums and tom-toms, and as a resonant head for bass drums.
2. Product Overview
The Remo Weather King Ambassador Coated drumhead is a standard in the drumming world, recognized for its durability and consistent sound. This 14-inch model (Model 10527) is designed for use with 14-inch drums, typically snare drums or floor tom-toms.
- Construction: Single-ply, 10-mil Mylar film.
- Coating: Proprietary coating provides a warm, open sound with excellent stick response and brush articulation.
- Sound Profile: Bright attack, controlled sustain, and warm resonance.
- Application: Ideal for batter (top) side of snare drums and tom-toms, and resonant (bottom) side of bass drums.
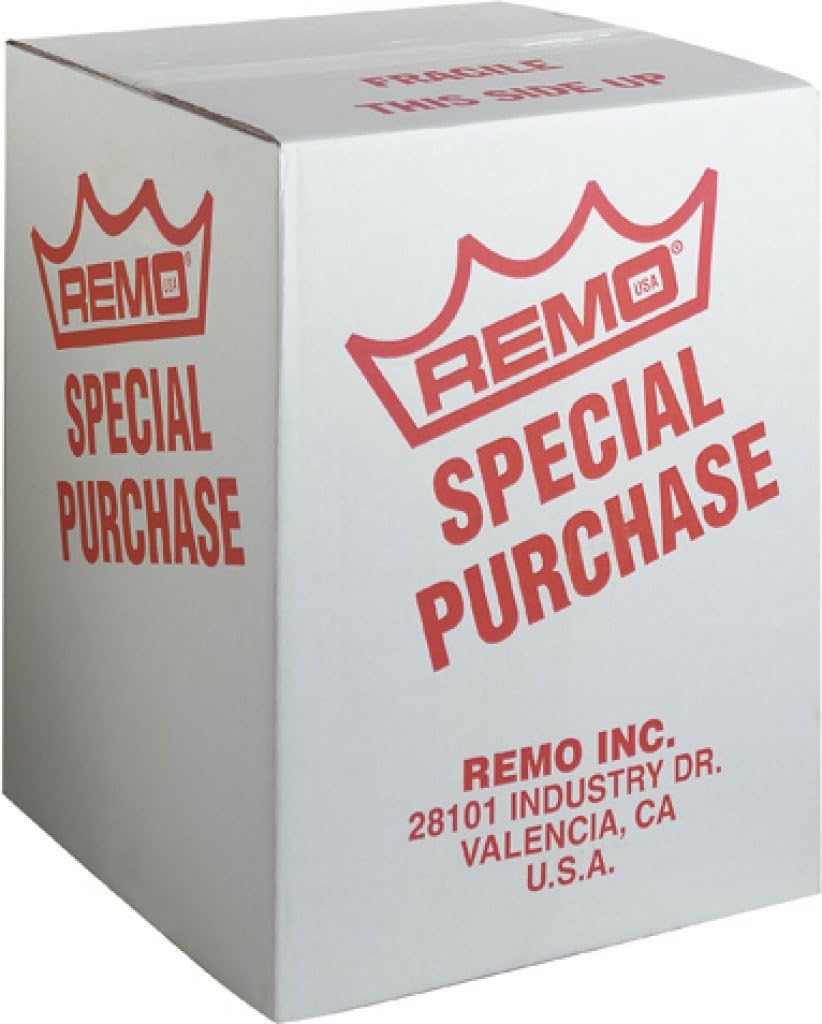
Figure 1: Packaging for the Remo Weather King Ambassador Coated Drumhead, 14-inch.
3. Setup and Installation
Proper installation is crucial for achieving the best sound and extending the life of your drumhead. Follow these steps carefully:
- Remove Old Drumhead: Loosen all tension rods evenly until the old drumhead can be removed. Clean the drum's bearing edge (the rim where the head sits) to ensure a smooth, level surface.
- Place New Drumhead: Carefully place the new Remo Ambassador Coated drumhead onto the drum shell. Ensure it is centered and sits flush on the bearing edge.
- Install Hoop and Tension Rods: Place the drum hoop over the drumhead. Insert the tension rods through the hoop's holes and into the lugs on the drum shell. Finger-tighten all tension rods in a star or cross pattern until they just make contact with the hoop.
- Seat the Drumhead: Apply firm, even pressure to the center of the drumhead with your palm. You may hear a slight cracking sound; this is normal and indicates the head is seating properly. Repeat this a few times, then re-finger-tighten the rods.
- Initial Tuning: Using a drum key, turn each tension rod a quarter to half turn in a star or cross pattern. Continue this process, gradually increasing tension, until the head begins to produce a tone.
- Fine Tuning: Tap the drumhead lightly near each tension rod to check the pitch. Adjust individual rods in small increments (e.g., eighth of a turn) to achieve an even pitch around the entire circumference. Aim for a consistent tone at each lug point.
- Achieve Desired Pitch: Once the head is evenly tensioned, continue to adjust all rods in small, even increments to reach your desired pitch. For optimal resonance, ensure both batter and resonant heads (if applicable) are tuned harmonically.
For more detailed drum tuning techniques, consult specialized drumming resources or instructional videos.
4. Operating Instructions (Usage)
Once installed and tuned, your Remo Ambassador Coated drumhead is ready for use. Its characteristics make it suitable for a wide range of playing styles and musical genres.
- Sound Characteristics: The coating provides a slightly dampened, warmer sound compared to clear heads, with a distinct attack and controlled overtones. It responds well to sticks, brushes, and mallets.
- Dynamic Range: This drumhead offers a good dynamic range, allowing for expressive playing from soft to loud volumes.
- Tuning Impact: The pitch and sustain of the drum will vary significantly with tuning. Higher tension generally results in a higher pitch and shorter sustain, while lower tension yields a deeper pitch and more open sound.
5. Maintenance
Regular maintenance will help preserve the sound quality and extend the lifespan of your drumhead.
- Cleaning: Wipe the drumhead surface with a soft, slightly damp cloth to remove dust, stick marks, and grime. Avoid abrasive cleaners or harsh chemicals, as these can damage the coating.
- Inspection: Periodically inspect the drumhead for signs of wear, such as dents, tears, or excessive flaking of the coating. Pay attention to the area where sticks typically strike.
- Replacement: Drumheads are consumable items. Replace your drumhead when it loses its desired tone, shows significant wear, or develops tears, as this will negatively impact sound and performance.
- Storage: If removing the drumhead for storage, keep it flat and protected from extreme temperature changes and direct sunlight.
6. Troubleshooting
If you encounter issues with your drumhead, consider the following common solutions:
- Poor Sound / Buzzing:
- Check for uneven tension across the drumhead. Re-tune by adjusting tension rods in small increments.
- Ensure all drum hardware (lugs, hoops) is secure and not rattling.
- Verify that the drumhead is properly seated on the bearing edge.
- Head Does Not Seat Properly:
- Remove the head and inspect the drum's bearing edge for any damage or debris.
- Ensure the drumhead is the correct size (14-inch) for your drum.
- Dents or Tears:
- Dents can affect sound quality. Tears require immediate replacement of the drumhead.
7. Specifications
| Attribute | Detail |
| Brand | Remo |
| Model Number | 10527 |
| Product Type | Drumhead (Coated Ambassador) |
| Size | 14 inches |
| Construction | Single-ply, 10-mil Mylar film with coating |
| Item Weight | 20 pounds (as per product data) |
| ASIN | B0030LWRXO |
| Date First Available | March 5, 2010 |
8. Warranty and Support
For information regarding product warranty, please refer to the official Remo website or contact your authorized Remo dealer. Specific warranty terms and conditions may vary.
For technical support or further assistance, please visit the Remo Support Page or contact their customer service department directly.