Introduction
This manual provides essential instructions for the safe installation, operation, and maintenance of your Reflecta CrystalLine Motor Projection Screen. Please read this manual thoroughly before installation and retain it for future reference. This motorized projection screen is designed for high-quality image display in various environments.
Safety Instructions
- Ensure the screen is securely mounted to a sturdy wall or ceiling structure capable of supporting its weight (26 kg).
- All electrical connections must be performed by a qualified electrician and comply with local electrical codes.
- Do not operate the screen if the power cord or plug is damaged.
- Keep hands and objects clear of the screen during operation to prevent injury or damage.
- Do not attempt to disassemble or repair the motor or control unit yourself. Contact qualified service personnel.
- This product is intended for indoor use only.
Package Contents
Please verify that all components are present and undamaged before proceeding with installation:
- Reflecta CrystalLine Motor Projection Screen (Model 87674)
- Remote Control
- Control Box
- Power Cable
- Mounting Hardware (screws, anchors - specific types may vary)
- User Manual (this document)
Setup
1. Mounting the Screen
The Reflecta CrystalLine Motor Projection Screen is designed for both wall and ceiling mounting. Choose a location that provides optimal viewing for your audience and ensures the screen is level when fully extended.
- Identify suitable mounting points on your wall or ceiling. These points must be structurally sound to support the screen's weight.
- Using the provided mounting hardware, securely attach the screen casing. Ensure all fasteners are tightened appropriately.
- Verify the screen is level and firmly attached before proceeding.
2. Electrical Connection
Connect the screen's power cable to a standard electrical outlet. Ensure the power supply matches the screen's requirements.
Operating Instructions
The screen can be operated using the included remote control or the manual button on the control box.
Using the Remote Control
The remote control allows for convenient operation of the screen from a distance.
- Up Arrow Button: Press to raise the projection screen.
- Square Button: Press to stop the screen at any desired position.
- Down Arrow Button: Press to lower the projection screen.
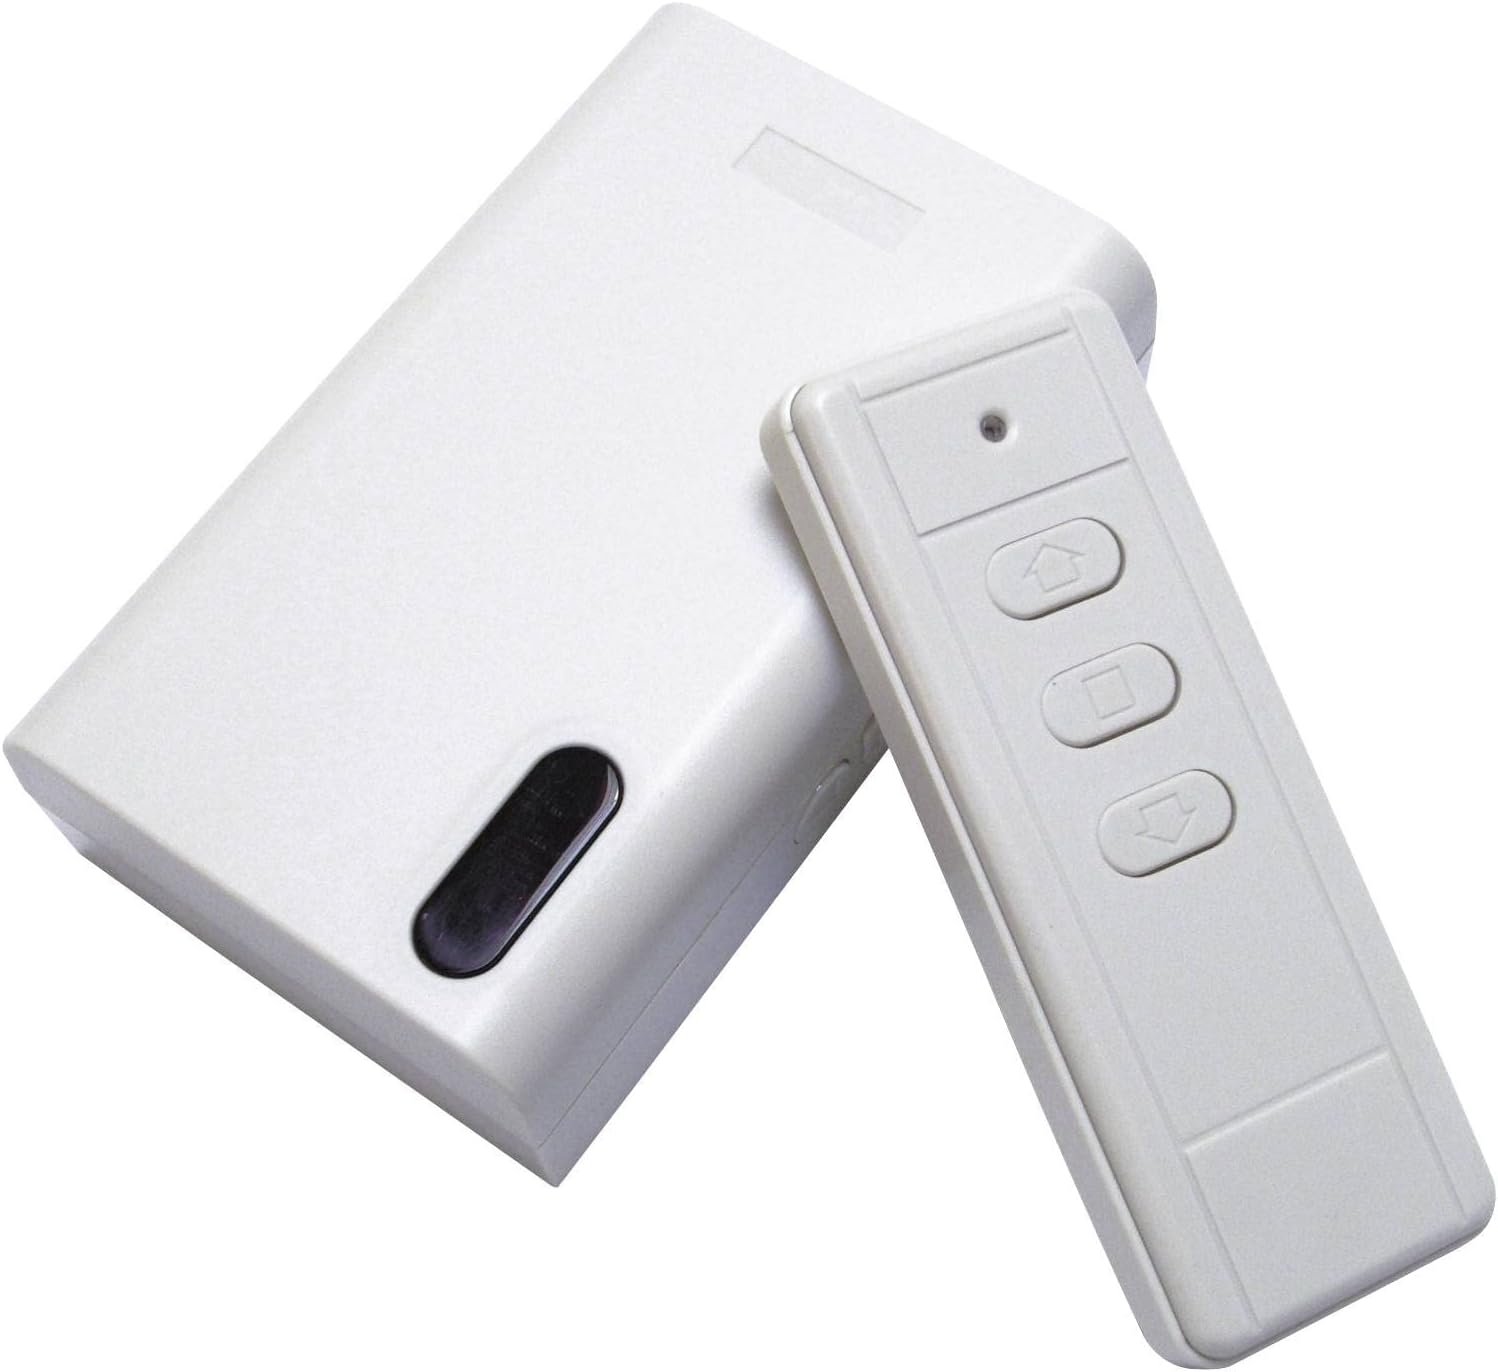
This image displays the white control box and the accompanying white remote control. The remote features three buttons: an up arrow for raising the screen, a square button for stopping the screen, and a down arrow for lowering the screen. The control box has a black oval-shaped button, likely for manual operation or pairing.
Manual Operation
In case the remote control is unavailable or not functioning, the screen can be operated manually using the button on the control box.
- Locate the black oval button on the control box.
- Pressing this button will cycle through the screen's states: down, stop, up, stop.
Maintenance
Regular maintenance ensures the longevity and optimal performance of your projection screen.
- Screen Surface: Gently wipe the screen surface with a soft, damp cloth. Do not use abrasive cleaners or solvents, as these can damage the matte finish.
- Casing: Clean the screen casing with a dry or slightly damp cloth.
- Motor: The motor is maintenance-free. Do not lubricate or attempt to open the motor housing.
- Storage: When not in use for extended periods, ensure the screen is fully retracted into its casing to protect the surface from dust and damage.
Troubleshooting
If you encounter issues with your projection screen, refer to the following common problems and solutions:
- Screen does not move:
- Check if the power cable is securely connected to a live outlet.
- Ensure the remote control batteries are not depleted.
- Try operating the screen using the manual button on the control box.
- Remote control not responding:
- Replace the batteries in the remote control.
- Ensure there are no obstructions between the remote and the control box.
- If the remote requires pairing, refer to specific pairing instructions (not provided in current data).
- Screen stops intermittently:
- Check for any physical obstructions preventing smooth movement.
- Ensure the screen is not overloaded or experiencing excessive tension.
Specifications
| Feature | Specification |
|---|---|
| Model Number | 87674 |
| Brand | Reflecta |
| Product Type | Motorized Projection Screen |
| Image Width | 292 cm |
| Image Height | 292 cm |
| Aspect Ratio | 1:1 |
| Gain | 1.1x |
| Viewing Angle | 120° |
| Screen Surface Material | Fabric (Matte Finish) |
| Mounting Type | Wall or Ceiling Mounting |
| Operating Mode | Automatic (Motorized) |
| Color | Black/White |
| Item Weight | 26000 Grams (26 kg) |
| ASIN | B0030IT3S4 |
Warranty Information
This Reflecta product is covered by a manufacturer's warranty against defects in materials and workmanship. The specific terms and duration of the warranty may vary by region. Please retain your proof of purchase for warranty claims. For detailed warranty information, refer to the documentation provided with your purchase or contact Reflecta customer support.
Support
If you require further assistance or have questions not covered in this manual, please contact Reflecta customer support. Contact details can typically be found on the Reflecta official website or on your product packaging.
When contacting support, please have your product model number (87674) and ASIN (B0030IT3S4) ready.