1. Introduction
This document provides essential information for the proper installation, use, and maintenance of your Bissell 214-5010 Housing Assembly. This housing is a genuine OEM replacement part designed to restore the functionality of compatible Bissell ProHeat ClearView PowerSteamer carpet cleaner models. Please read all instructions carefully before proceeding with installation or use.
2. Safety Instructions
- Always disconnect the carpet cleaner from the power outlet before attempting any installation, maintenance, or repair.
- Wear appropriate personal protective equipment, such as gloves, during installation to prevent injury.
- Ensure all connections are secure and properly seated before restoring power to the appliance.
- Keep children and pets away from the work area during installation.
- If you are unsure about any step, consult a qualified technician or Bissell customer support.
3. Compatibility
The Bissell 214-5010 Housing Assembly is specifically designed to fit the following Bissell ProHeat ClearView PowerSteamer carpet cleaner models:
- 1699
- 1699-5
- 1699-8
- 1699-A
- 8905
- 8910
- 1699-N
- 8804T
Please verify your carpet cleaner's model number before attempting installation to ensure compatibility.
4. Setup and Installation
This section outlines the general steps for replacing the housing assembly. Specific disassembly and reassembly procedures may vary slightly by model. Refer to your carpet cleaner's original service manual for detailed instructions if available.
Required Tools (Not Included):
- Screwdriver set (Phillips and/or flathead, as needed)
- Pliers (optional, for hose clamps or stubborn connections)
- Clean cloth
Installation Steps:
- Prepare the Unit: Unplug the carpet cleaner from the electrical outlet. Empty any water tanks (clean and dirty) and remove them from the unit.
- Access the Housing: Depending on your model, you may need to remove outer covers, screws, or clips to gain access to the existing housing assembly. Carefully note the location of all fasteners and components for reassembly.
- Disconnect Components: Disconnect any hoses, wires, or other components attached to the old housing. Pay attention to how they are connected to ensure correct reattachment.
- Remove Old Housing: Once all connections are detached, carefully remove the old housing assembly from the carpet cleaner chassis.
- Install New Housing: Position the new Bissell 214-5010 Housing Assembly into place. Ensure it aligns correctly with mounting points and other components.
- Reconnect Components: Reattach all hoses, wires, and other components to the new housing. Double-check that all connections are secure and free from kinks or pinches.
- Reassemble Unit: Reinstall any covers, screws, or clips that were removed during disassembly. Ensure all parts are securely fastened.
- Final Check: Before plugging in, visually inspect the entire unit to ensure all parts are correctly assembled and no tools or loose components remain inside.
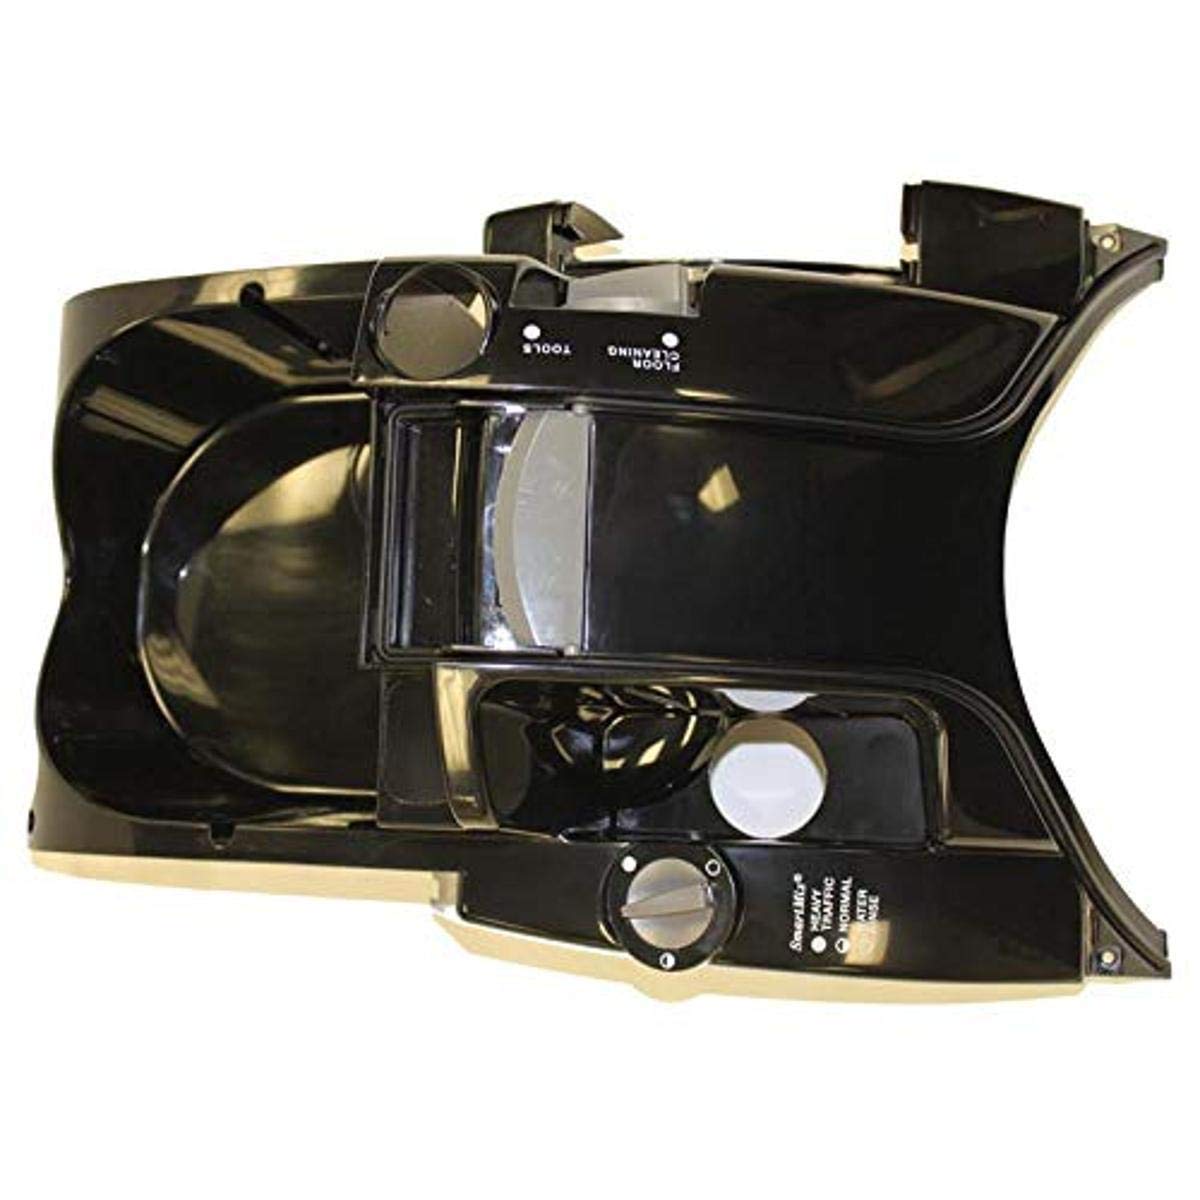
Image: Bissell 214-5010 Housing Assembly. This image shows the black housing assembly, which is a replacement part for compatible Bissell carpet cleaners.
5. Operating Instructions
Once the Bissell 214-5010 Housing Assembly is correctly installed, the carpet cleaner will operate as intended. The housing is an integral structural and functional component, facilitating the flow of water and air within the machine. No special operating procedures are required for the housing itself; simply follow the operating instructions provided with your specific Bissell ProHeat ClearView PowerSteamer carpet cleaner model.
6. Maintenance
Proper maintenance of the housing assembly ensures the longevity and performance of your carpet cleaner.
- Regular Inspection: Periodically inspect the housing for any signs of cracks, damage, or loose connections.
- Cleaning: If the housing becomes dirty, wipe it with a damp cloth. Avoid using harsh chemicals or abrasive cleaners, as these can damage the plastic.
- Leak Checks: After each use, check for any signs of water leaks around the housing or its connections. Address any leaks promptly to prevent further damage to the appliance or your flooring.
- Storage: Store the carpet cleaner in a clean, dry place to prevent damage to the housing and other components.
7. Troubleshooting
If you encounter issues after installing the new housing, consider the following troubleshooting steps:
- Water Leakage: If water is leaking, ensure all hoses and connections to the housing are securely fastened and that any gaskets or O-rings are properly seated and not damaged. Check for cracks in the housing itself.
- Poor Suction/Spray: This may not be directly related to the housing, but ensure all internal air and water pathways are clear and that the housing is not obstructing any components. Recheck all connections.
- Unusual Noises: Ensure no foreign objects are trapped within the housing area and that all components are properly secured and not vibrating against each other.
- Unit Not Functioning: Double-check that the unit is properly plugged in and that all electrical connections (if any pass through or near the housing) are secure.
If problems persist, consult the original carpet cleaner manual or contact Bissell customer support.
8. Specifications
| Attribute | Detail |
|---|---|
| Model Number | 214-5010 |
| OEM Part Number | 214-5010 |
| Brand | Bissell |
| Color | Black |
| Item Weight | 16 ounces (0.45 kg) |
| Product Dimensions (Approx.) | 18.5"L x 9.0"W x 12.0"H |
| Compatible Models | 1699, 1699-5, 1699-8, 1699-A, 8905, 8910, 1699-N, 8804T |
| Country of Origin | China |
9. Warranty and Support
For warranty information regarding the Bissell 214-5010 Housing Assembly, please refer to the documentation provided with your original Bissell carpet cleaner or contact Bissell directly. As a replacement part, its warranty may be subject to the terms and conditions of the original product or specific replacement part policies.
Customer Support:
If you require further assistance with installation, troubleshooting, or have questions about your Bissell product, please visit the official Bissell website or contact their customer service department. Contact information can typically be found on the Bissell website or in your original product manual.
Bissell Official Website: www.bissell.com