
1. Introduction
The Briggs & Stratton 820311 Fuel Filter is a genuine OEM replacement part designed to ensure clean fuel delivery to your engine. A clean fuel filter is crucial for preventing contaminants from reaching the carburetor or fuel injectors, which can lead to engine performance issues, reduced efficiency, and potential damage. This manual provides essential information for the proper installation, operation, and maintenance of your fuel filter.
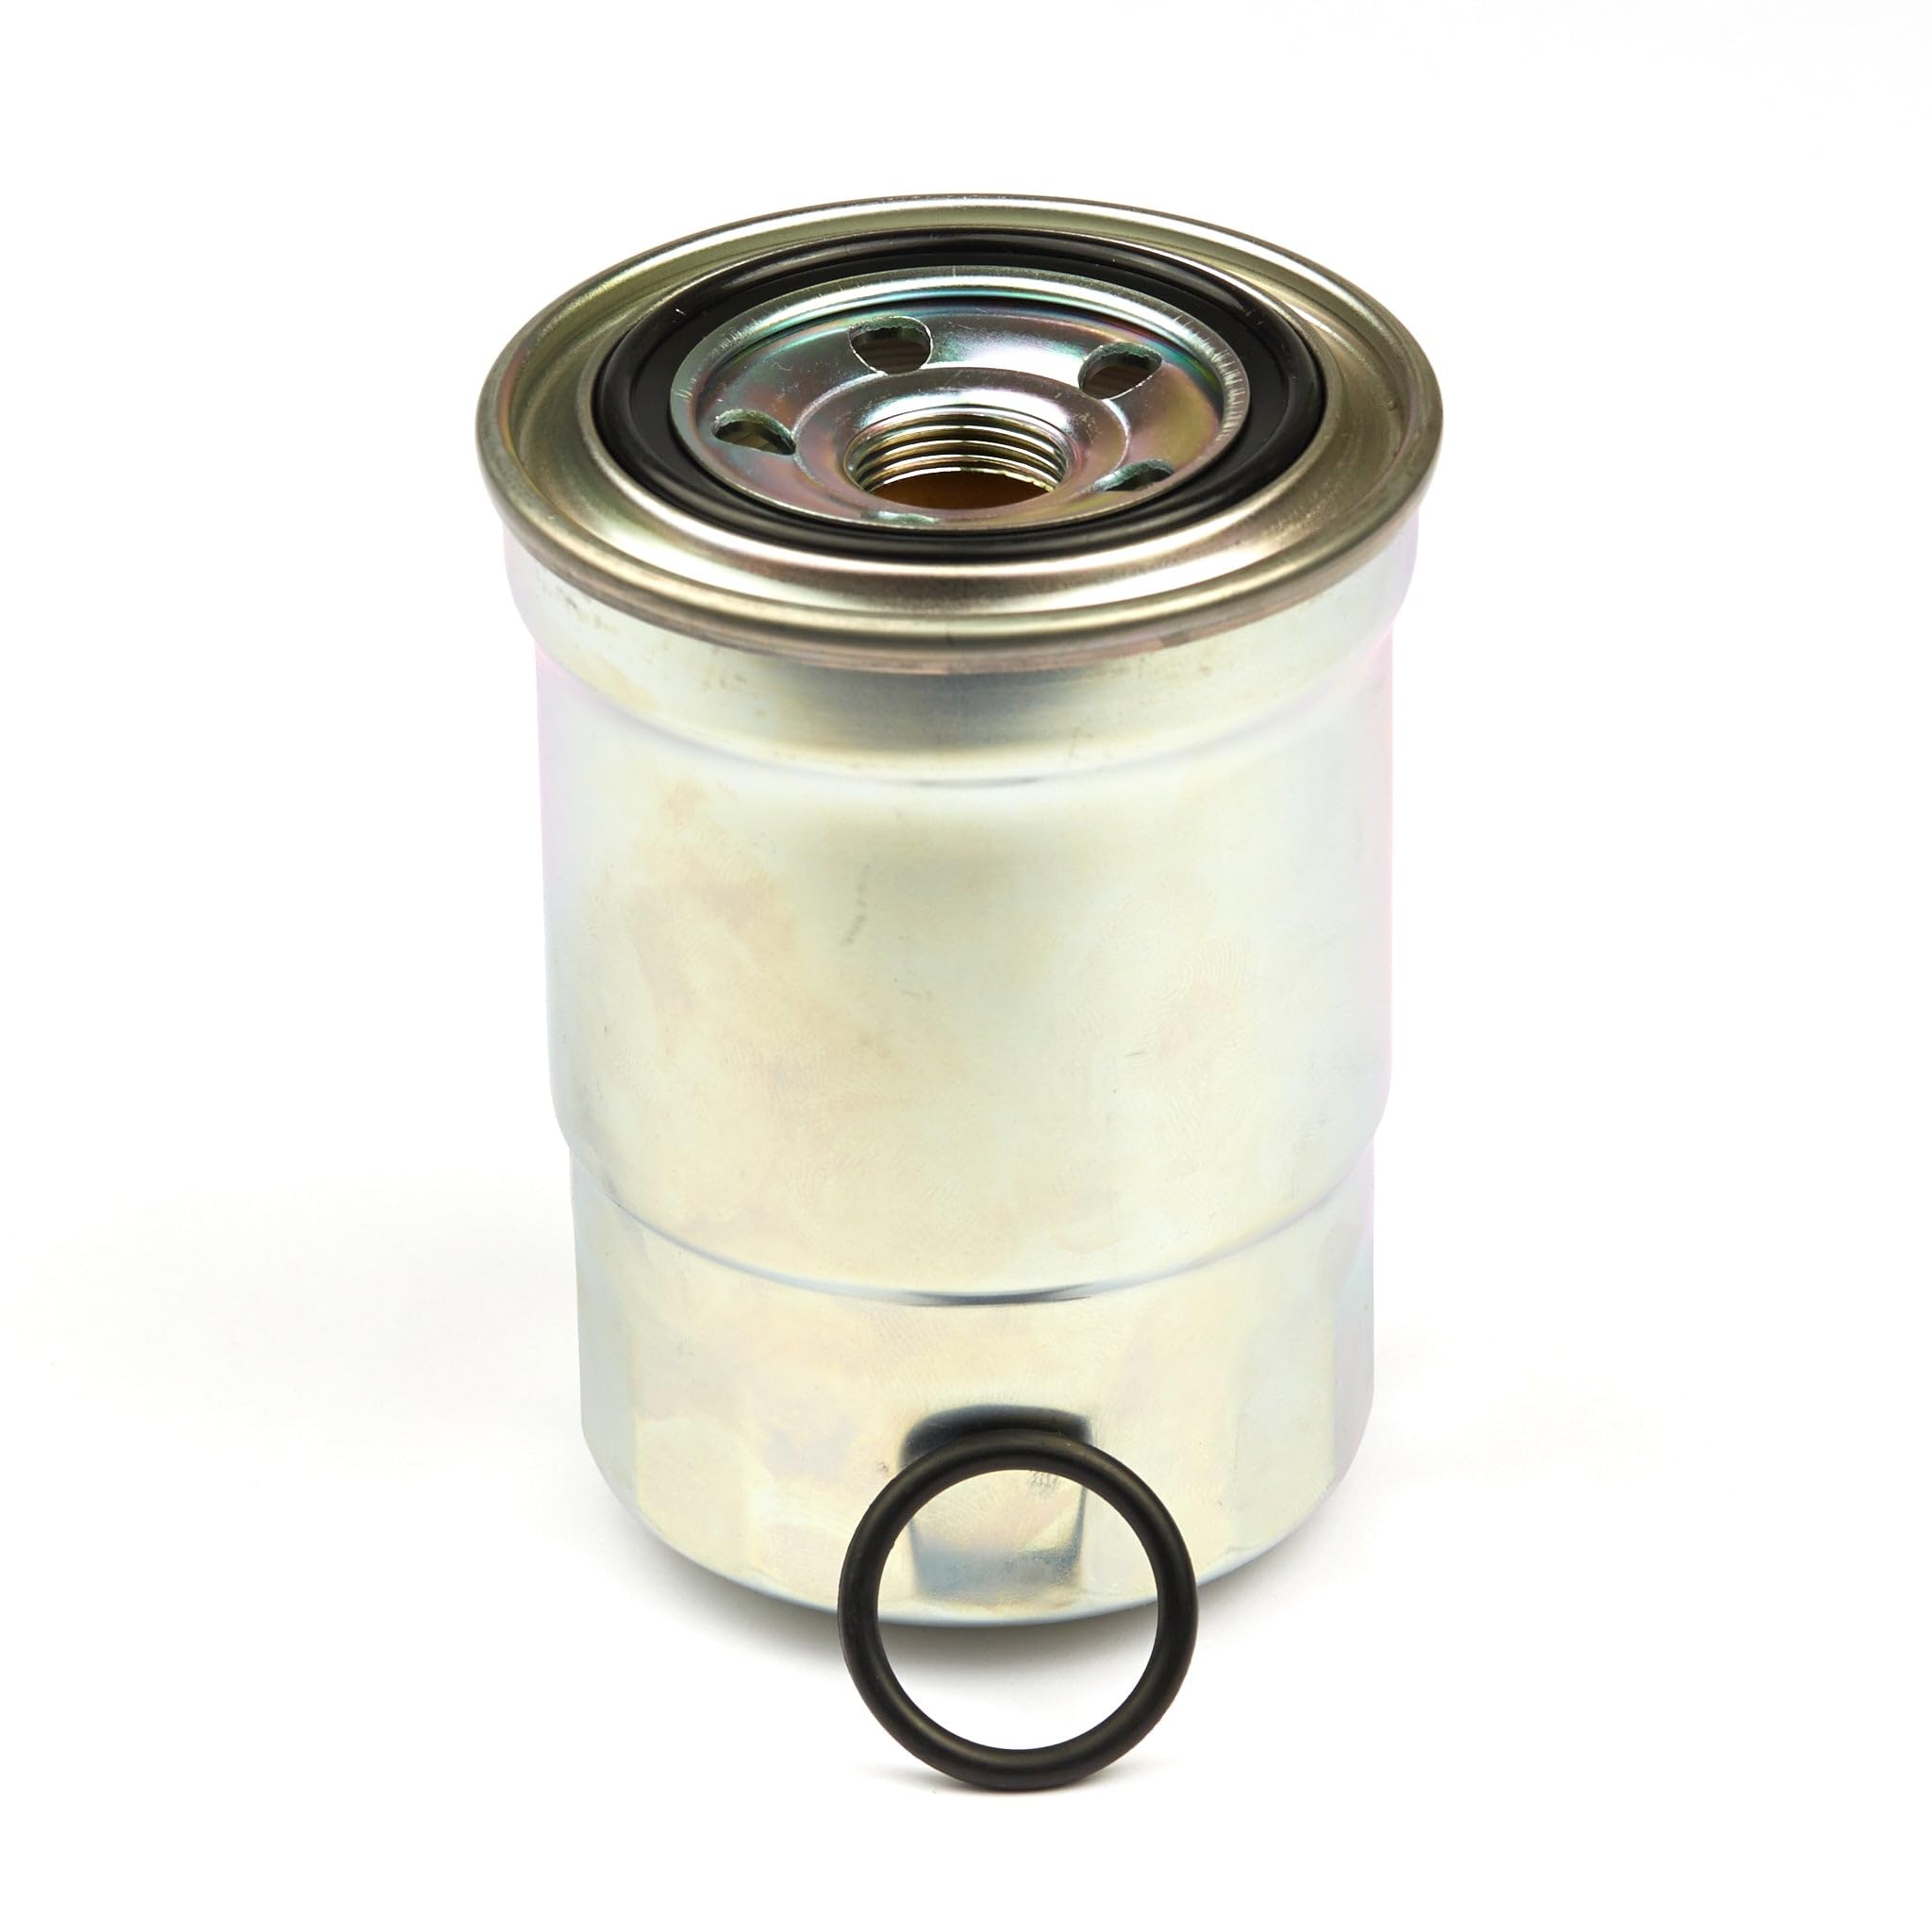
Image 1: General view of the Briggs & Stratton 820311 Fuel Filter. This filter is designed to remove impurities from fuel before it reaches the engine.
2. Installation
Proper installation of the fuel filter is vital for its effectiveness and your safety. Always refer to your engine's specific service manual for detailed instructions and safety precautions.
Safety Precautions:
- Ensure the engine is cool and turned off.
- Disconnect the spark plug wire to prevent accidental starting.
- Work in a well-ventilated area and have a fire extinguisher nearby.
- Wear appropriate personal protective equipment, such as gloves and eye protection.
- Have a container ready to catch any spilled fuel.
Installation Steps:
- Locate the Existing Fuel Filter: Identify the current fuel filter in the fuel line between the fuel tank and the carburetor.
- Drain Fuel (if necessary): If the fuel tank is full, consider draining some fuel or clamping the fuel line to minimize spillage.
- Remove Clamps: Use pliers to slide back the hose clamps securing the fuel lines to the old filter.
- Disconnect Fuel Lines: Carefully pull the fuel lines off both ends of the old filter. Be prepared for some fuel to leak out. Dispose of the old filter properly.
- Install New Filter: Note the flow direction arrow on the new Briggs & Stratton 820311 filter. The arrow must point towards the engine. Push the fuel lines onto the new filter's inlet and outlet ports.
- Secure Clamps: Slide the hose clamps back into position over the connections to ensure a tight seal.
- Check for Leaks: Reconnect the spark plug wire. Refill the fuel tank if you drained it. Start the engine and carefully check for any fuel leaks around the new filter connections. Address any leaks immediately.

Image 2: Side view of the fuel filter, showing its approximate dimensions for fitment verification.

Image 3: Top view of the fuel filter, illustrating the connection points for fuel lines. Ensure the flow direction arrow points towards the engine.
3. Operation
Once installed, the Briggs & Stratton 820311 Fuel Filter operates continuously whenever the engine is running. Its primary function is to trap dirt, rust, and other debris present in the fuel, preventing these particles from entering and potentially damaging sensitive engine components like the carburetor or fuel injectors. A properly functioning fuel filter ensures a steady supply of clean fuel, contributing to smooth engine operation and optimal performance.
4. Maintenance
Regular maintenance of your fuel filter is essential for the longevity and performance of your engine. A clogged fuel filter can restrict fuel flow, leading to various engine problems.
Inspection and Replacement:
- Inspection: Periodically inspect the fuel filter for visible signs of contamination or damage. Some filters are transparent, allowing you to see the fuel and any trapped debris.
- Replacement Schedule: The recommended replacement interval for fuel filters can vary depending on engine usage, fuel quality, and manufacturer guidelines. As a general rule, it is advisable to replace the fuel filter annually or every 100 hours of operation, whichever comes first. Always consult your engine's owner's manual for specific recommendations.
- Signs of a Clogged Filter: Replace the filter immediately if you notice any of the following symptoms:
- Engine sputtering or running rough
- Loss of engine power
- Difficulty starting the engine
- Engine stalling

Image 4: Bottom view of the fuel filter, showing the sealed end. Regular inspection of the filter body for cracks or leaks is recommended.
5. Troubleshooting
If you experience engine performance issues, the fuel filter can be a potential cause. Here are some common troubleshooting steps related to the fuel filter:
- Engine Not Starting or Running Rough: A severely clogged fuel filter can prevent sufficient fuel from reaching the engine. Inspect the filter for blockages. If it appears dirty or restricted, replace it.
- Fuel Leaks Around Filter: If you observe fuel leaks, ensure that the fuel lines are securely attached to the filter and that the hose clamps are tight. Check the filter body for any cracks or damage. Replace the filter if it is damaged.
- Engine Stalling After Short Operation: This could indicate a partially clogged filter that allows some fuel flow but restricts it under load. Consider replacing the filter.
If troubleshooting steps related to the fuel filter do not resolve the issue, consult a qualified service technician or your engine's service manual for further diagnosis.
6. Specifications
Key specifications for the Briggs & Stratton 820311 Fuel Filter:
| Specification | Detail |
|---|---|
| Brand | Briggs & Stratton |
| Model Number | 820311 |
| OEM Equivalent Part Number | 820311 |
| Outer Material | Plastic |
| Vehicle Service Type | Lawn Mower (and other compatible equipment) |
| Item Weight | 0.38 Kilograms |
| UPC | 024847886658 |

Image 5: The Briggs & Stratton 820311 Fuel Filter in its original packaging, ensuring authenticity and quality.
7. Warranty and Support
For information regarding warranty coverage or technical support for your Briggs & Stratton 820311 Fuel Filter, please refer to the official Briggs & Stratton website or contact their customer service directly. Always use genuine Briggs & Stratton parts to maintain warranty validity and ensure optimal performance of your equipment.


