1. Introduction and Overview
This manual provides instructions for the assembly, operation, maintenance, and troubleshooting of your Drive Medical 12021KD-1 Bariatric Heavy Duty Bathroom Bench with Back. This product is designed to provide stable and secure seating assistance in a shower or bath environment. It features a durable aluminum frame, a comfortable seat with drainage holes, and adjustable height settings.
Key Features:
- Supports up to 500 lbs.
- Lightweight and rust-resistant aluminum frame.
- Crossbar-reinforced legs for enhanced stability.
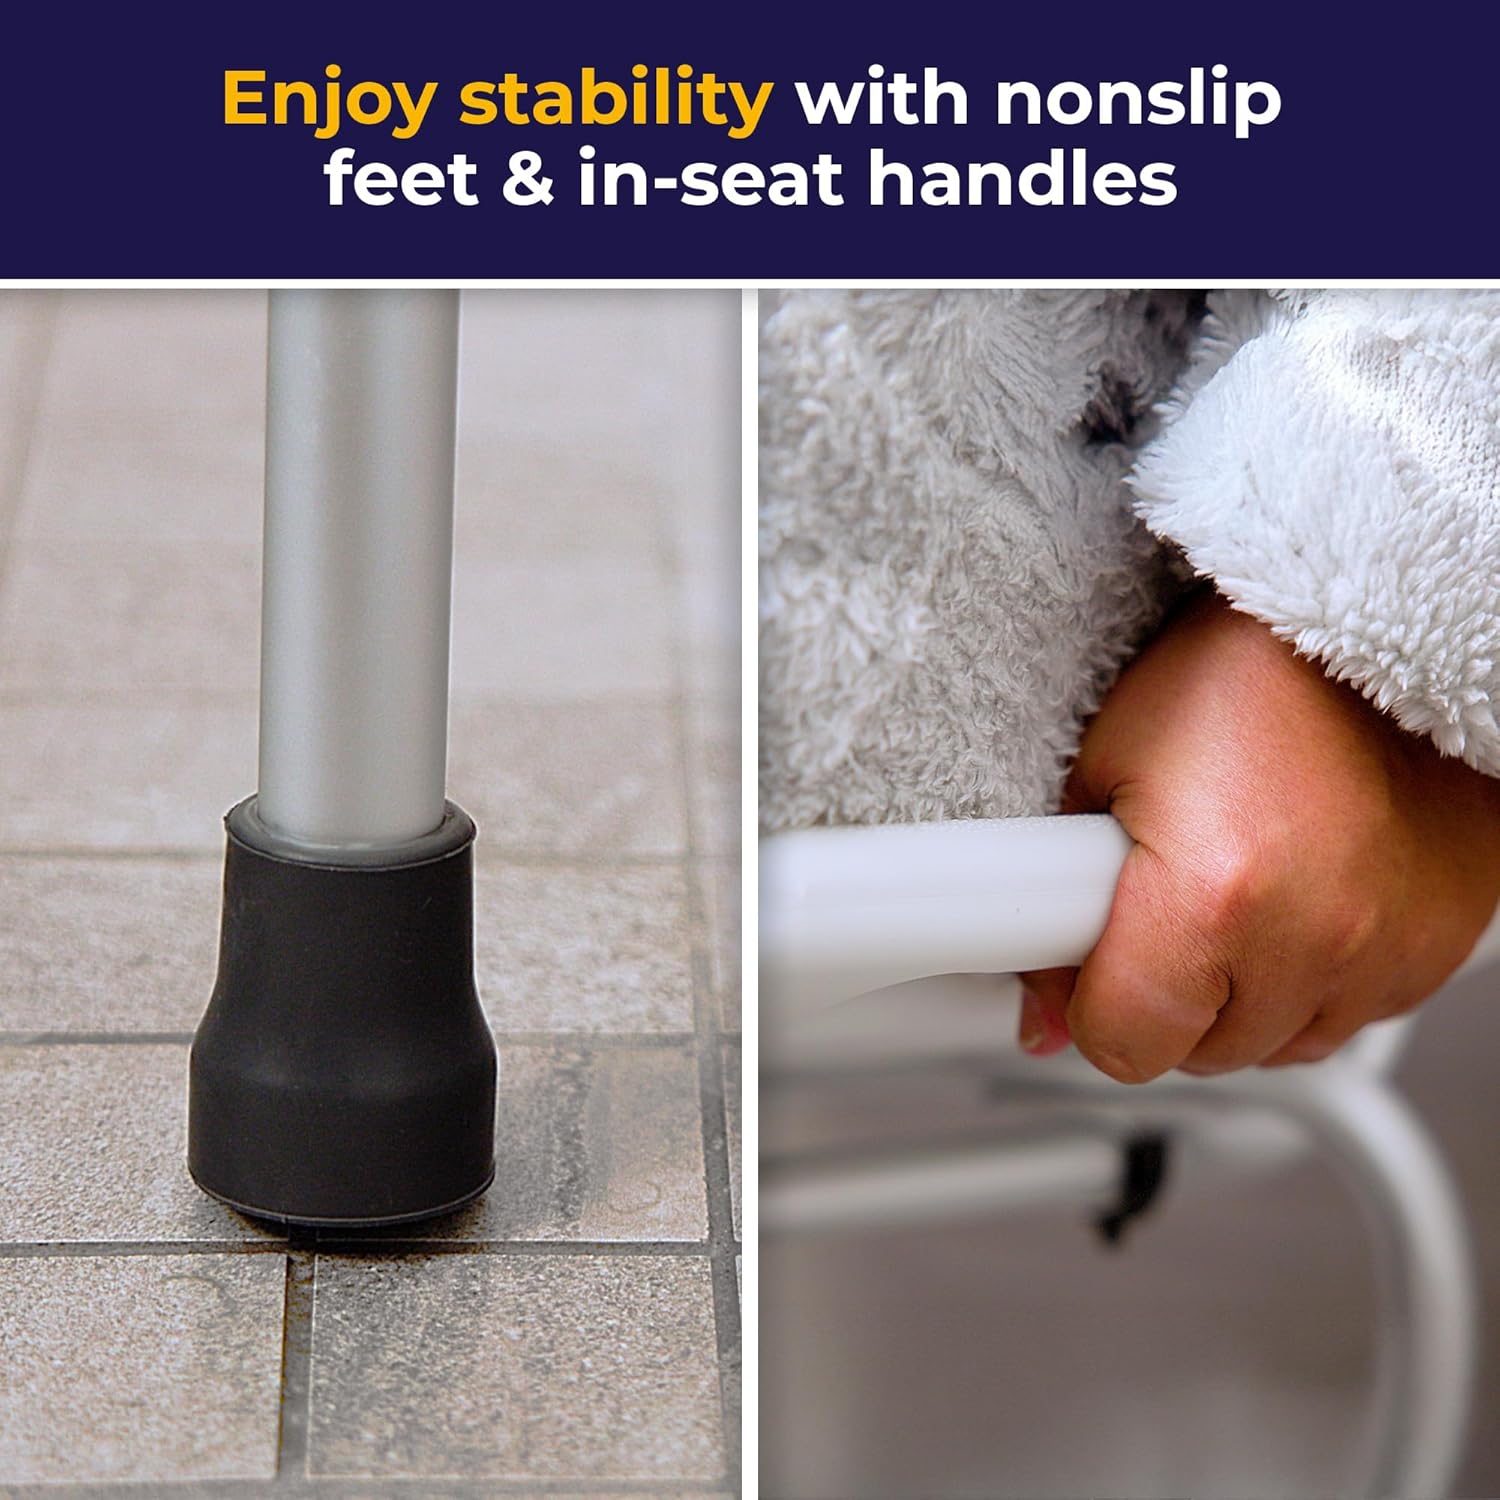
- Non-skid, non-slip rubber tips on legs.
- Adjustable seat height.
- Removable backrest for versatile use.
2. Safety Information
Please read all instructions carefully before assembly and use. Failure to follow these instructions may result in injury.
- Weight Capacity: Do not exceed the maximum weight capacity of 500 lbs (227 kg).
- Stability: Ensure all legs are evenly adjusted and the bench is stable before each use. The non-slip rubber tips must be in good condition and make full contact with the floor.
- Assembly: Verify that all components are correctly assembled and all fasteners are securely tightened before use.
- Inspection: Regularly inspect the bench for any signs of wear, damage, or loose parts. Discontinue use immediately if any damage is found and contact customer support for replacement parts or service.
- Surface: Use the bench on a flat, stable surface. Avoid using on uneven or slippery surfaces.
- Transfer: Exercise caution when transferring on and off the bench. Use grab bars or other assistance if needed.
3. Package Contents
Upon opening the package, please verify that all the following components are present:
- Shower Bench Seat
- Backrest
- Legs (4) with rubber tips
- Cross-braces (2)
- Hardware (bolts, nuts, washers)
- User Manual
4. Assembly Instructions
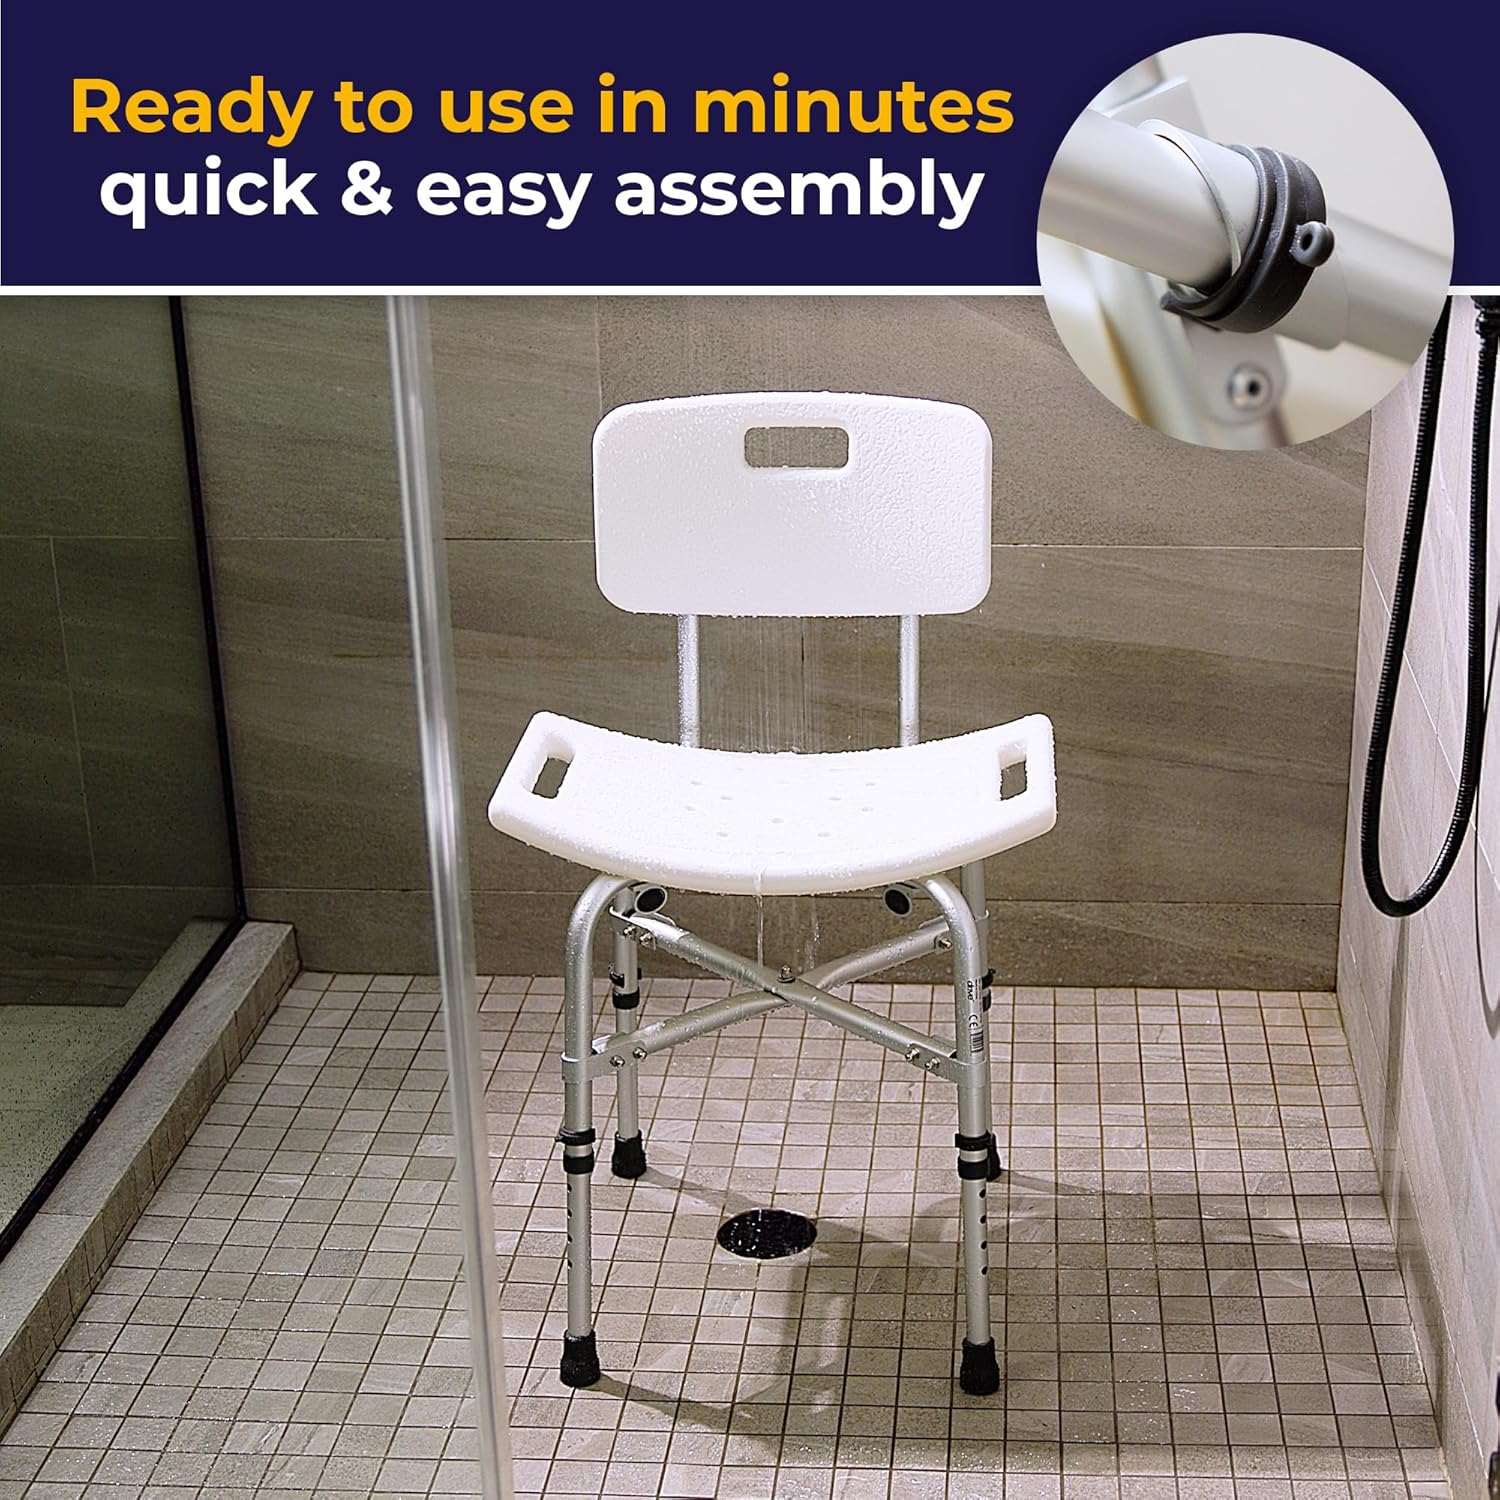
Assembly of the Drive Medical 12021KD-1 Bathroom Bench is required. Follow these steps carefully:
- Unpack Components: Carefully remove all parts from the packaging and lay them out on a clean, flat surface.
- Attach Legs to Seat: Insert the top ends of the four legs into the designated openings on the underside of the shower seat. Ensure the holes align.
- Secure Cross-Braces: Attach the two cross-braces between the legs using the provided bolts, nuts, and washers. Ensure the cross-braces form an 'X' shape for maximum stability. Tighten all hardware securely, but do not overtighten.
- Attach Backrest: Slide the backrest support tubes into the rear openings on the seat. Secure with the provided clips or fasteners. The backrest is designed to be removable for alternative seating configurations.
- Adjust Height: Before first use, adjust the height of each leg to your desired level. Press the push pin on each leg and slide the leg extension up or down until the pin locks into the desired hole. Ensure all four legs are adjusted to the same height to prevent wobbling.
5. Operating Instructions
Using your Drive Medical Bathroom Bench safely and effectively:
- Placement: Position the bench securely in your shower or bath area. Ensure all four non-slip rubber tips are firmly on the floor surface.
- Height Adjustment: To adjust the seat height, press the push button on each leg and slide the leg extension to the desired height. Ensure the button fully protrudes through the adjustment hole to lock the leg in place. Verify all legs are at the same height for stability. The seat height can be adjusted from 14 to 19 inches.
- Using the Backrest: The backrest provides additional support. It can be easily removed if a backless stool is preferred.
- In-Seat Handles: Utilize the integrated handles on the seat for additional grip and support when sitting down or standing up.

6. Maintenance and Care
Proper maintenance ensures the longevity and safe operation of your bathroom bench.
- Cleaning: Clean the bench regularly with a mild soap and water solution. Rinse thoroughly and wipe dry. Avoid abrasive cleaners or harsh chemicals that could damage the materials.
- Drainage: The seat is designed with drainage holes to prevent water accumulation. Ensure these holes remain clear of debris.
- Inspection: Periodically check all bolts and fasteners to ensure they remain tight. Inspect the rubber tips on the legs for wear or damage; replace if necessary to maintain non-slip properties.
- Storage: Store the bench in a dry environment when not in use for extended periods.

7. Troubleshooting
If you encounter issues with your bathroom bench, refer to the following common solutions:
- Bench feels wobbly:
- Ensure all four legs are adjusted to the same height.
- Verify that all assembly bolts are securely tightened.
- Check that the rubber tips are not worn or damaged and are making full contact with the floor.
- Water pooling on seat:
- Ensure the drainage holes in the seat are clear of any obstructions.
- Difficulty with assembly / parts not aligning:
- Re-read the assembly instructions carefully.
- Ensure you are using the correct hardware for each connection.
- If a part appears defective or missing, contact Drive Medical customer support.
8. Specifications
| Feature | Specification |
|---|---|
| Model Number | 12021KD-1 |
| Material | Aluminum |
| Color | White |
| Product Dimensions (D x W x H) | 20" x 17.5" x 30" (Maximum Height) |
| Item Weight | 7.5 Pounds |
| Weight Capacity | 500 lbs |
| Adjustable Seat Height Range | 14" - 19" |

9. Warranty and Support
This Drive Medical product is backed by a Limited Lifetime Warranty. This warranty covers defects in materials and workmanship for the original purchaser. For specific details regarding warranty coverage, claims, or to obtain replacement parts, please contact Drive Medical customer support directly.
Manufacturer: Drive Medical
For assistance, please refer to the contact information provided with your product packaging or visit the official Drive Medical website.