Introduction
This user manual provides detailed instructions for the Rollei Flexline 200 digital camera. Please read this manual carefully before using your camera to ensure proper operation and to maximize its performance. Keep this manual in a safe place for future reference.
Package Contents
Verify that all items listed below are included in your camera package:
- Rollei Flexline 200 Digital Camera
- User Manual
- CD-ROM Software (Zoner Photo-Studio 9 Express)
- 2 x Lithium-ion Rechargeable Batteries
- Charging Station
- Connection Cable (USB)
- Wrist Strap
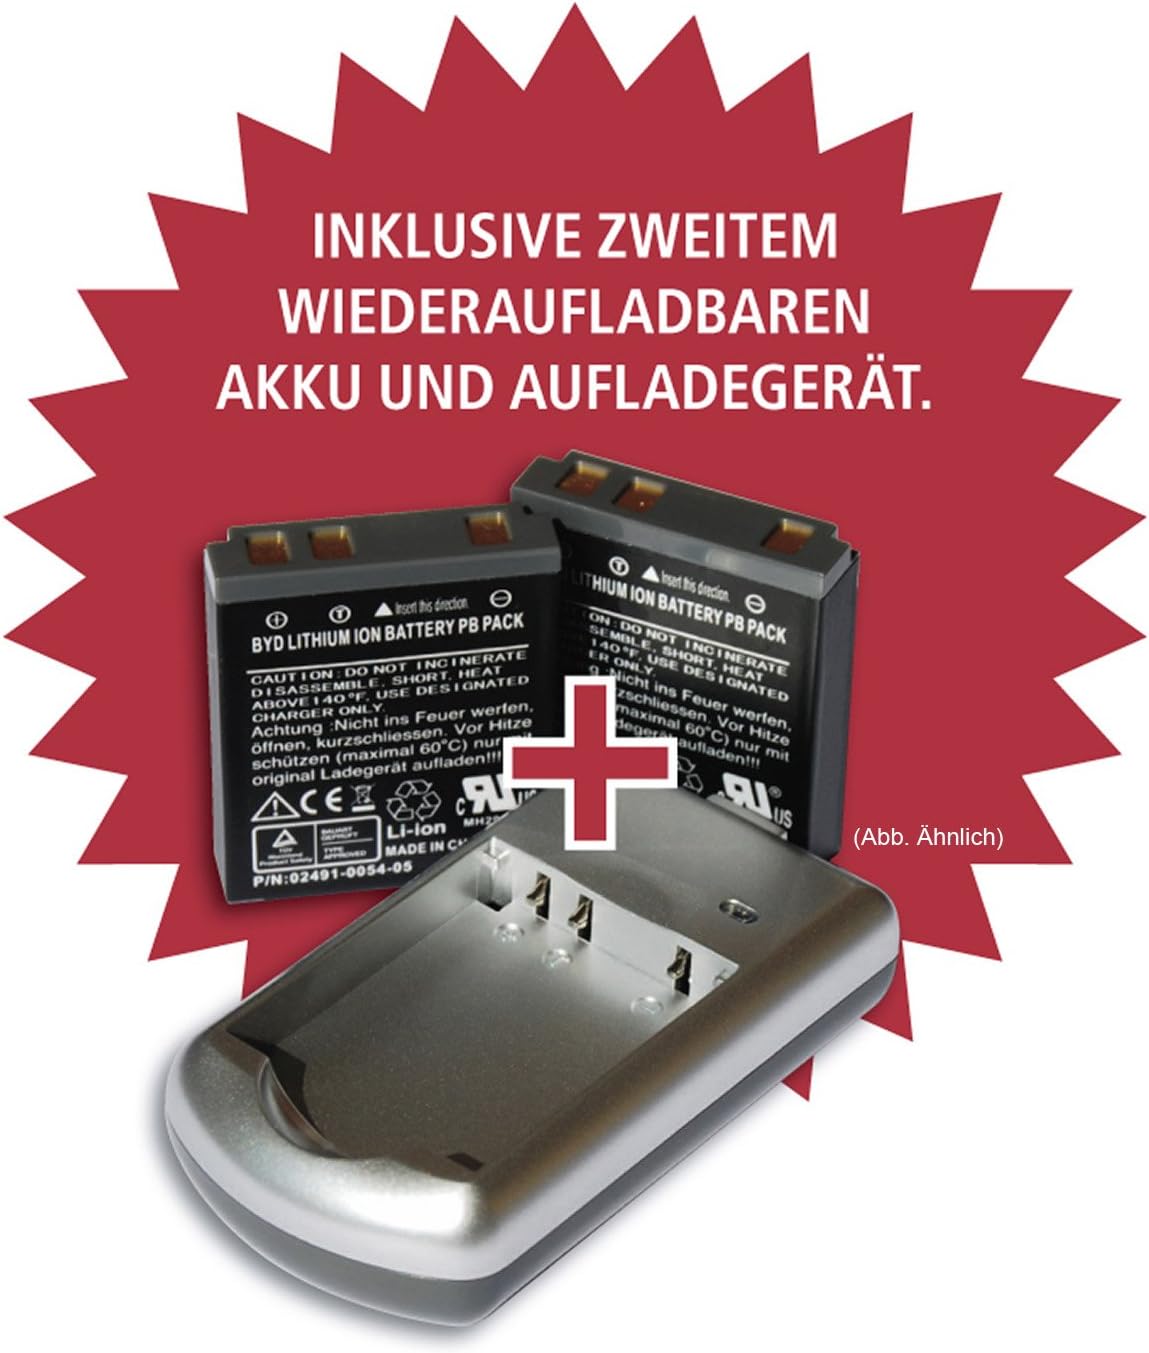
Image: Included rechargeable batteries and charging station.
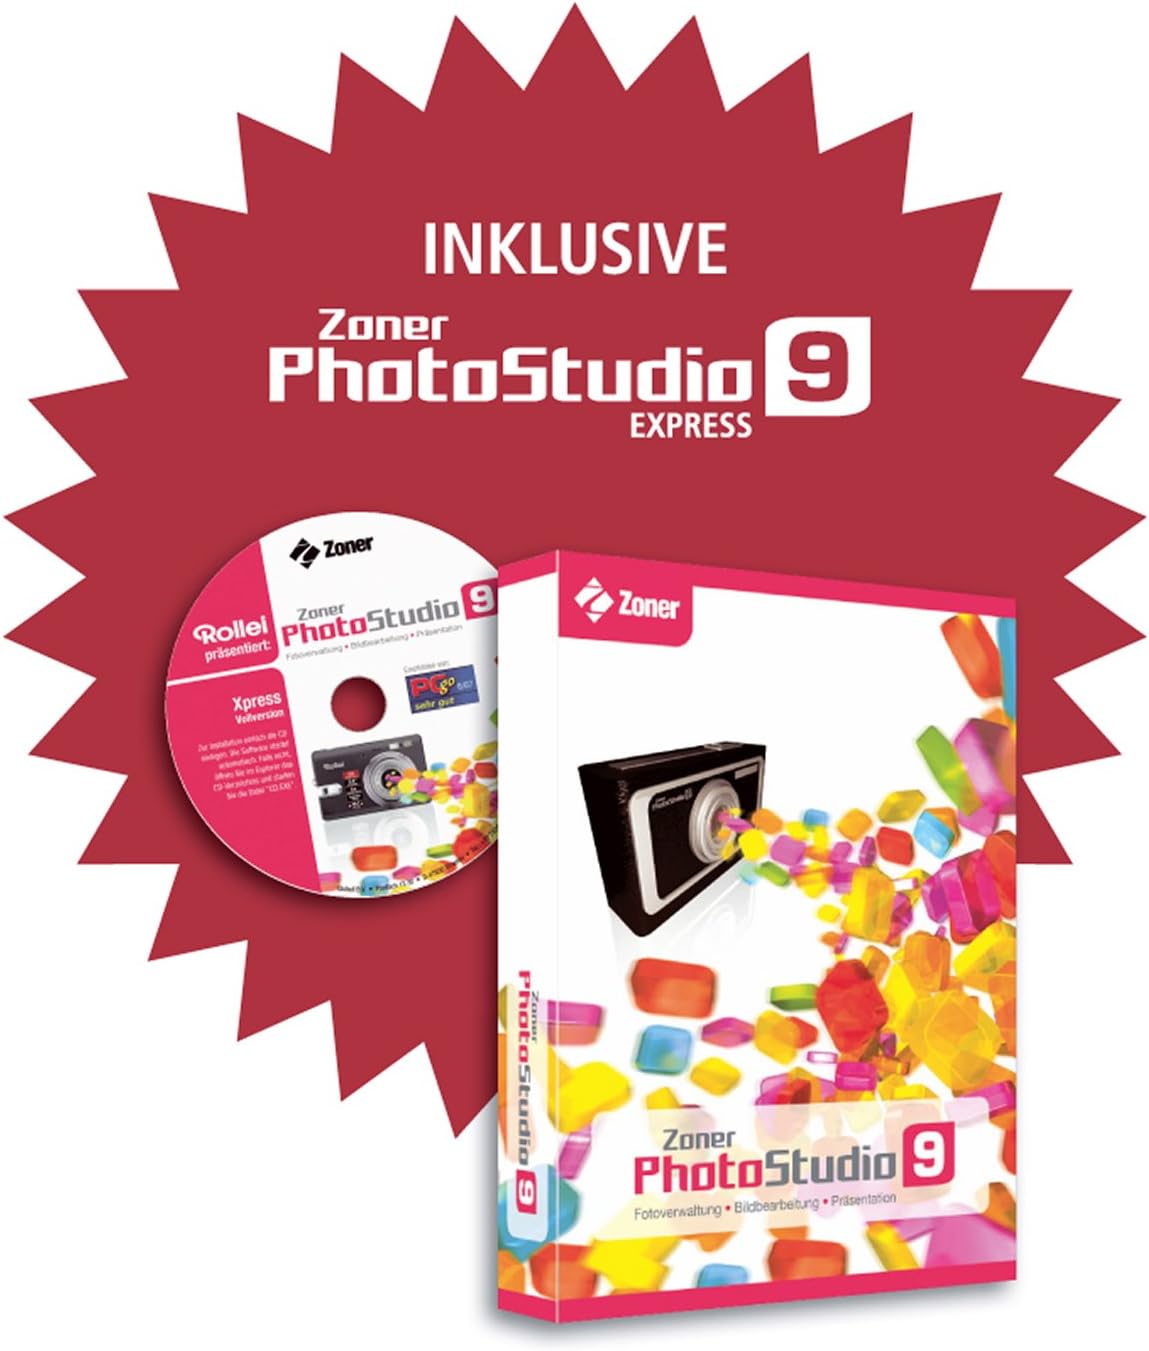
Image: Zoner PhotoStudio 9 Express software for image editing.
Camera Overview
Familiarize yourself with the various parts of your Rollei Flexline 200 camera.
Front View
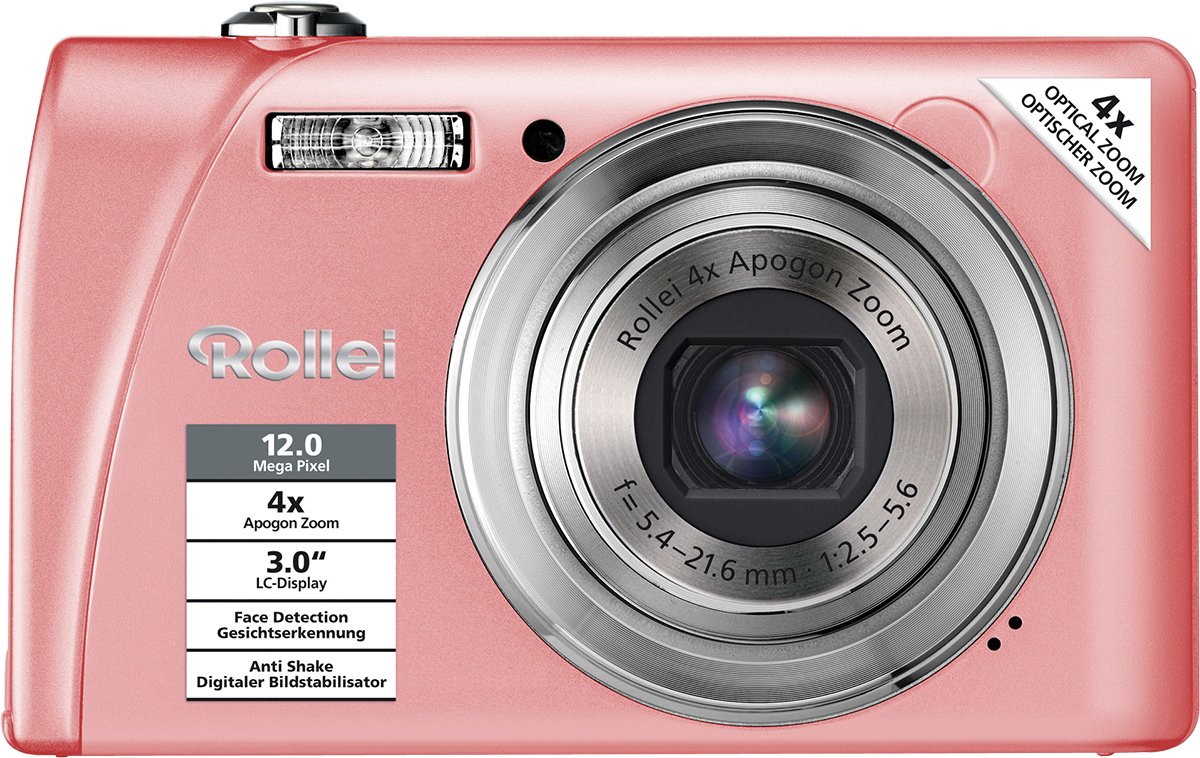
Image: Front view of the camera, highlighting the lens, flash, and key features like 12 Megapixel resolution and 4x Optical Zoom.
Rear View
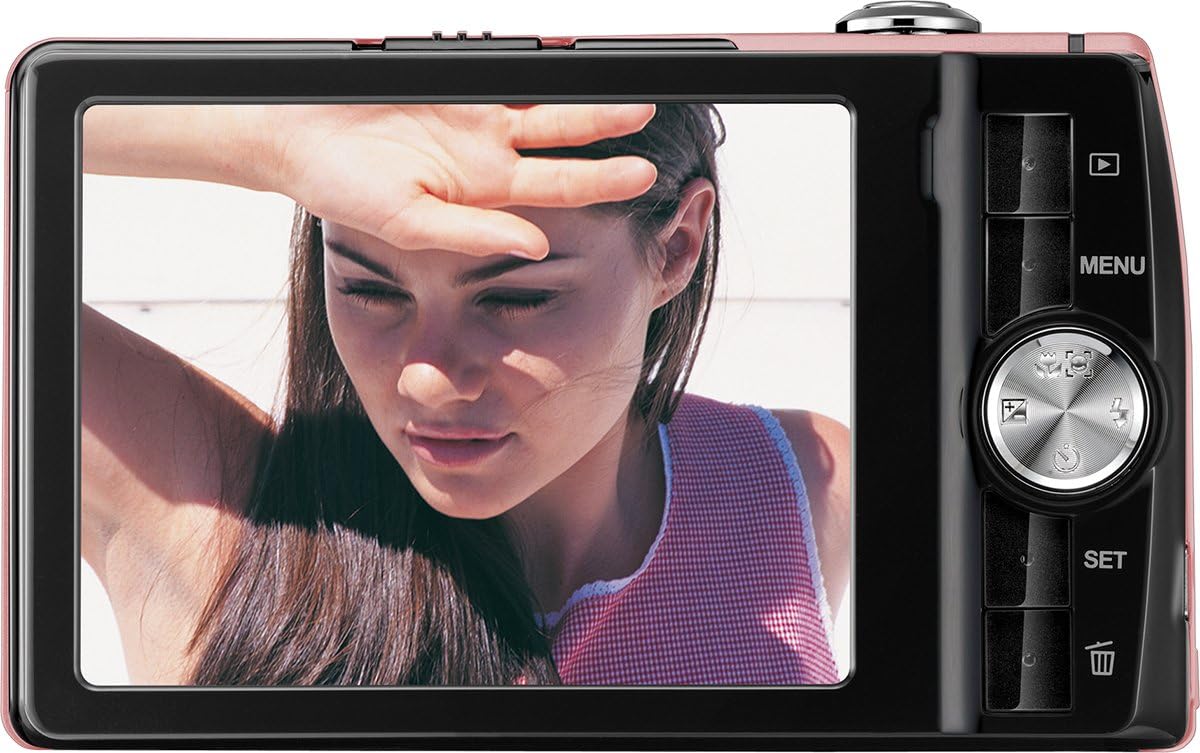
Image: Rear view of the camera, displaying the LCD screen and control panel with navigation buttons and menu access.
Setup
1. Battery Installation
- Open the battery compartment cover located on the bottom of the camera.
- Insert a fully charged Lithium-ion battery into the compartment, ensuring the correct orientation as indicated by the diagram inside.
- Close the battery compartment cover securely until it clicks into place.
2. Charging the Battery
- Place the Lithium-ion battery into the provided charging station.
- Connect the charging station to a power outlet using the appropriate cable.
- The indicator light on the charger will show the charging status. Charge until the battery is full.
3. Memory Card Installation
The camera supports SDHC memory cards.
- Locate the memory card slot, usually next to the battery compartment.
- Insert the SDHC card with the metal contacts facing the correct direction, pushing it gently until it clicks into place.
- To remove, push the card in again until it springs out slightly, then pull it out.
4. Initial Power On
- Press the Power button to turn on the camera.
- Follow the on-screen prompts to set the date, time, and language.
Operating the Camera
Power On/Off
Press the Power button located on the top of the camera to turn it on or off.
Taking Photos
- Turn on the camera.
- Frame your shot using the 3.0" LCD screen.
- Use the zoom lever to adjust the 4x optical zoom.
- Press the shutter button halfway down to activate autofocus. The focus frame will turn green when focus is achieved.
- Press the shutter button fully down to take the picture.
Mode Selection
The camera offers various shooting modes, including 21 scene programs (e.g., Night Shot, Sport) and a Panorama function. Access these modes via the camera's menu or dedicated mode button (if available).
Video Recording
- Switch to video recording mode (refer to the on-screen menu).
- Press the shutter button to start recording.
- Press the shutter button again to stop recording. Videos are saved in MP4 format.
Playback Mode
Press the Playback button (often indicated by a triangle icon) to view your captured photos and videos. Use the navigation buttons to scroll through your media.
Menu Navigation
Press the MENU button to access camera settings. Use the directional pad to navigate through options and the SET button to confirm selections.
Special Features
- Image Stabilization: Reduces blur caused by camera shake.
- Face Detection: Automatically detects and focuses on faces in the frame.
- Smile Detection: Automatically captures a photo when a smile is detected.
- Red-eye Reduction: Minimizes red-eye effect in flash photography.
- Self-Timer: Delays the shutter release for self-portraits or group shots.
- Burst Function: Captures multiple photos in quick succession.
Maintenance
Cleaning
- Camera Body: Wipe with a soft, dry cloth. Do not use harsh chemicals or solvents.
- Lens: Use a lens brush or a soft, lint-free cloth specifically designed for camera lenses. Avoid touching the lens surface with your fingers.
- LCD Screen: Gently wipe with a soft, clean cloth.
Storage
When not in use, store the camera in a cool, dry place, away from direct sunlight and extreme temperatures. Remove the battery if the camera will not be used for an extended period.
Troubleshooting
Camera Does Not Turn On
- Ensure the battery is fully charged and correctly inserted.
- Try using the second provided battery.
Pictures Are Blurry
- Check if the lens is clean.
- Ensure the camera is focusing correctly by pressing the shutter button halfway.
- Hold the camera steady or use a tripod, especially in low light.
Memory Card Error
- Ensure the memory card is inserted correctly.
- Try formatting the memory card (this will erase all data).
- Test with a different compatible SDHC memory card.
Specifications
| Model Name | Flexline 200 |
| Image Sensor | 12 Megapixels (BSI CMOS) |
| Optical Zoom | 4x |
| Digital Zoom | 6x |
| Display | 3.0" (7.62 cm) TFT Color LCD |
| Image Stabilization | Optical |
| Video Capture | MP4, 1080p, 24 fps |
| Storage Media | SDHC compatible |
| Connectivity | USB |
| Battery Type | Lithium-ion |
| Dimensions (L x W x H) | 1.9 x 9.4 x 5.7 cm |
| Weight | 126 grams |
| Autofocus | Yes (Contrast Detection, Continuous Servo AF) |
| Self-Timer | Yes |
Warranty and Support
The Rollei Flexline 200 camera comes with a 24-month warranty and replacement service. For technical support or warranty claims, please contact the Rollei Service Hotline.

Image: Rollei 24-month warranty and replacement service seal.
Please refer to the official Rollei website or the contact information provided in your product packaging for the most up-to-date support details.