Introduction
This manual provides comprehensive instructions for the setup, operation, maintenance, and troubleshooting of your ASUS Skype Videophone Touch SV1TW. Please read this manual thoroughly before using the device to ensure proper functionality and longevity.
Setup
Package Contents
- ASUS Skype Videophone Touch SV1TW
- AC Adapter
- User Manual (this document)
Connecting the Device
- Power Connection: Connect the provided AC adapter to the DC Jack on the rear of the videophone and then plug it into a power outlet.

Image: Rear view of the ASUS Skype Videophone, highlighting the DC Jack, USB ports, RJ-45 Ethernet connector, and Audio I/O Jacks.
- Network Connection:
- Wired Connection: For a stable connection, connect an Ethernet cable from your router to the RJ-45 connector on the back of the videophone.
- Wireless Connection (Wi-Fi): The device supports 802.11 b/g Wireless LAN. Navigate to the network settings on the device's touch screen to connect to your Wi-Fi network. Note: Some users have reported challenges with Wi-Fi connectivity. A wired Ethernet connection is recommended for optimal stability.
- Initial Power On: Once connected to power, the device should power on automatically or can be turned on using the power button (location typically on the side or top).
Operating Instructions
User Interface and Navigation
The ASUS Skype Videophone features a 7-inch (800x480) Touch Screen TFT LCD for primary interaction. It also includes physical buttons for navigation and call control.
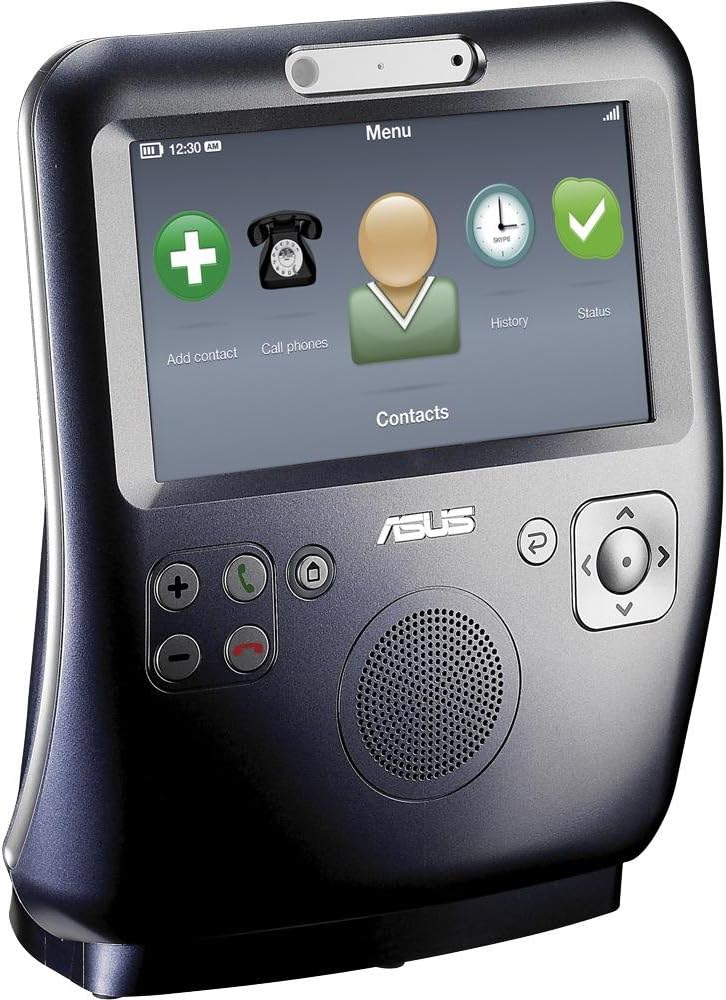
Image: Front view of the videophone displaying its main menu interface, including icons for adding contacts, making calls, viewing history, and checking status.
- Touch Screen: Tap icons and navigate menus directly on the screen.
- Physical Buttons: Use the dedicated buttons for functions such as volume control, call answer/end, main menu access, back, and directional navigation.
Making and Receiving Calls
- Adding Contacts: Use the "Add contact" option on the main screen to add new Skype contacts.
- Initiating a Call: Select a contact from your list and choose the call option. For video calls, ensure the contact's Skype name is used.
- Answering a Call: When an incoming call is received, the screen will activate. Press the green answer button or tap the corresponding icon on the screen.

Image: The videophone screen during an active video call, showing participants.
- During a Call:
- Video: The device supports video calls. Video quality may vary based on internet connection speed. You can typically enable or disable video during a call.
- Audio: The device has an integrated speaker and internal microphone. While audio is generally clear, some users have noted that microphone volume may fluctuate automatically.
- Ending a Call: Press the red end call button or tap the corresponding icon on the screen.
Power Management
To conserve power, the screen will turn into a clock display after a period of inactivity and then turn off completely. It will reactivate upon an incoming call or touch. The device includes a small internal battery, providing approximately 20 minutes of portable use. For extended use, it is recommended to keep the device connected to the AC adapter.
Maintenance
Cleaning
To clean the device, gently wipe the screen and exterior surfaces with a soft, lint-free cloth. Do not use abrasive cleaners or solvents, as these can damage the finish.
Battery Care
The internal battery is designed for short-term portability. For optimal battery life and device performance, keep the unit connected to the AC adapter when not in portable use. If the battery does not hold a charge, it may require service.
Troubleshooting
| Problem | Possible Cause / Solution |
|---|---|
| Wi-Fi connection issues |
|
| Battery does not hold a charge |
|
| Video is unstable or not displaying |
|
| Device shuts off unexpectedly |
|
| AC adapter feels hot |
|
| Microphone volume issues |
|
Specifications
| Feature | Detail |
|---|---|
| Model Name | SV1TW |
| Item Model Number | AiGuruSV1T |
| Brand | ASUS |
| Product Dimensions | 5.12 x 2.36 x 4.13 inches |
| Item Weight | 5.95 pounds (or 6 Pounds, as listed in another spec) |
| Screen Size | 7 inches (800x480 TFT LCD) |
| Resolution | 800 x 480 |
| Connectivity Technology | Wi-Fi (802.11 b/g), Fast Ethernet (RJ-45) |
| Ports | 1x USB Type A, 1x RJ-45, DC Jack, Audio I/O Jacks |
| Color | Silver/Blue (Silver Grey) |
| Manufacturer | ASUS |
| Date First Available | August 6, 2009 |
Warranty and Support
For information regarding warranty coverage, terms, and conditions, please refer to the warranty card included with your product or contact ASUS customer support directly. Support contact details can typically be found on the official ASUS website or through your point of purchase.


