
1. Introduction
Thank you for choosing the Modern Fan Altus 42-inch Outdoor Ceiling Fan. This manual provides essential information for the safe installation, operation, and maintenance of your new ceiling fan. Please read these instructions thoroughly before beginning installation and retain them for future reference.
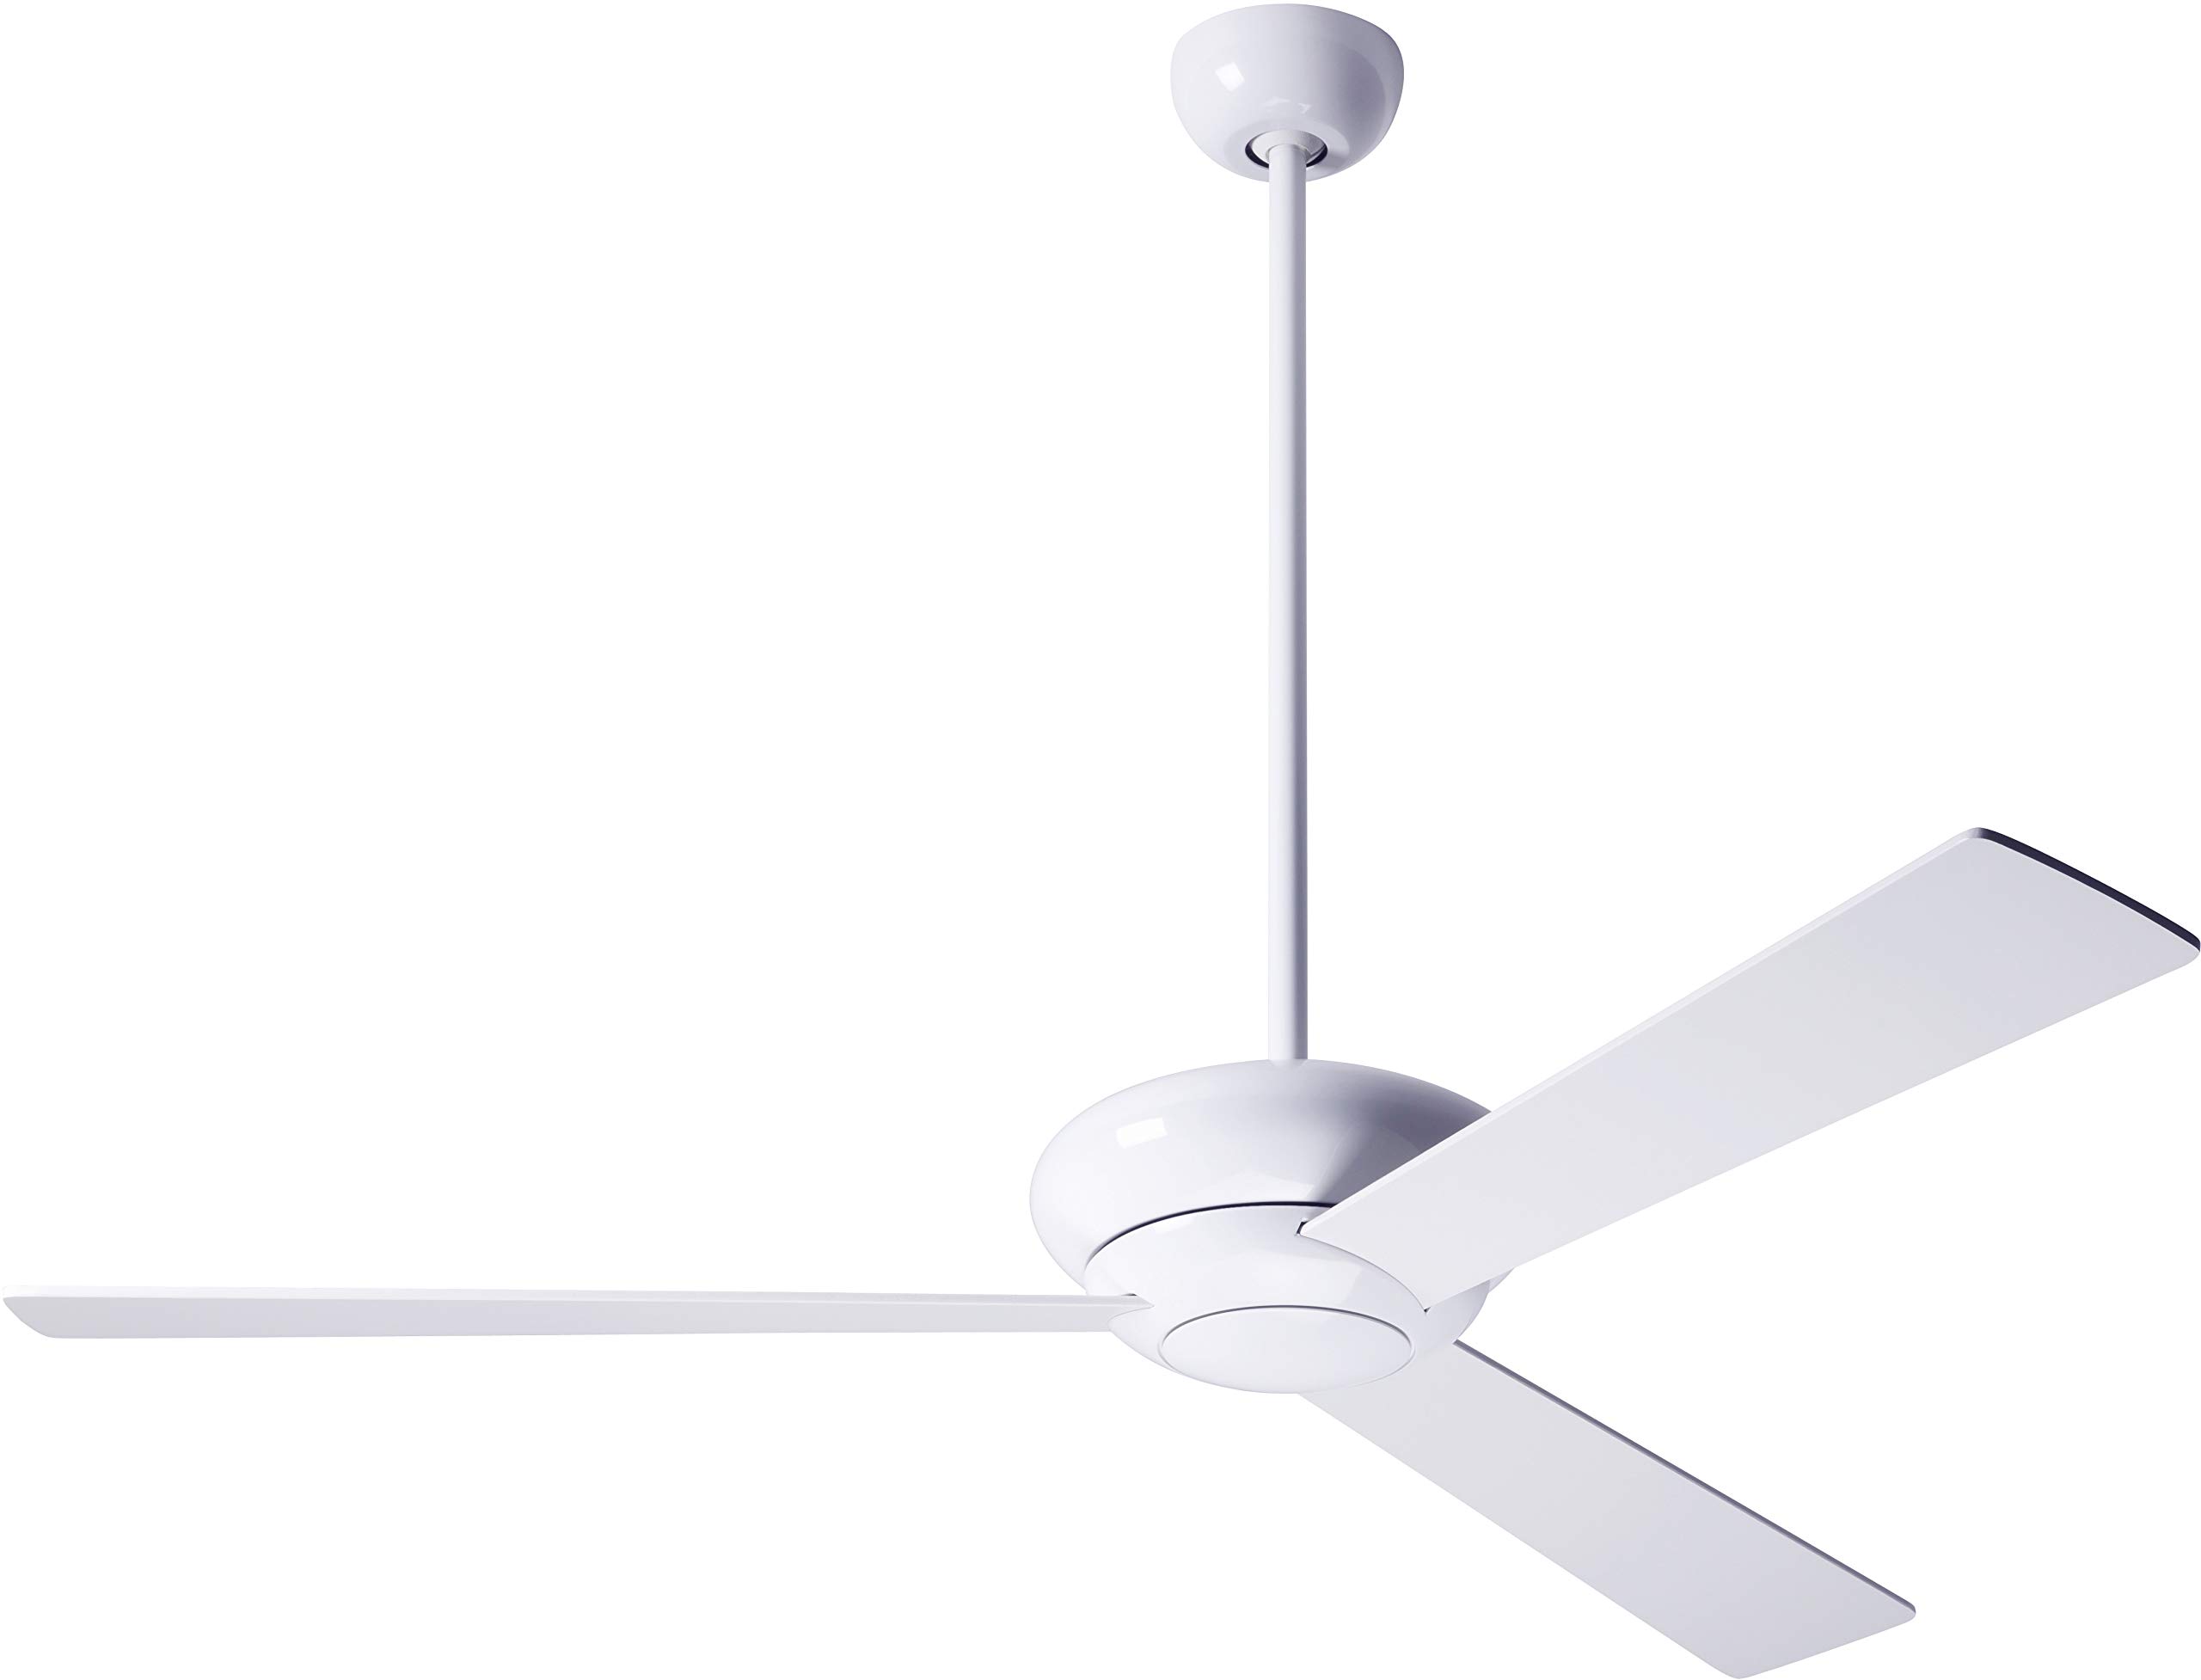
An image showing the Modern Altus 42-inch outdoor ceiling fan, featuring three blades, a downrod, and a canopy, all in a gloss white finish. The fan is designed for outdoor use and includes a wall control.
2. Safety Information
WARNING: To reduce the risk of fire, electric shock, or personal injury, always turn off power at the main circuit breaker or fuse box before installation or servicing.
- All wiring must be in accordance with national and local electrical codes. Consult a qualified electrician if you are unfamiliar with wiring.
- The fan must be mounted to a structurally sound outlet box or support system capable of supporting a minimum of 35 lbs (15.9 kg).
- Ensure the installation site allows for a minimum clearance of 7 feet (2.1 meters) from the floor to the fan blades.
- Do not operate the fan with damaged blades or housing.
- Avoid placing objects in the path of the fan blades.
- This fan is rated for outdoor use. Ensure all connections are properly sealed against moisture.
3. Package Contents
Verify that all components listed below are present before beginning installation. If any parts are missing or damaged, contact Modern Fan customer support.
- Fan Motor Assembly
- Fan Blades (3)
- Downrod
- Mounting Bracket
- Canopy and Canopy Cover
- Wall Control Unit
- Hardware Pack (screws, washers, wire nuts)
- Instruction Manual
4. Setup and Installation
Professional installation is recommended for safety and optimal performance.
4.1 Pre-Installation
- Turn off power: Disconnect power at the circuit breaker or fuse box to avoid electrical shock.
- Select location: Choose a location where the fan blades will have at least 7 feet (2.1 meters) clearance from the floor and 18 inches (45 cm) from walls or obstructions.
- Prepare outlet box: Ensure the existing outlet box is securely fastened and rated for ceiling fan support.
4.2 Mounting the Bracket
- Attach the mounting bracket to the outlet box using the screws provided with the outlet box. Ensure it is tightly secured.
4.3 Assembling the Fan
- Insert the downrod through the canopy and canopy cover.
- Feed the motor wires through the downrod.
- Secure the downrod to the fan motor assembly with the provided pin and screws.
- Carefully lift the fan assembly and hang it on the mounting bracket hook.
- Attach the fan blades to the motor housing using the blade screws. Ensure all screws are tightened securely.
4.4 Wiring the Fan
- Connect the fan's electrical wires to the household wiring according to the wiring diagram provided in the manual (typically black to black, white to white, and green/bare copper to ground). Use the provided wire nuts and ensure all connections are secure.
- Tuck the wires neatly into the outlet box.
4.5 Attaching the Canopy
- Slide the canopy up to the ceiling and secure it to the mounting bracket with the provided screws.
4.6 Installing the Wall Control
- Follow the separate instructions provided with the wall control unit for proper installation and wiring. Ensure power is off before working with electrical connections.
5. Operating Instructions
After successful installation, restore power at the circuit breaker. Your Altus fan is controlled by the included wall control unit.
5.1 Using the Wall Control
- Power On/Off: Use the main power button on the wall control to turn the fan on or off.
- Fan Speed: Adjust the fan speed using the designated speed control buttons or slider. The fan typically has multiple speed settings (e.g., Low, Medium, High).
- Directional Airflow: If your fan includes a reverse switch (often located on the motor housing), you can change the direction of airflow. In warm weather, the fan should rotate counter-clockwise to create a downdraft. In cool weather, it should rotate clockwise to create an updraft, circulating warm air without creating a direct breeze. Ensure the fan is off before changing direction.
6. Maintenance
Regular maintenance ensures the longevity and optimal performance of your ceiling fan.
- Cleaning: Clean the fan periodically with a soft, damp cloth. Do not use abrasive cleaners or solvents, as these can damage the finish. Ensure the fan is turned off and power is disconnected before cleaning.
- Blade Inspection: Check the fan blades for any cracks or damage. Replace damaged blades immediately.
- Tighten Hardware: Periodically check and tighten all screws on the motor housing, downrod, and blade attachments to prevent wobbling and noise.
- Outdoor Environment: For outdoor installations, regularly inspect for signs of corrosion or weather damage. Ensure all electrical connections remain sealed.
7. Troubleshooting
If you experience issues with your fan, consult the following troubleshooting guide before contacting customer support.
| Problem | Possible Cause | Solution |
|---|---|---|
| Fan does not start | No power to the fan Loose wire connections Wall control malfunction | Check circuit breaker/fuse Verify all wire connections are secure (power off) Ensure wall control is properly installed and functioning |
| Fan wobbles | Loose blade screws Unbalanced blades Loose mounting bracket | Tighten all blade screws Ensure blades are installed correctly and balanced (balancing kit may be needed) Verify mounting bracket is securely fastened to the outlet box |
| Noisy operation | Loose screws Motor hum Blade rubbing | Check and tighten all screws Some motor hum is normal; ensure fan is properly grounded Check for obstructions or misaligned blades |
| Wall control not working | Incorrect wiring Faulty unit | Review wall control wiring instructions Contact customer support for replacement if faulty |
8. Specifications
| Feature | Detail |
|---|---|
| Model Name | Altus |
| Model Number | ALT-GW-42-WH-NL-001 |
| Brand | Modern Fan |
| Fan Design | Ceiling Fan |
| Color | Gloss White |
| Number of Blades | 3 |
| Fan Diameter | 42 Inches |
| Indoor/Outdoor Usage | Outdoor |
| Control Method | Wall Control (Remote also included as component) |
| Voltage | 120 Volts |
| Power Source | Corded Electric |
| Item Weight | 17 pounds |
| Manufacturer | Modern Fan Company |
9. Warranty and Support
Modern Fan products are manufactured to high-quality standards. For specific warranty details, please refer to the warranty card included with your product or visit the official Modern Fan website. For technical support, replacement parts, or any inquiries, please contact Modern Fan customer service.
Modern Fan Company
Contact information typically found on the manufacturer's website or product packaging.