Important Safety Information
Read all instructions carefully before beginning installation. Failure to follow these instructions could result in electric shock, fire, or personal injury. This manual contains important information for the safe installation, operation, and maintenance of your ceiling fan.
- Always disconnect power at the main circuit breaker before installing, servicing, or cleaning the fan.
- Ensure all electrical connections comply with local codes and ordinances, as well as the National Electrical Code (NEC). If you are unfamiliar with electrical wiring, consult a qualified electrician.
- The fan must be mounted to a structurally sound ceiling joist or an outlet box marked "Acceptable for Fan Support of 35 lbs (15.9 kg) or less."
- Do not operate the fan with damaged blades or housing.
- Keep hands, clothing, and other objects clear of the fan blades when the fan is in operation.
- This fan is designed for indoor use only.
Package Contents
Carefully unpack your fan and inspect the contents. Ensure all items are present and undamaged. If any parts are missing or damaged, contact customer service before proceeding with installation.
- Fan Motor Assembly
- Fan Blades (5 count)
- Blade Brackets
- Downrod (1/2-inch diameter, 4-inch length)
- Canopy and Mounting Bracket
- Hardware Pack (screws, washers, wire nuts)
- Remote Control (adaptable, may be sold separately)
- Light Kit (adaptable, may be sold separately)
- Instruction Manual
Setup and Installation
This section provides detailed instructions for installing your Litex ELN52WW5 ceiling fan. Ensure power is disconnected at the circuit breaker before starting.
1. Mounting the Fan
The ELN52WW5 supports dual mounting installation. You can choose between a standard downrod mount or a flush mount, depending on your ceiling height and preference. The fan includes a 1/2-inch diameter, 4-inch length downrod for standard installation.
- Secure the mounting bracket to the ceiling outlet box. Ensure the outlet box is rated for fan support.
- For downrod mounting, insert the downrod through the canopy and then into the fan motor housing, securing it with the provided pin and screw.
- Carefully lift the fan assembly and hang it on the mounting bracket.
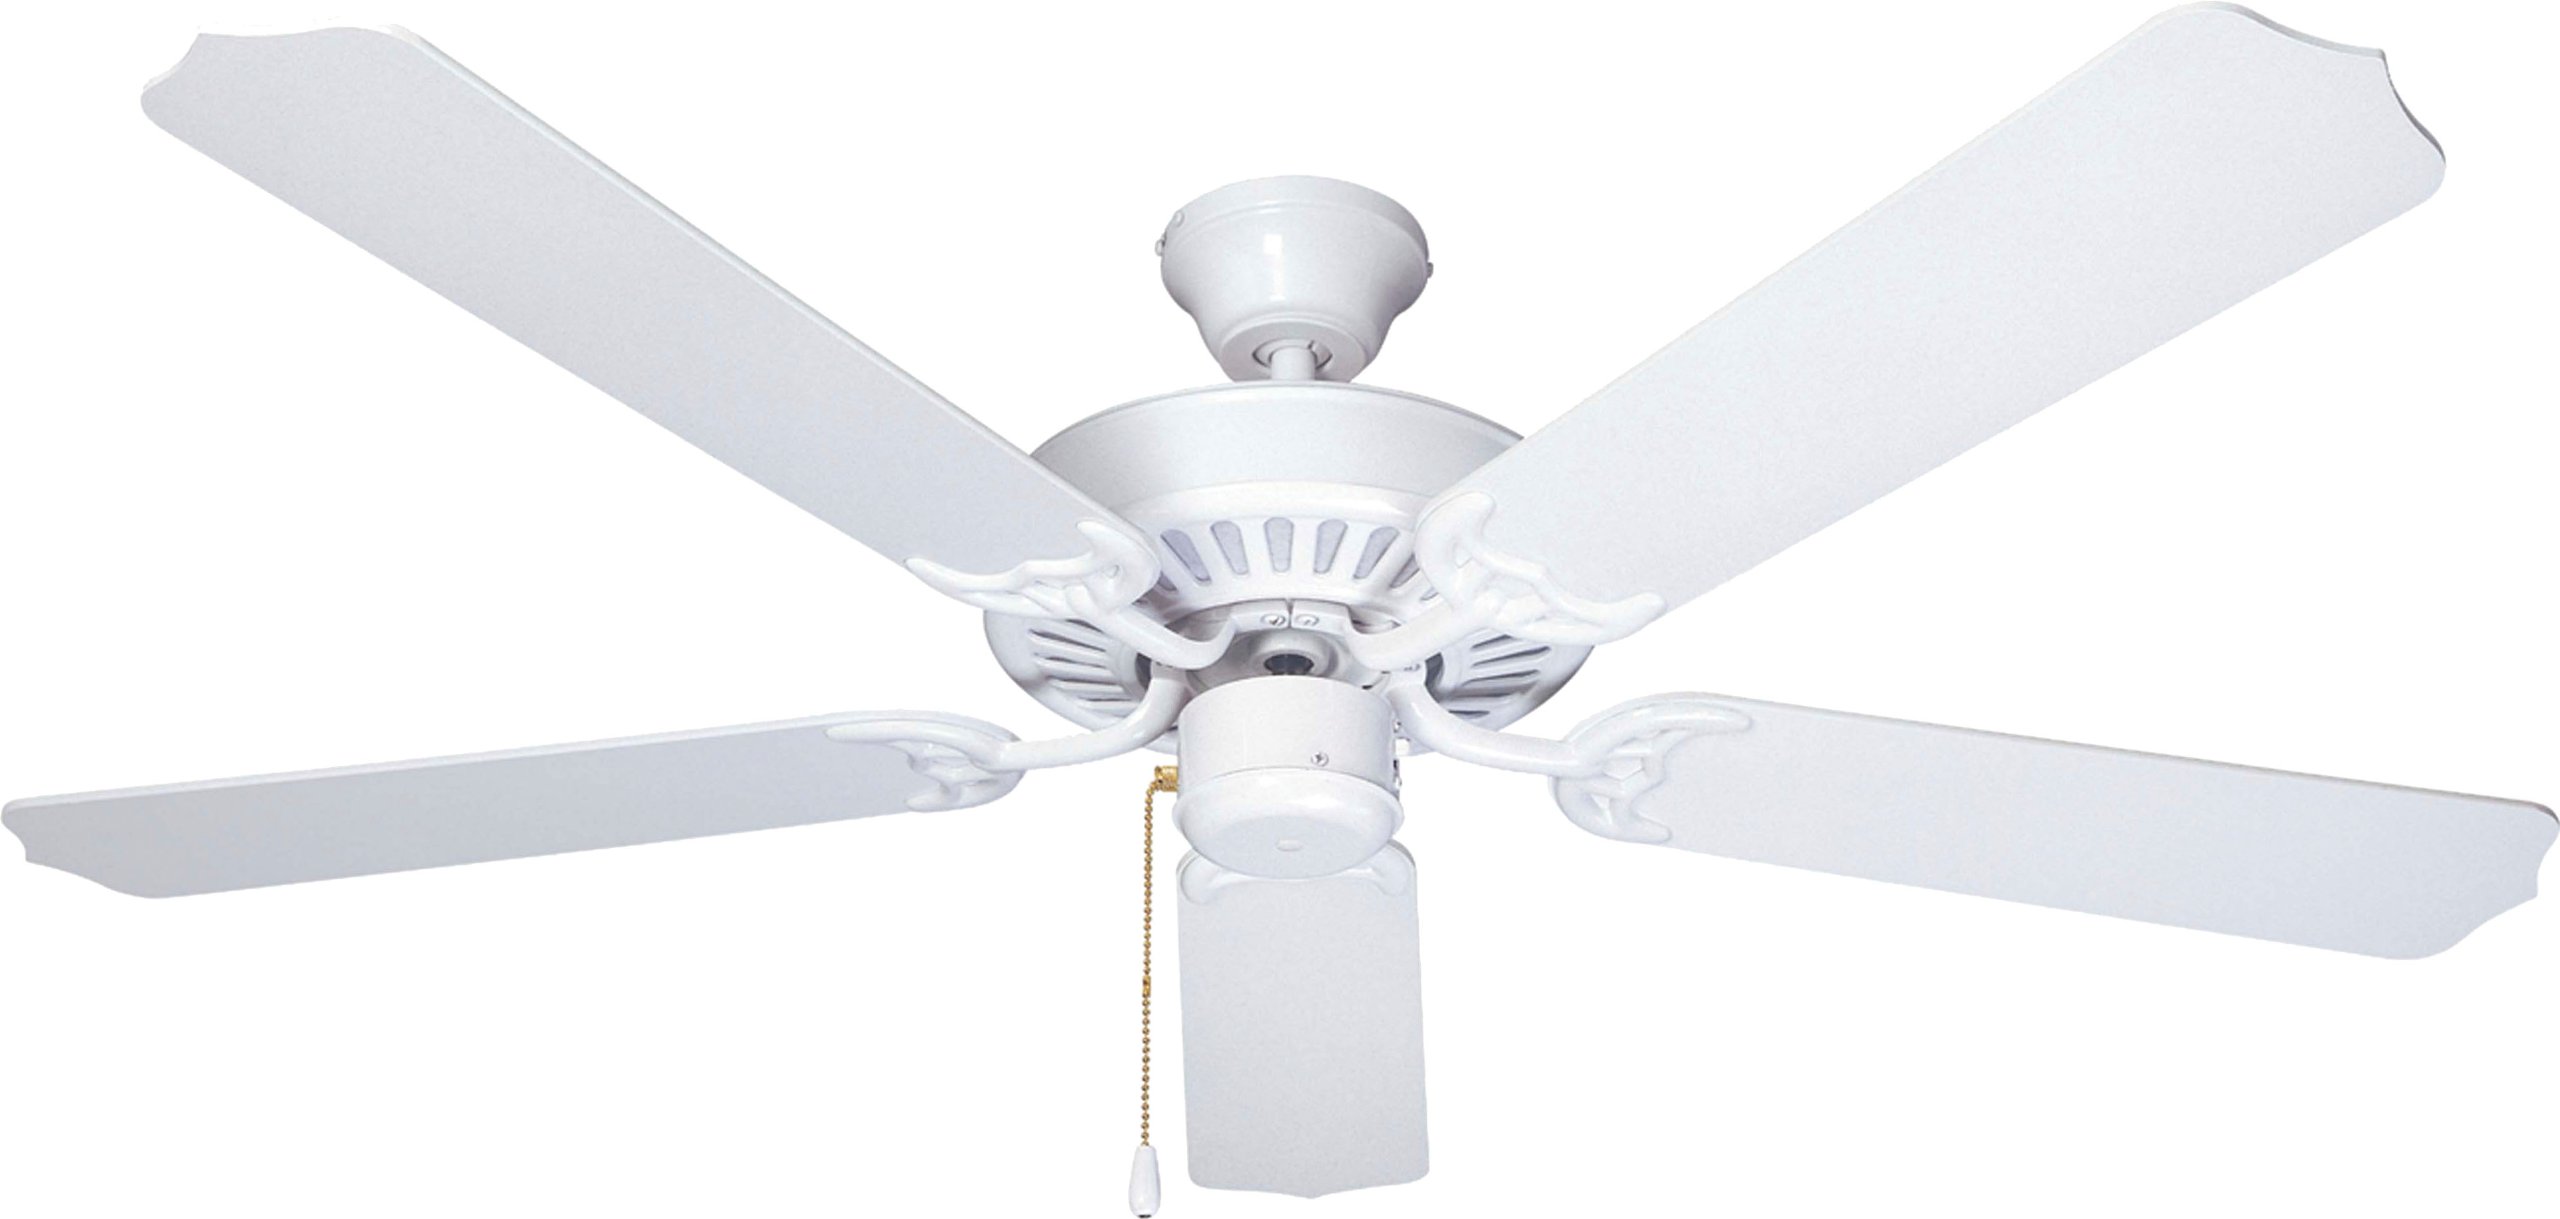
Image: The Litex ELN52WW5 ceiling fan shown installed in a kitchen environment, demonstrating its aesthetic integration.
2. Electrical Connections
Connect the fan's electrical wires to the household wiring according to the wiring diagram provided in the separate wiring guide (if applicable) or standard electrical practices. Use the provided wire nuts to secure connections.
- Connect the green/bare copper wire from the fan to the ground wire from the outlet box.
- Connect the white wire from the fan to the neutral (white) wire from the outlet box.
- Connect the black wire from the fan to the hot (black) wire from the outlet box.
3. Attaching the Blades
Your fan comes with five reversible blades (white/whitewash). Choose the finish you prefer facing downwards.
- Attach each blade to a blade bracket using the provided screws. Ensure they are securely fastened.
- Attach the blade assemblies to the fan motor housing.

Image: A close-up view of a white fan blade, illustrating the finish.
4. Light Kit Installation (Adaptable)
If you are installing an optional light kit, follow the instructions provided with the light kit. The ELN52WW5 is designed to be light kit adaptable.
Operating Instructions
Once installed, restore power to the fan at the circuit breaker.
Fan Speed Control
The ELN52WW5 is remote control adaptable. If you have installed a remote control receiver, use the remote to adjust fan speeds (low, medium, high) and turn the fan on/off. If no remote is installed, use the pull chain (if present) or a compatible wall control.
Directional Switch (Seasonal Operation)
A directional switch, typically located on the fan motor housing, allows you to change the direction of blade rotation. This is useful for optimizing air circulation for different seasons:
- Summer Operation (Counter-clockwise rotation): Creates a downward airflow, producing a cooling effect.
- Winter Operation (Clockwise rotation): Creates an upward airflow, circulating warm air near the ceiling downwards.
Always turn off the fan and wait for the blades to stop completely before changing the directional switch.
Light Operation (If Light Kit Installed)
If a light kit is installed, it can typically be controlled independently from the fan. Use the remote control or a separate pull chain/wall switch to turn the light on/off and adjust brightness if dimmable.
Maintenance
Regular maintenance ensures optimal performance and extends the life of your ceiling fan. Always disconnect power before performing any maintenance.
- Cleaning: Use a soft, damp cloth to clean the fan housing and blades. Do not use abrasive cleaners or solvents, as these can damage the finish.
- Blade Balancing: If the fan wobbles, ensure all blade screws are tight. A balancing kit (often sold separately) can be used to correct excessive wobble.
- Tightening Connections: Periodically check all screws on the fan housing, blade attachments, and mounting bracket to ensure they are secure.
Troubleshooting
Before attempting any repairs, ensure power is disconnected at the circuit breaker.
| Problem | Possible Cause | Solution |
|---|---|---|
| Fan does not start |
|
|
| Fan wobbles excessively |
|
|
| Fan is noisy |
|
|
Specifications
- Brand:
- Litex
- Model Number:
- ELN52WW5
- Size:
- 52-Inch
- Color:
- White
- Number of Blades:
- 5
- Material:
- Wood
- Finish Type:
- White
- Mounting Type:
- Dual (Downrod/Flush Mount)
- Control Method:
- Remote Control (adaptable)
- Voltage:
- 120.00 V
- Indoor/Outdoor Usage:
- Indoor
- Special Feature:
- Energy Star Certified, Remote Control Adaptable, Light Kit Adaptable
- Item Weight:
- 15 Pounds
Warranty and Support
This Litex ceiling fan comes with a limited lifetime warranty. For specific details regarding warranty coverage, parts, or technical support, please contact Litex customer service.
Customer Service Contact: 800-527-1292