1. Introduction
This manual provides essential information for the installation, operation, and maintenance of your Bosch 15200 Premium OE Fitment Oxygen Sensor. Please read these instructions carefully before proceeding with installation or use to ensure proper function and safety.
1.1. Product Overview
The Bosch 15200 Oxygen Sensor is designed for precise measurement of oxygen levels in exhaust gases, crucial for optimal engine performance and emissions control. It features a double laser-welded stainless steel body for durability and a fast-acting heater for quick operational readiness.
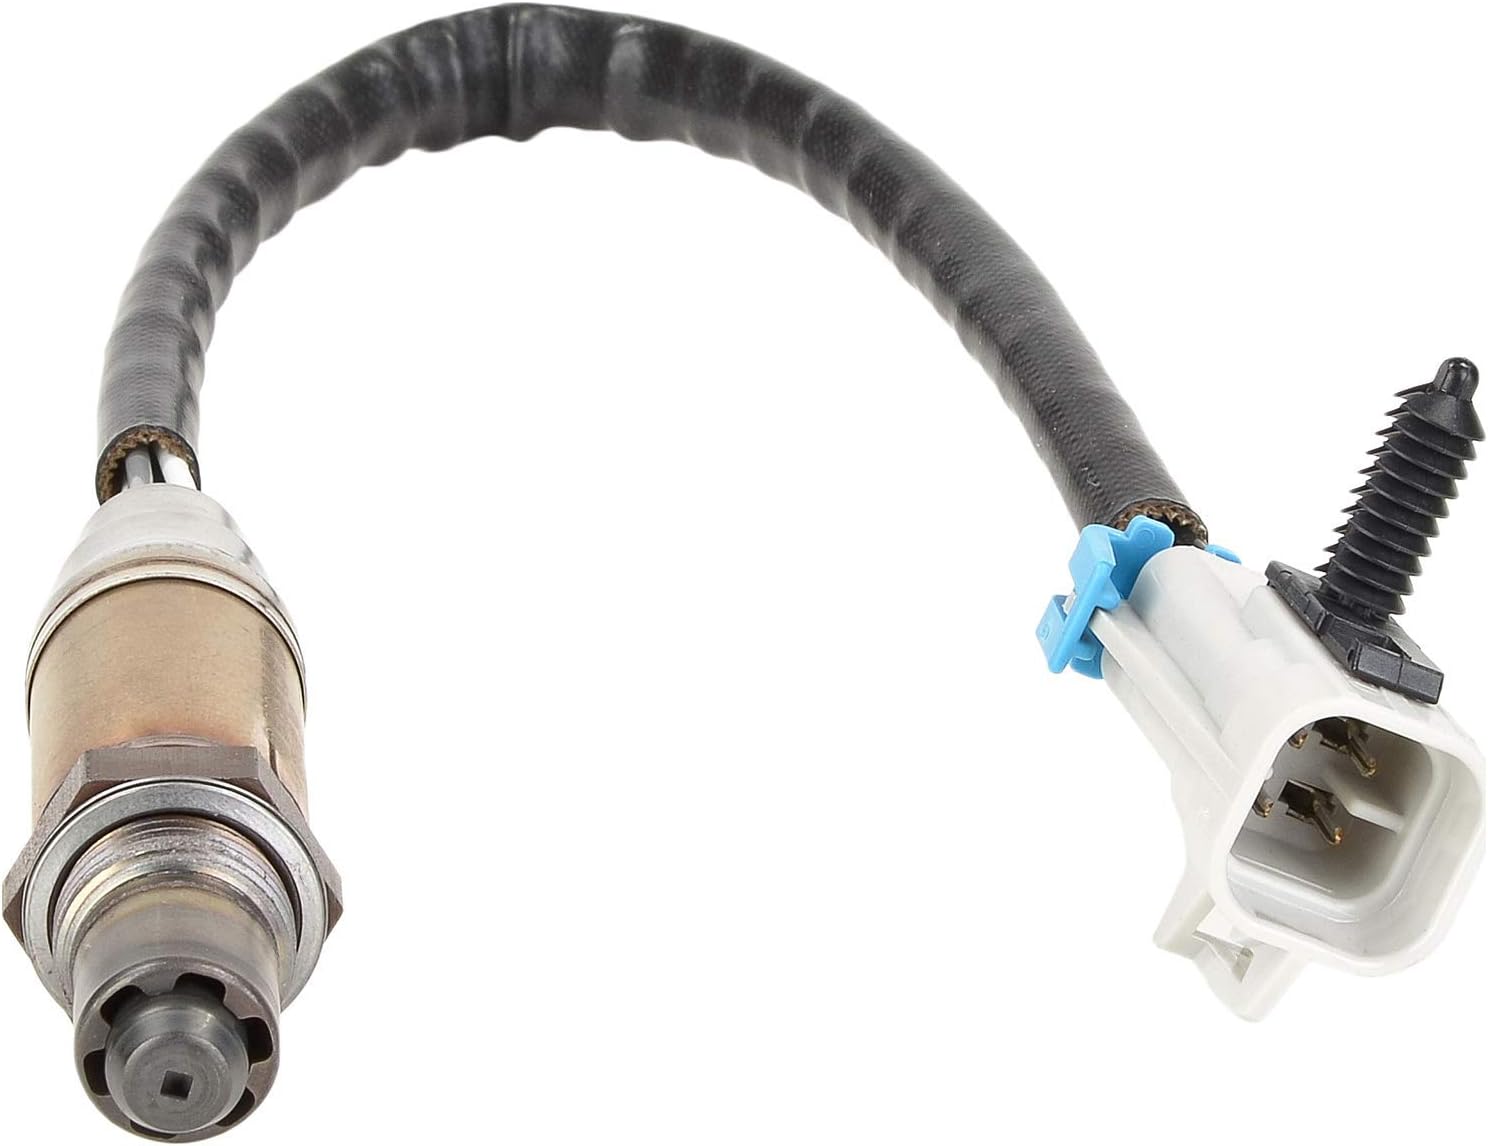
Figure 1: Bosch 15200 Oxygen Sensor, showing the sensor body, wire, and electrical connector.
1.2. What's in the Box
- One (1) Bosch 15200 Premium OE Fitment Oxygen Sensor
2. Safety Information
Always observe the following safety precautions when working on your vehicle:
- Ensure the vehicle's engine is off and cooled down before beginning any work.
- Disconnect the vehicle's battery to prevent electrical hazards.
- Wear appropriate personal protective equipment, including safety glasses and gloves.
- Work in a well-ventilated area.
- Refer to your vehicle's service manual for specific instructions and torque specifications.
3. Compatibility
The Bosch 15200 Oxygen Sensor is compatible with select vehicles, including:
- Cadillac Escalade, ESV, EXT
- Chevrolet Avalanche, Silverado, Suburban, Tahoe
- GMC Sierra, Yukon, Yukon XL
It is critical to verify specific fitment details, including the sensor position (e.g., upstream or downstream), using a vehicle fit checker or your vehicle's service manual before installation.
4. Installation Instructions
Follow these general steps for installing the Bosch 15200 Oxygen Sensor. Always consult your vehicle's specific service manual for detailed procedures.
4.1. Preparation
- Park the vehicle on a level surface and engage the parking brake.
- Allow the engine and exhaust system to cool completely.
- Locate the oxygen sensor(s) to be replaced. Refer to your vehicle's service manual for exact locations.
- Disconnect the negative terminal of the vehicle's battery.
4.2. Removal of Old Sensor
- Disconnect the electrical connector from the old oxygen sensor.
- Using an oxygen sensor socket or an appropriate wrench, carefully loosen and remove the old sensor from the exhaust pipe or manifold. Be aware that older sensors may be seized and require penetrating oil.
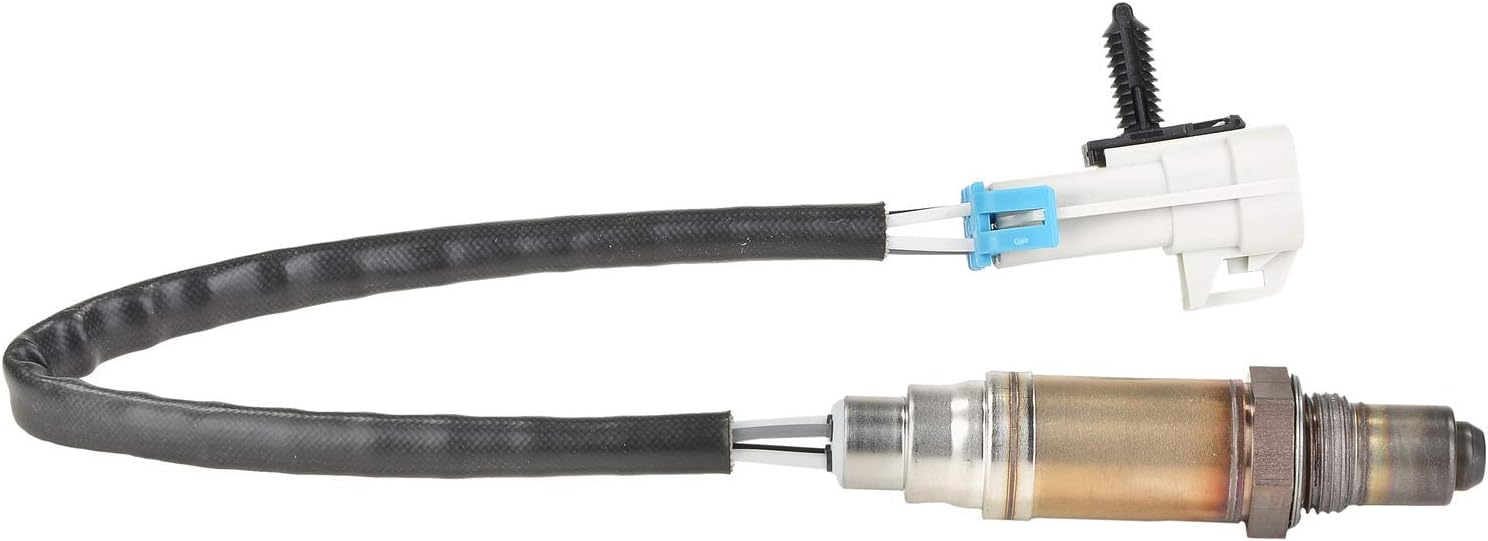
Figure 2: Close-up view of the Bosch 15200 Oxygen Sensor, highlighting the electrical connector and the sensor tip with threads.
4.3. Installation of New Sensor
- The Bosch 15200 sensor comes with threads pre-coated with anti-seize compound. Do not apply additional anti-seize unless specifically instructed by your vehicle's manufacturer.
- Carefully thread the new Bosch oxygen sensor into the exhaust bung by hand to prevent cross-threading.
- Tighten the sensor using an oxygen sensor socket or wrench to the torque specification provided in your vehicle's service manual. Overtightening can damage the sensor or exhaust system.
- Connect the electrical connector of the new sensor, ensuring it clicks securely into place. The sensor features direct-fit OE connectors for a hassle-free connection.
- Route the sensor wire away from hot exhaust components to prevent damage.

Figure 3: Side view of the Bosch 15200 Oxygen Sensor, showing the sensor body with visible Bosch branding and part numbers.
4.4. Post-Installation
- Reconnect the negative terminal of the vehicle's battery.
- Start the engine and check for any exhaust leaks around the new sensor.
- If a "Check Engine" light was present due to the old sensor, it may need to be cleared using an OBD-II scan tool.
5. Operation
The Bosch 15200 Oxygen Sensor continuously monitors the oxygen content in the exhaust gases. This data is sent to the vehicle's Engine Control Module (ECM), which uses it to adjust the air-fuel mixture for optimal combustion, fuel efficiency, and reduced emissions. The fast-acting heater ensures the sensor reaches its operating temperature quickly, typically within seconds, for immediate and accurate readings.
6. Maintenance
Oxygen sensors are wear-and-tear components. While the Bosch 15200 is designed for long-lasting performance, it is recommended to replace oxygen sensors at the intervals suggested by your vehicle manufacturer. Regular replacement helps prevent long-term damage to the engine, maintains fuel efficiency, and reduces harmful emissions.
Signs that an oxygen sensor may need replacement include:
- Illumination of the "Check Engine" light.
- Decreased fuel economy.
- Rough idling or engine hesitation.
- Increased exhaust emissions.
7. Troubleshooting
If you experience issues after installing the Bosch 15200 Oxygen Sensor, consider the following:
| Problem | Possible Cause | Solution |
|---|---|---|
| "Check Engine" light remains on after replacement. |
|
|
| Poor engine performance or fuel economy. |
|
|
If troubleshooting steps do not resolve the issue, it is recommended to consult a certified automotive technician.
8. Specifications
| Feature | Detail |
|---|---|
| Model Number | 15200 |
| Brand | Bosch Automotive |
| Material | Stainless Steel |
| Item Dimensions (L x W x H) | 2.2 x 2 x 5.8 inches |
| Item Weight | 1.6 ounces |
| Maximum Supply Voltage | 5.5 Volts (DC) |
| Mounting Type | Flange Mount |
| Output Type | Push-Pull |
| OEM Part Number | 12583804 |
| UPC | 028851152006 |
9. Warranty and Support
For warranty information and technical support regarding your Bosch 15200 Oxygen Sensor, please refer to the official Bosch Automotive website or contact Bosch customer service directly. Keep your purchase receipt for warranty claims.
You can find more information and contact details on the Bosch Automotive Store.


