1. Introduction
This manual provides comprehensive instructions for the installation, operation, maintenance, and troubleshooting of your Genie 1995-Current Series II Lighted Wall Button. This wall button is designed to work with Genie Intellicode garage door openers from 1995 to the current series, providing convenient control and a lighted indicator.
2. Safety Information
Always prioritize safety when working with electrical components and garage door systems. Failure to follow these instructions could result in serious injury or property damage.
- Disconnect Power: Before beginning any installation or maintenance, ensure the garage door opener is unplugged or its circuit breaker is turned off to prevent accidental operation.
- Moving Door Hazard: Keep hands and clothing clear of the garage door and its moving parts.
- Electrical Safety: Do not attempt to modify the wiring beyond what is described in this manual. If you are unsure about any electrical connections, consult a qualified electrician.
- Children: Keep children away from the wall button and garage door controls.
3. Package Contents
Your package should contain the following item:
- One (1) Genie 1995-Current Series II Lighted Wall Button
4. Setup and Installation
Follow these steps to install your new lighted wall button:
- Prepare for Installation: Ensure the garage door opener is unplugged from its power source or the circuit breaker is off. This prevents accidental activation during installation.
- Remove Old Wall Button (if applicable): Carefully remove your existing wall button from the wall. Disconnect the wires from the old button, noting which wire was connected to which terminal if there are distinct markings (though for this type of button, polarity often affects the light, not the function).
- Connect Wires: Connect the two low-voltage wires from your garage door opener to the terminals on the back of the new Genie wall button. The button's operation (opening/closing the door) is not polarity-sensitive. However, for the button's internal light to illuminate, the wires must be connected with the correct polarity. If the light does not work after installation, reverse the wire connections.
- Mount the New Button: Position the new wall button on the wall. Use the provided screw holes to secure it. If replacing an older button, you may need to adjust or drill new mounting holes if the existing ones do not align perfectly.
- Restore Power: Once the button is securely mounted and wired, restore power to your garage door opener by plugging it back in or turning on the circuit breaker.
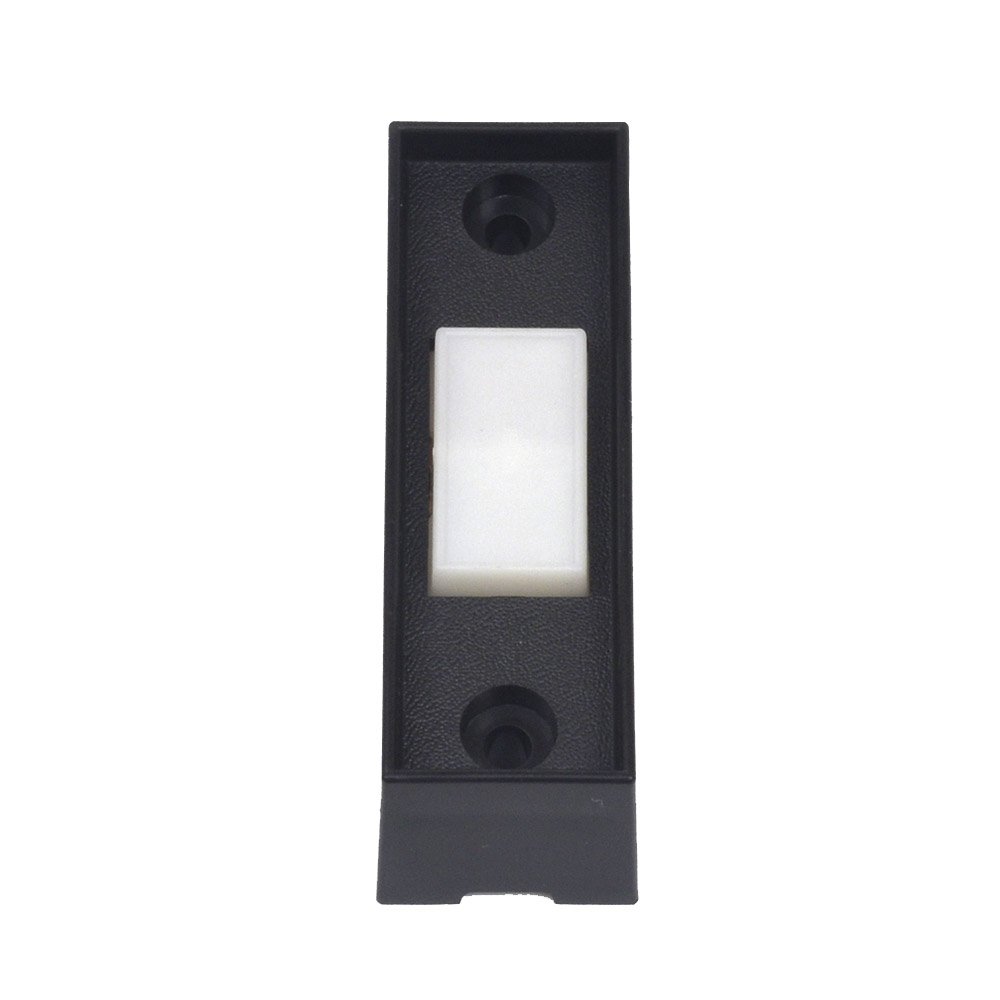
Image of the Genie 1995-Current Series II Lighted Wall Button, showing its black rectangular housing with a prominent white push button in the center. Two screw holes are visible at the top and bottom for mounting.
5. Operation
Operating your Genie Lighted Wall Button is straightforward:
- Opening/Closing the Door: Press the large white button once to activate your garage door opener. The door will either open or close, depending on its current state.
- Lighted Feature: The button features an internal light that illuminates when correctly wired, providing visibility in dark environments.
6. Maintenance
The Genie Lighted Wall Button requires minimal maintenance:
- Cleaning: Wipe the surface of the button and housing with a soft, damp cloth. Do not use abrasive cleaners or solvents.
- No Batteries: This wall button is hardwired and does not require batteries.
7. Troubleshooting
If you encounter issues with your wall button, refer to the table below:
| Problem | Possible Cause | Solution |
|---|---|---|
| Button does not activate garage door. | No power to opener; loose wire connections; faulty button. | Ensure garage door opener is plugged in and has power. Check wire connections at both the wall button and the opener terminals. If connections are secure and power is present, the button may be faulty and require replacement. |
| Button light does not illuminate. | Incorrect wire polarity; faulty light. | Disconnect power to the opener. Reverse the two low-voltage wires connected to the wall button terminals. Restore power. If the light still does not illuminate, the internal light may be faulty. |
| Mounting holes do not align with existing holes. | Standard variation in product dimensions. | Use one existing hole and mark a new position for the second screw. Drill a new pilot hole if necessary. Alternatively, if the existing screws are slightly larger, you may need to slightly widen the mounting holes on the new button. |
8. Specifications
- Manufacturer: Genie
- Part Number: 35662R 37353R
- Item Model Number: GWB-BL GWC-BX
- Item Weight: 0.353 ounces
- Product Dimensions: 2.5 x 0.5 x 0.5 inches
- Item Package Quantity: 1
- Batteries Required: No
- Date First Available: April 22, 2004
9. Warranty Information
For specific warranty details regarding your Genie 1995-Current Series II Lighted Wall Button, please refer to the documentation included with your purchase or visit the official Genie website. Warranty terms typically cover defects in materials and workmanship for a specified period from the date of purchase.
10. Customer Support
If you require further assistance or have questions not covered in this manual, please contact Genie customer support. You can typically find contact information on the official Genie website or through the retailer where you purchased the product.