Introduction
The ADK A-51 (Mk 5.1) is a Class A Pressure Gradient FET Condenser Microphone designed for studio and live sound applications. It features a fixed cardioid polar pattern and is known for its versatility across various instruments and vocals.
This manual provides essential information for the proper setup, operation, maintenance, and troubleshooting of your ADK A-51 microphone. Please read it thoroughly before use to ensure optimal performance and longevity of the product.
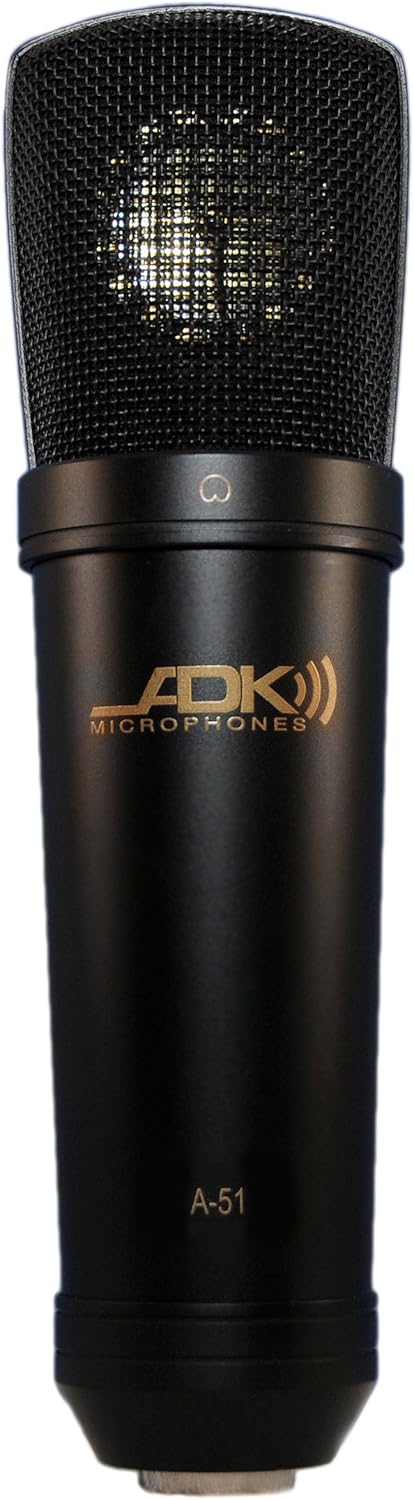
Figure 1: Front view of the ADK A-51 (Mk 5.1) Class A FET Studio Condenser Microphone. The microphone features a black body with a gold ADK Microphones logo and "A-51" model designation. The top portion is a mesh grille covering the condenser capsule.
Safety Information
- Always connect the microphone to equipment that provides 48V phantom power. Incorrect power supply can damage the microphone.
- Avoid exposing the microphone to extreme temperatures, humidity, or direct sunlight.
- Do not attempt to disassemble the microphone. Refer servicing to qualified personnel.
- Handle the microphone with care to prevent physical damage to the capsule or body.
Setup
Unpacking
Carefully remove the microphone and any included accessories from its packaging. Inspect for any signs of damage during transit. The package should contain the microphone unit.
Connecting the Microphone
- Ensure your audio interface, mixer, or preamplifier is turned off and its phantom power is disengaged.
- Connect a standard 3-pin XLR cable to the microphone's XLR output connector.
- Connect the other end of the XLR cable to an available XLR input on your audio interface, mixer, or preamplifier.
- Once the microphone is securely connected, activate the 48V phantom power on your audio device.
- Wait a few seconds for the microphone to stabilize before beginning recording or sound checks.
Mounting
The ADK A-51 is typically mounted using a standard microphone stand and a compatible shock mount or clip (sold separately). Ensure the microphone is securely fastened to prevent accidental falls.
Operating Instructions
Microphone Placement
The optimal placement of the ADK A-51 depends on the sound source and desired sonic characteristics. As a cardioid microphone, it is most sensitive to sounds directly in front of it and rejects sounds from the rear. Experiment with distance and angle to achieve the best results for vocals, acoustic instruments, or amplifier cabinets.
Gain Staging
Adjust the input gain on your audio interface or mixer to achieve a healthy signal level without clipping. The A-51 has a high maximum SPL, but proper gain staging is crucial for clean recordings.
Internal Switches (S-51 Model Reference)
While the A-51 model features a fixed cardioid pattern and no external switches, the related S-51 model incorporates a -10 dB pad switch and a 100 Hz roll-off (high-pass filter) switch on its body. These features are designed to handle high sound pressure levels and reduce low-frequency rumble, respectively. Consult the specific manual for the S-51 if you are using that model.
Maintenance
- Cleaning: Use a soft, dry cloth to wipe the microphone body. Do not use liquid cleaners or solvents, as they may damage the finish or internal components.
- Storage: When not in use, store the microphone in its protective case or a dry, dust-free environment. Avoid storing it in areas with high humidity or extreme temperature fluctuations.
- Handling: Always handle the microphone by its body, not by the grille or cable.
Troubleshooting
| Problem | Possible Cause | Solution |
|---|---|---|
| No Sound Output |
|
|
| Low Output Level |
|
|
| Distorted Sound |
|
|
Specifications
| Feature | Detail |
|---|---|
| Type | Class A Pressure Gradient FET Condenser Microphone |
| Polar Pattern | Fixed Cardioid (Unidirectional) |
| Sensitivity | 15mv/Pa |
| Impedance | 200 Ohms |
| Signal-to-Noise Ratio (S/N) | 77dB (Ref: 1 Pa / A-Weighted) |
| Equivalent Self-Noise | 17dB (A-Weighted / IEC 268-4) |
| Max SPL @ 0.5% THD | 130dB |
| Total Dynamic Range | 113 dB |
| Low-Cut Filter (HPF) | Flat / 100Hz (internal switch - Note: This feature is present internally on the A-51, and externally on the S-51 model.) |
| Power Requirement | Phantom Power 48V ± 4V |
| Body Color | Black |
| Connectivity Technology | XLR |
| Included Components | Microphone |
| Item Weight | 1 Pounds (0.45 kg) |
| Product Dimensions (L x W x H) | 8.25 x 2 x 2 inches (20.96 x 5.08 x 5.08 cm) |
| First Available Date | April 3, 2009 |
Note: Specifications are subject to change without notice.
Warranty and Support
For information regarding warranty coverage and technical support for your ADK A-51 microphone, please refer to the official ADK Microphones website or contact their customer service directly. Warranty terms may vary by region and purchase date.
ADK Microphones Official Website: www.adkmic.com
For service or repair, contact an authorized ADK Microphones service center.