Introduction
This manual provides instructions for the safe and effective use of your Draper 47811 Heavy Duty Professional Pistol Type Grease Gun. This tool is designed for applying medium or heavy grease in agricultural or industrial applications. It supports both bulk and cartridge loading methods and features a 1/8" BSPT threaded connection.
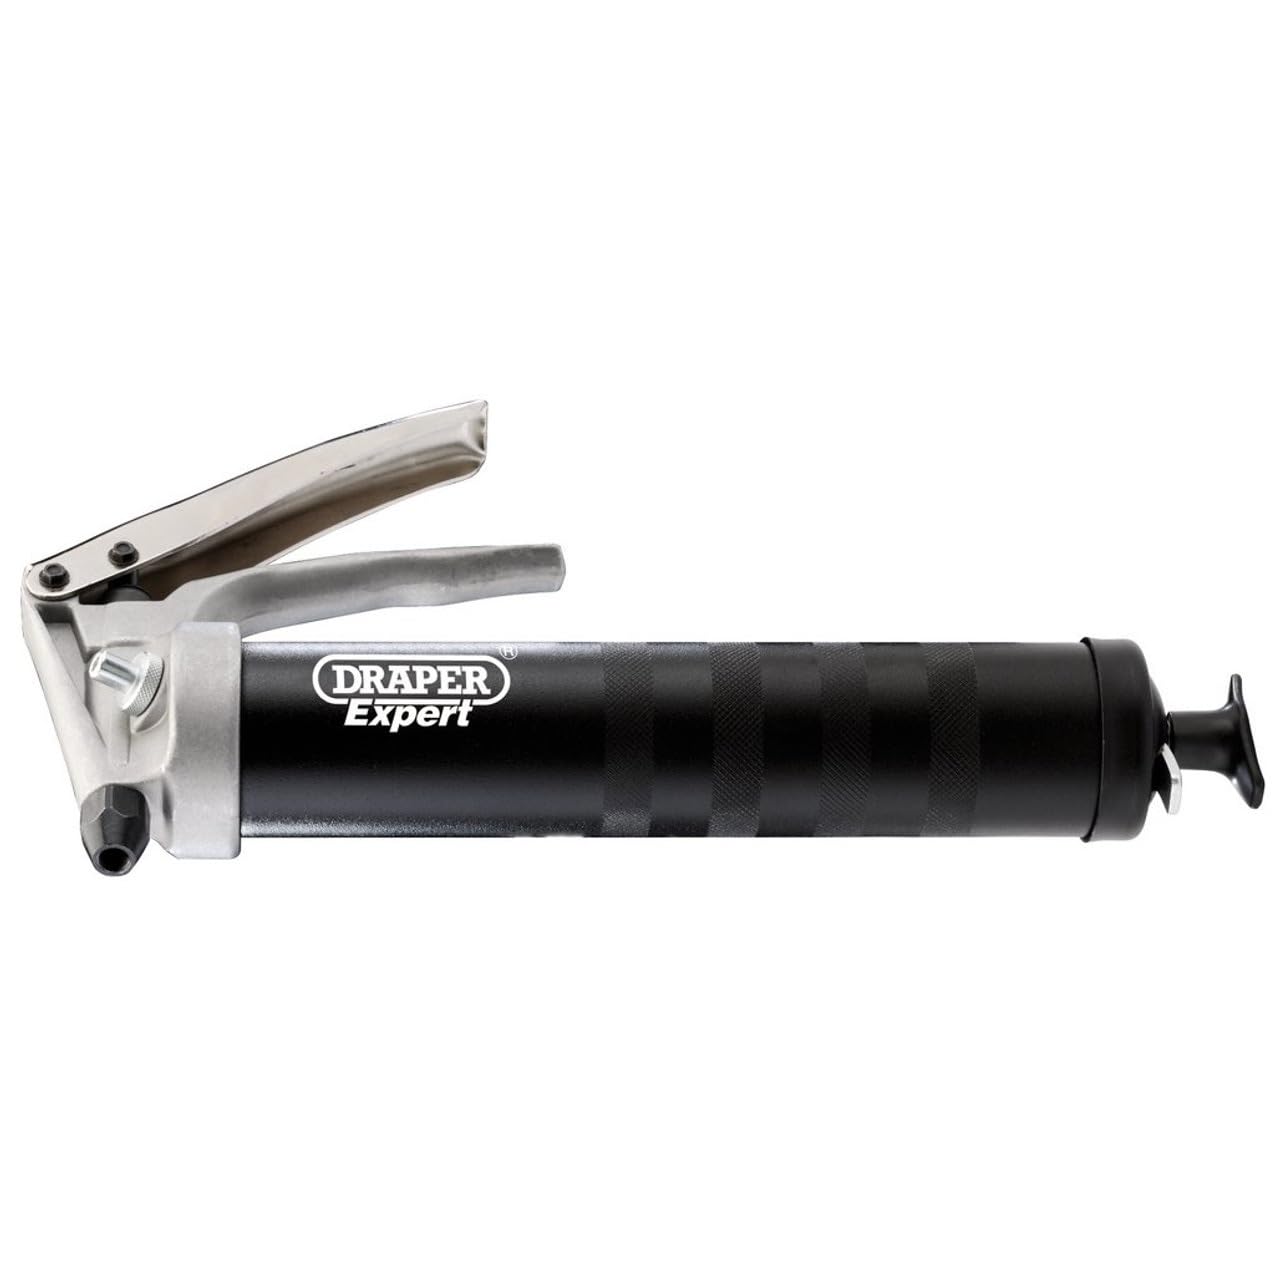
Image: The Draper 47811 Heavy Duty Professional Pistol Type Grease Gun, shown with its flexible hose attachment.
Safety Instructions
Always follow these safety guidelines to prevent injury and damage to the equipment:
- Wear appropriate personal protective equipment, including safety glasses and gloves, when operating the grease gun.
- Ensure the grease gun is clean and free from debris before and after use.
- Never point the grease gun at yourself or others. High-pressure grease injection can cause serious injury.
- Use only the type of grease recommended for your application. Mixing incompatible greases can lead to equipment failure.
- Do not modify the grease gun. Use only genuine Draper replacement parts and accessories.
- Release pressure from the grease gun before attempting to disassemble or clean it.
- Store the grease gun in a clean, dry place, out of reach of children.
Components
The Draper 47811 Grease Gun typically includes the following components:
- Grease Gun Body (Pistol Type)
- Flexible Grease Hose with Coupler
- Plunger Rod with Handle

Image: The main body of the Draper grease gun and its flexible hose attachment.
Setup
Loading a Grease Cartridge
- Unscrew the barrel from the head of the grease gun.
- Pull the plunger rod all the way back and lock it into place by rotating the handle.
- Remove the cap from one end of a standard 400g grease cartridge and insert the open end into the barrel.
- Remove the seal from the other end of the cartridge.
- Screw the barrel back onto the grease gun head securely.
- Release the plunger rod by rotating the handle and push it forward to create pressure.
Loading Bulk Grease
- Unscrew the barrel from the head of the grease gun.
- Pull the plunger rod all the way back and lock it into place by rotating the handle.
- Using a spatula or similar tool, carefully fill the barrel with bulk grease, ensuring no air pockets are trapped.
- Screw the barrel back onto the grease gun head securely.
- Release the plunger rod by rotating the handle and push it forward to create pressure.
Priming the Grease Gun
After loading, it is essential to prime the grease gun to remove any trapped air and ensure a consistent flow of grease.
- Attach the flexible hose or rigid pipe to the grease gun head.
- Point the nozzle into a waste container.
- Pump the handle repeatedly until grease begins to flow smoothly from the nozzle. If no grease flows, slightly unscrew the barrel from the head to release trapped air, then re-tighten and pump again.
Operating Instructions
Once the grease gun is loaded and primed, it is ready for use.
- Clean the grease fitting (nipple) on the component to be lubricated.
- Firmly press the coupler of the grease gun onto the grease fitting until it snaps into place. Ensure a secure connection to prevent grease leakage.
- Pump the pistol handle slowly and steadily. Observe the component being lubricated for signs of grease expulsion or until the desired amount of grease has been applied.
- To remove the coupler from the fitting, twist and pull firmly. If the coupler is stuck, slightly tilt it while pulling.
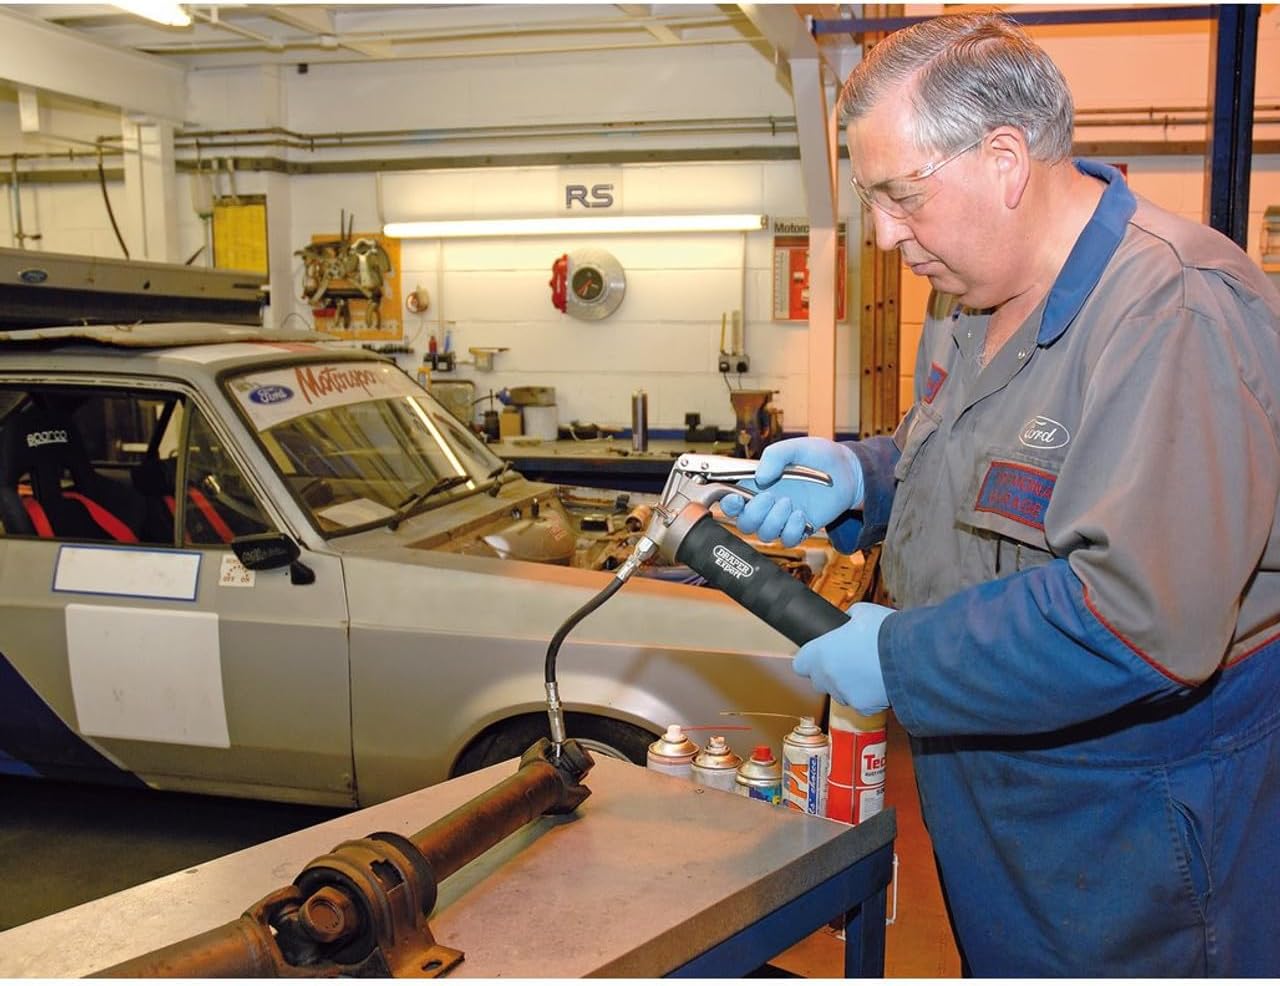
Image: A mechanic applying grease to a vehicle driveshaft using the Draper pistol-type grease gun.

Image: A close-up view of hands operating the Draper grease gun, demonstrating the pistol grip action.

Image: A worker using the Draper grease gun to lubricate a forklift in an industrial setting.
Maintenance
Regular maintenance ensures the longevity and proper function of your grease gun.
- Cleaning: After each use, wipe down the exterior of the grease gun to remove any excess grease or dirt. Keep the nozzle and coupler clean to prevent contamination of grease fittings.
- Storage: Store the grease gun in a clean, dry environment. Avoid extreme temperatures.
- Inspection: Periodically inspect the hose, coupler, and barrel for signs of wear, damage, or leaks. Replace any worn or damaged components immediately.
- Pressure Release: If storing for an extended period, it is advisable to release any remaining pressure in the gun.
Troubleshooting
Here are some common issues and their solutions:
- No Grease Flow:
- Check if the grease cartridge is empty or if bulk grease has run out.
- An air pocket may be trapped. Try priming the gun again as described in the Setup section.
- The nozzle or coupler may be clogged. Clean or replace if necessary.
- Ensure the plunger rod is fully engaged and creating pressure.
- Grease Leaking from Coupler:
- The coupler may not be securely attached to the grease fitting. Ensure a firm connection.
- The grease fitting itself might be worn or damaged.
- The coupler's internal jaws or seal may be worn. Replace the coupler if needed.
- Grease Leaking from Barrel Threads:
- Ensure the barrel is tightly screwed onto the gun head.
- Check the O-ring seal between the barrel and the head for damage. Replace if necessary.
Specifications
| Manufacturer | Draper |
| Part Number | 47811 |
| Item Model Number | 47811 |
| Style | Professional Heavy Duty Pistol-Type |
| Item Weight | 3.43 pounds |
| Product Dimensions | 17.72 x 6.69 x 3.11 inches |
| Color | Blue |
| Item Package Quantity | 1 |
| Number Of Pieces | 1 (Grease Gun with hose) |
| Included Components | Draper Professional Pistol-Type Grease Gun |
Warranty and Support
For warranty information and customer support, please refer to the documentation included with your purchase or visit the official Draper Tools website. Keep your purchase receipt as proof of purchase for any warranty claims.