Introduction
Thank you for choosing the Westinghouse Arius 132 cm Indoor Ceiling Fan. This manual provides essential information for the safe installation, operation, and maintenance of your new ceiling fan. Please read all instructions carefully before beginning installation and retain this manual for future reference.
Important Safety Instructions
- Always disconnect power at the main circuit breaker before installation or maintenance.
- All electrical connections must be in accordance with local codes, ordinances, or national electrical codes. If you are unfamiliar with proper electrical wiring, consult a qualified electrician.
- Ensure the installation site is structurally sound and can support the fan's weight (approximately 9.4 kg).
- Do not operate the fan with damaged blades or any other damaged components.
- Keep hands, hair, and clothing away from the fan blades when the fan is in operation.
- This fan is designed for indoor use only.
Package Contents
Verify that all components listed below are included in your package. If any parts are missing or damaged, contact your retailer for assistance.

Image: All components of the Westinghouse Arius ceiling fan laid out, including the motor housing, blades, light kit, mounting bracket, and remote control.
- Motor Housing Assembly
- Five Reversible Fan Blades (White/High-Gloss Black)
- Blade Brackets
- Light Kit with Opal Crystal Glass Shades (5 pieces)
- Remote Control Unit
- Mounting Bracket and Hardware
- Downrod
- Instruction Manual
Setup and Installation
Before You Begin
- Ensure the power is OFF at the circuit breaker.
- Gather all necessary tools: screwdriver, wire strippers, ladder, etc.
- Confirm the ceiling junction box is securely mounted and rated for fan support.
Mounting the Fan
- Secure the mounting bracket to the ceiling junction box using the provided screws.
- Carefully lift the fan motor assembly and hang it on the mounting bracket hook.
- Make all electrical connections (live, neutral, ground) according to the wiring diagram in the detailed instruction manual. Ensure all connections are secure.
- Attach the fan blades to the blade brackets, ensuring the desired blade finish (white or black) is facing downwards.
- Secure the blade assemblies to the motor housing.
- Install the light kit by connecting the wiring and securing the light fixture to the fan motor housing. Insert 5 E14 9W 3U bulbs (not included).
- Attach the glass shades to the light kit.
- Carefully raise the canopy to cover the mounting bracket and secure it with the canopy screws.

Image: The Westinghouse Arius ceiling fan with black blades installed in a contemporary living space, demonstrating its aesthetic integration.
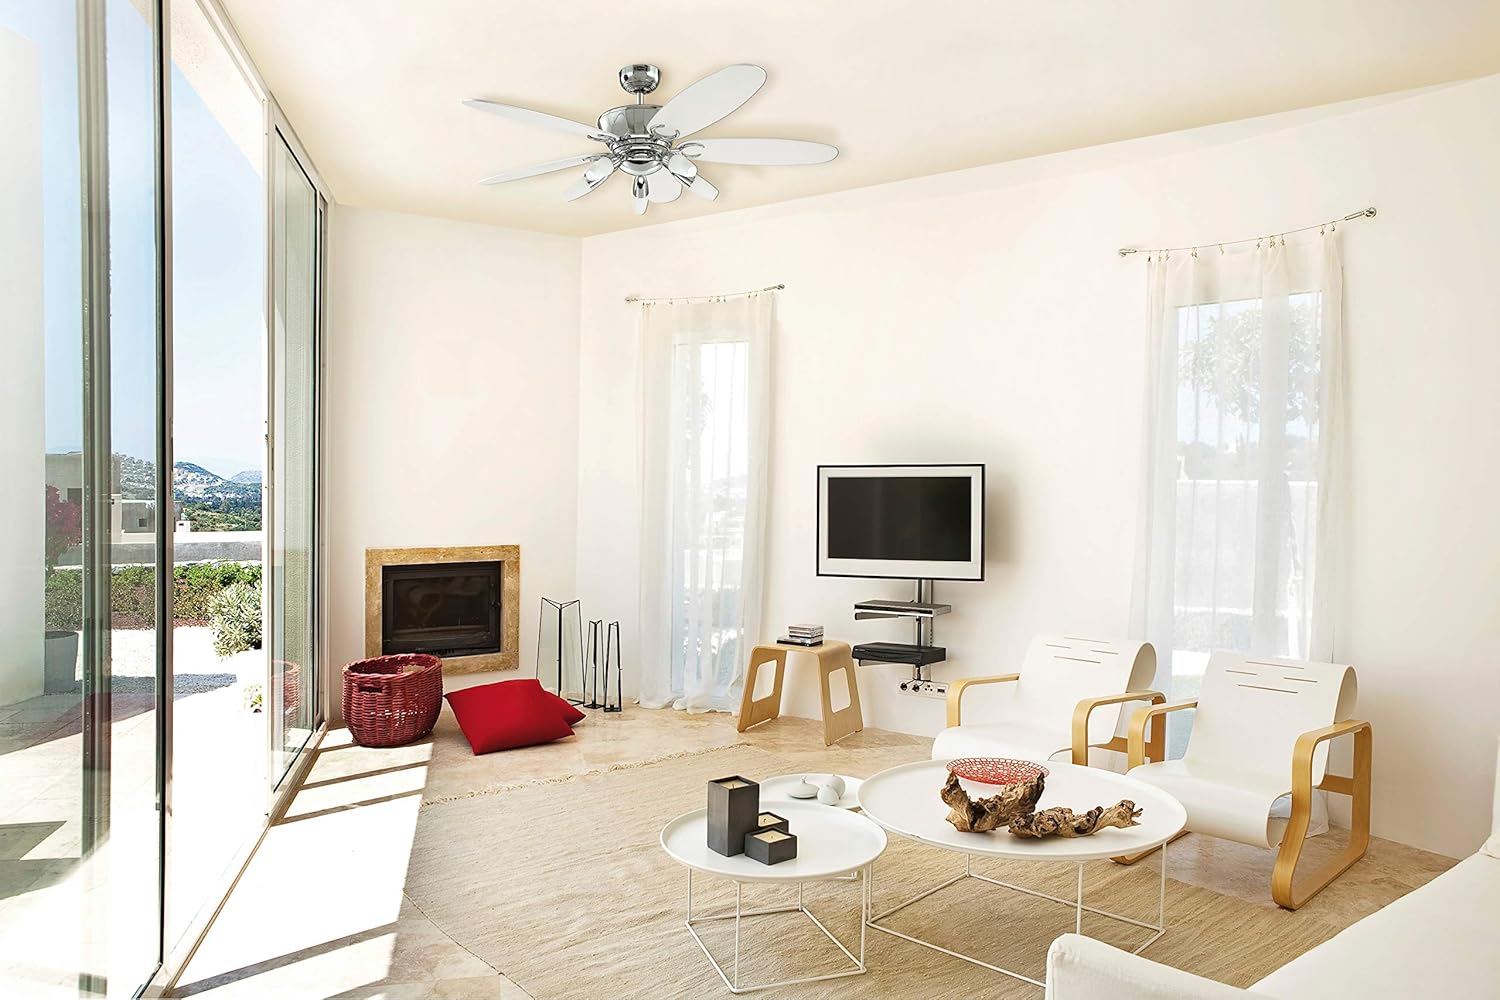
Image: The Westinghouse Arius ceiling fan with white blades installed in a contemporary living space, showcasing the alternative blade finish.
Operating Your Ceiling Fan
Remote Control Functions
Your Westinghouse Arius ceiling fan comes with a convenient remote control for easy operation.

Image: The white remote control unit for the Westinghouse Arius ceiling fan, showing buttons for light, fan speed, and on/off.
- Light Button: Press to turn the light ON or OFF.
- Fan ON/OFF Button: Press the fan icon button to turn the fan ON or OFF.
- Speed Buttons (1, 2, 3): Select your desired fan speed. '1' is the lowest speed, '3' is the highest.
Summer and Winter Operation
Your ceiling fan features a reversible switch, typically located on the fan's motor housing, allowing for year-round comfort.
- Summer Mode (Counter-clockwise rotation): Pushes air downwards, creating a cooling breeze.
- Winter Mode (Clockwise rotation): Draws air upwards, circulating warm air trapped near the ceiling.
To change the direction of rotation, ensure the fan is OFF and completely stopped before flipping the reversible switch.
Maintenance
Regular maintenance will ensure the longevity and optimal performance of your ceiling fan.
- Cleaning: Periodically clean the fan blades and motor housing with a soft, damp cloth. Do not use abrasive cleaners or solvents. Ensure power is OFF before cleaning.
- Blade Balance: If the fan wobbles, check that all blade screws are tight and that blades are not bent or damaged. A balancing kit (often sold separately) can be used if necessary.
- Light Bulb Replacement: Ensure power is OFF before replacing light bulbs. Allow bulbs to cool before handling. Use E14 base bulbs, maximum 9W 3U, compatible with LED.
Troubleshooting
Before contacting customer support, please refer to the following common issues and their solutions:
| Problem | Possible Cause | Solution |
|---|---|---|
| Fan does not start | No power to the fan; Loose wire connections; Remote control battery low. | Check circuit breaker; Verify all wire connections are secure; Replace remote control batteries. |
| Light does not work | Bulb is faulty; Loose wire connection in light kit. | Replace bulb; Check light kit wiring. |
| Fan wobbles | Loose blade screws; Unbalanced blades; Loose mounting bracket. | Tighten all blade screws; Use a blade balancing kit; Ensure mounting bracket is secure. |
| Noisy operation | Loose screws; Motor issues; Blades hitting an obstruction. | Check and tighten all screws; Ensure no obstructions; If noise persists, contact support. |
Product Specifications
| Feature | Specification |
|---|---|
| Model Number | 7255940 |
| Dimensions (L x W x H) | 132 x 132 x 42 cm |
| Item Weight | 9.4 kg |
| Brand | Westinghouse |
| Color | Chrome |
| Fan Design | Ceiling Fan |
| Power Source | Corded Electric |
| Style | Modern |
| Room Type | Indoor Use |
| Special Feature | Energy Efficiency |
| Mounting Type | Ceiling Mount |
| Controller Type | Remote Control |
| Number of Blades | 5 |
| Light Kit | 5 x E14 9W 3U (bulbs not included), LED compatible |
| Assembly Required | Yes |
Warranty and Support
Westinghouse products are manufactured to the highest quality standards. For information regarding warranty coverage, please refer to the warranty card included with your purchase or visit the official Westinghouse website. For technical support or replacement parts, please contact Westinghouse customer service.
Please have your model number (7255940) and purchase date available when contacting support.