Product Overview
The tesa Insect Stop COMFORT for Windows is designed to provide effective protection against insects while allowing ventilation. This self-adhesive window screen system is easy to install and remove without leaving residues, making it suitable for various window types.
Key Features:
- Effective insect protection for windows up to 1.70 m x 1.80 m.
- Easy-on / Easy-off system with strong grip hook & loop fastening.
- No drilling required for installation.
- Can be cut to size for custom fit.
- Made of durable polyester fabric, nearly invisible when attached.
- Hygienic, reusable, and machine washable up to 30°C.
Package Contents
Before beginning installation, ensure all components are present:
- 1 x Fabric Net (Insect Screen)
- 1 x Fastening Strip Set (Self-adhesive hook & loop tape)
- 1 x Pressing Aid
- 1 x Cutter
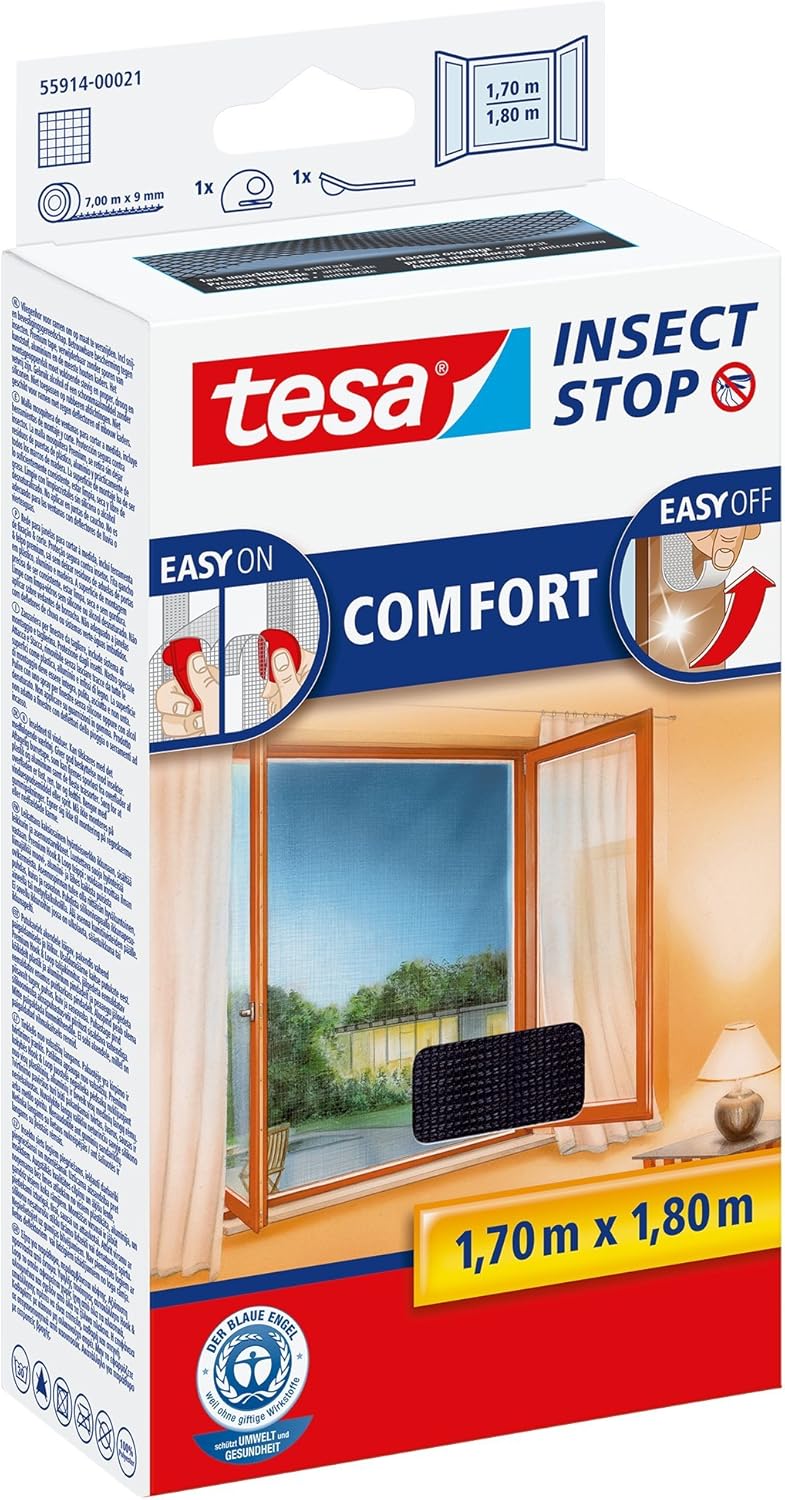
Image: Product packaging displaying the included components and dimensions.
Setup and Installation
Follow these steps carefully for optimal installation of your tesa Insect Stop COMFORT window screen.
Preparation:
- Clean the Window Frame: Ensure the window frame surface where the hook & loop tape will be applied is clean, dry, and free from dust, grease, or any residues. Use a suitable cleaner if necessary.
- Measure the Window Frame: Measure the inner dimensions of your window frame where the screen will be placed.
Installation Steps (Easy-On):

Image: Detailed diagrams illustrating the step-by-step process for attaching and removing the insect screen.
- Apply Hook & Loop Tape (Step 1 in diagram):
- Unroll the self-adhesive hook & loop tape.
- Carefully peel off the protective backing from the tape.
- Apply the tape firmly around the inner perimeter of your clean window frame. Ensure the hook side faces outwards, ready to receive the screen. Press down firmly along the entire length of the tape to ensure good adhesion.
- Attach the Screen (Step 2 in diagram):
- Unfold the insect screen.
- Starting from one corner, gently press the screen onto the applied hook & loop tape. Ensure the screen is taut and smooth as you work your way around the frame.
- Use the provided pressing aid to firmly secure the screen to the hook & loop tape, ensuring a strong bond and a flat, wrinkle-free surface.

Image: A person carefully applying the self-adhesive hook & loop tape to the window frame.

Image: A person pressing the insect screen onto the hook & loop tape, ensuring it is taut.
- Trim Excess Screen (Step 3 in diagram):
- Once the screen is fully attached and taut, use the provided cutter to carefully trim any excess material around the edges of the hook & loop tape. This creates a neat and custom fit.
- Final Check (Step 4 in diagram):
- Inspect the installed screen to ensure there are no gaps or loose areas where insects could enter. Adjust if necessary.

Image: The tesa Insect Stop COMFORT screen fully installed on a window, providing insect protection.
Operating the Window Screen
Once installed, the tesa Insect Stop COMFORT screen allows you to open your window for ventilation while keeping insects out. The screen remains in place when the window is opened or closed.
To remove the screen temporarily (e.g., for cleaning or seasonal storage), simply peel it off the hook & loop tape (Easy-Off, as shown in the diagram). The hook & loop tape can remain on the window frame for reattachment.
Maintenance
Proper maintenance ensures the longevity and effectiveness of your insect screen.
- Cleaning the Screen: The polyester fabric screen is hygienic and reusable. It can be machine washed up to 30°C. Remove the screen from the window frame before washing. Allow it to air dry completely before reattaching.
- Cleaning the Hook & Loop Tape: If the hook & loop tape on the window frame accumulates dust or debris, gently clean it with a soft brush or damp cloth. Ensure it is dry before reattaching the screen.
- Storage: For seasonal storage, clean the screen as described, fold it neatly, and store it in a dry place away from direct sunlight.
Troubleshooting
Here are solutions to common issues you might encounter:
| Problem | Possible Cause | Solution |
|---|---|---|
| Screen does not stick firmly to the frame. | Window frame was not clean or dry during tape application. Tape not pressed firmly enough. | Remove the tape, clean and dry the frame thoroughly, then reapply new tape (if necessary) pressing firmly. Ensure the screen is pressed onto the tape with the pressing aid. |
| Insects are still entering. | Gaps between the screen and the frame. Screen not taut. | Inspect the edges of the screen. Re-press the screen onto the hook & loop tape, ensuring it is taut and there are no gaps. Trim excess material precisely. |
| Screen appears wrinkled or loose. | Screen was not stretched evenly during application. | Carefully detach the affected section of the screen from the hook & loop tape, re-stretch it, and re-press it firmly and evenly. |
Specifications
- Product Type: Window Insect Screen
- Model: COMFORT
- Dimensions: 170 cm x 180 cm (70.9"L x 66.9"W)
- Color: Anthracite (Transparent)
- Material: Polyester (Screen), Plastic (Frame Material for tape)
- Mounting Type: Self-adhesive hook & loop
- Washable: Yes, machine washable up to 30°C
- Included Components: Fabric net, fastening strip set, pressing aid, cutter
- Item Weight: 0.16 Kilograms
Support and Contact
For further assistance or inquiries, please contact tesa support:
- Website: www.tesa.com
- Service Hotline: 01805-837200 (Mon-Fri 10-18 Uhr) - Note: This number may be region-specific. Please check the tesa website for local contact information.
This product is designed for durability and ease of use. Please refer to the tesa website for any specific warranty information applicable to your region.