
Games Workshop 5015
Games Workshop Warhammer 40,000 Ork Stompa Assembly and Instruction Manual
Model: 5015
Introduction
This manual provides detailed instructions for the assembly, care, and maintenance of your Games Workshop Warhammer 40,000 Ork Stompa model kit. The Ork Stompa is a large, multi-part plastic miniature designed for hobbyists and collectors. It features over 230 components, allowing for various weapon configurations and customization options.
Please read all instructions carefully before beginning assembly. This kit requires assembly and painting, and is intended for adult hobbyists.
Safety Information

WARNING! Small parts. This product contains small components which may pose a choking hazard. Keep out of reach of small children.
Age Recommendation: This product is recommended for ages 12 and up due to the complexity of assembly and the presence of small parts. Adult supervision is advised for younger users.
Exercise caution when using hobby tools such as clippers, knives, and glues. Always work in a well-ventilated area.
Please retain packaging for future reference. The miniature kit is made of either plastic, resin, metal, or a combination of materials. Assembly and painting are required.
Package Contents
Your Games Workshop Warhammer 40,000 Ork Stompa kit should contain the following:
- One large multi-part plastic Ork Stompa kit.
- Over 230 individual plastic components for assembly.
- Various weapon options for customization.
- Assembly instructions (refer to this manual for enhanced guidance).
Note: Miniatures come unpainted and unassembled. Paints, glue, and hobby tools are sold separately and are required for completion.
Assembly Instructions
The Ork Stompa is a complex model. Patience and careful attention to detail are crucial for successful assembly. It is recommended to dry-fit parts before applying glue.
Required Tools (Not Included):
- Plastic clippers or hobby knife
- Plastic glue (polystyrene cement)
- Fine-grit sandpaper or hobby file
- Optional: Tweezers, modeling putty
General Assembly Steps:
- Preparation: Carefully remove all components from the sprues using plastic clippers. Use a hobby knife or file to clean any mold lines or excess plastic from the parts.
- Identify Components: Familiarize yourself with the various parts. The kit includes numerous components for the main body, legs, arms, head, and various weapon systems.
- Sub-Assemblies: Begin by assembling smaller sections or sub-assemblies first. This typically includes the legs, arms, and weapon systems before attaching them to the main body.
- Main Body Construction: Assemble the core structure of the Stompa's body. Pay close attention to the fit of the large armor plates and internal frame.
- Attaching Limbs and Head: Once the main body is stable, attach the assembled leg and arm sections. The head assembly typically goes on last.
- Weapon Systems: The kit offers a myriad of weapon options. Choose your desired loadout and assemble these components, then attach them to the designated hardpoints on the Stompa's arms and body.
- Detailing and Customization: Attach smaller decorative elements, exhaust pipes, and other Ork-specific details. The kit allows for significant customization, so feel free to experiment with different placements of smaller gubbinz (bits).
- Securing with Glue: Apply plastic glue sparingly to the joining surfaces. Hold parts firmly together until the glue sets. Allow sufficient drying time before handling the model extensively.
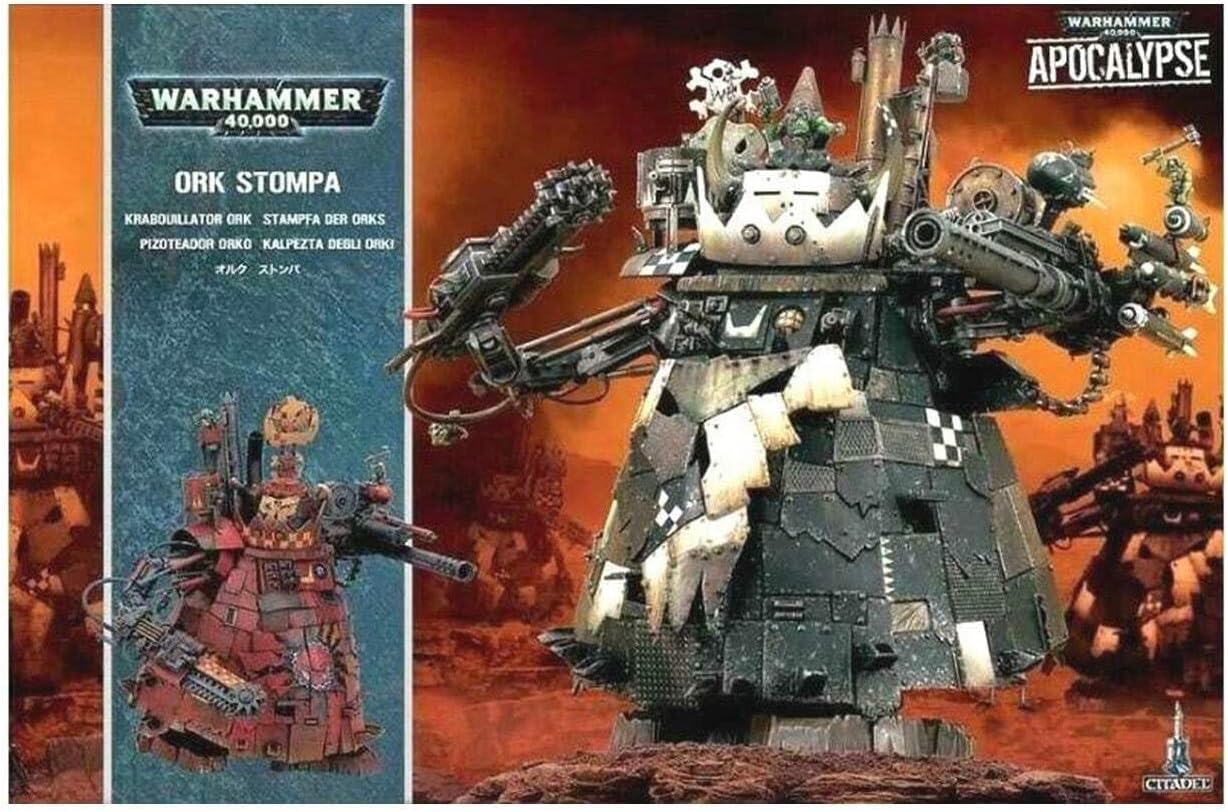
Image: An example of a fully assembled Ork Stompa, demonstrating its scale and potential configurations. This model is unpainted.
Display and Customization
Once assembled, your Ork Stompa is ready for painting and display. The multi-part nature of this kit allows for extensive personalization:
- Painting: Use acrylic hobby paints designed for miniatures. Apply a primer coat first for best results.
- Weathering: Add battle damage, rust, and grime effects to enhance the Ork aesthetic.
- Conversions: Experienced hobbyists may choose to modify parts or add components from other kits to create a truly unique Stompa.
- Posing: While the Stompa is a static model, careful assembly can allow for slight variations in arm and head positioning.
Maintenance
To ensure the longevity of your Ork Stompa model:
- Cleaning: Dust regularly with a soft brush or compressed air. Avoid harsh chemicals or abrasive materials.
- Storage: Store the model in a cool, dry place away from direct sunlight to prevent paint fading or plastic warping. Display cases are recommended for protection.
- Handling: Handle the model by its base or main body to avoid damaging delicate parts.
Troubleshooting
- Parts do not fit together:
- Ensure all mold lines have been removed. Dry-fit parts before gluing to identify any fit issues. Sometimes, a small amount of sanding or filing may be required.
- Glue is not holding:
- Ensure you are using plastic cement (polystyrene cement) for plastic parts. Super glue (cyanoacrylate) may be used for resin or metal components, but is not ideal for plastic-to-plastic bonds. Apply glue sparingly and hold parts firmly until set.
- Missing or damaged parts:
- Contact Games Workshop customer support with your proof of purchase. They can assist with replacement parts.
Specifications
| Feature | Detail |
|---|---|
| Brand | Games Workshop |
| Model Number | 5015 |
| ASIN | B001UK5BCG |
| Material | Plastic |
| Number of Pieces | Over 230 |
| Product Dimensions (L x W x H) | 9 x 6 x 2.25 inches (packaging dimensions) |
| Item Weight | 2.6 pounds |
| Age Range | Adult (recommended 12+) |
| Special Feature | Large size, multi-part plastic design, numerous components, variety of weapons, customizable modeling options |
Warranty and Support
Games Workshop products are manufactured to high standards. If you encounter any issues with your kit, such as missing or defective components, please contact Games Workshop customer support directly. Keep your proof of purchase for any warranty claims or support inquiries.
For further assistance, visit the official Games Workshop website or contact their customer service department.
Ask a question about this manual
Ask about setup, troubleshooting, compatibility, parts, safety, or missing instructions. Manuals+ will review the question and use this page’s manual context to help answer it.