1. Introduction
Thank you for choosing the HMF 1608-02 Portable Document Safe. This safe is designed to provide secure storage for your valuable documents, cash, and other small items. It features a robust steel sheet body, an electronic lock with a customizable code, and an emergency key override. For added security, an anti-theft metal cable is included. Please read this manual carefully before initial use to ensure proper setup and operation.
2. Safety Instructions
- Keep Emergency Keys Secure: Store the emergency keys in a safe location, separate from the safe itself, and not inside the safe.
- Battery Handling: Use only the specified battery type. Do not mix old and new batteries or different types of batteries. Remove batteries if the safe will not be used for an extended period.
- Avoid Moisture: Do not expose the safe to water or high humidity.
- Proper Placement: Ensure the safe is placed on a stable, flat surface.
- Children: Keep the safe and its keys out of reach of children.
3. Package Contents
Please check that all items are present in the package:
- HMF 1608-02 Portable Document Safe
- Emergency Keys (2 pieces)
- Anti-theft Metal Cable
- Instruction Manual (this document)
4. Product Overview
Familiarize yourself with the components of your HMF 1608-02 safe.

Figure 4.1: Exterior view of the HMF 1608-02 safe, highlighting the electronic keypad for code entry, the central rotary knob for locking/unlocking, and the emergency keyhole.

Figure 4.2: Interior view of the HMF 1608-02 safe when open. The bottom is lined with foam for protection, and the battery compartment for the electronic lock is visible on the inside of the lid.

Figure 4.3: The safe's interior, showcasing its capacity to hold various items such as a smartphone, camera lens, and banknotes, with a protective foam base.
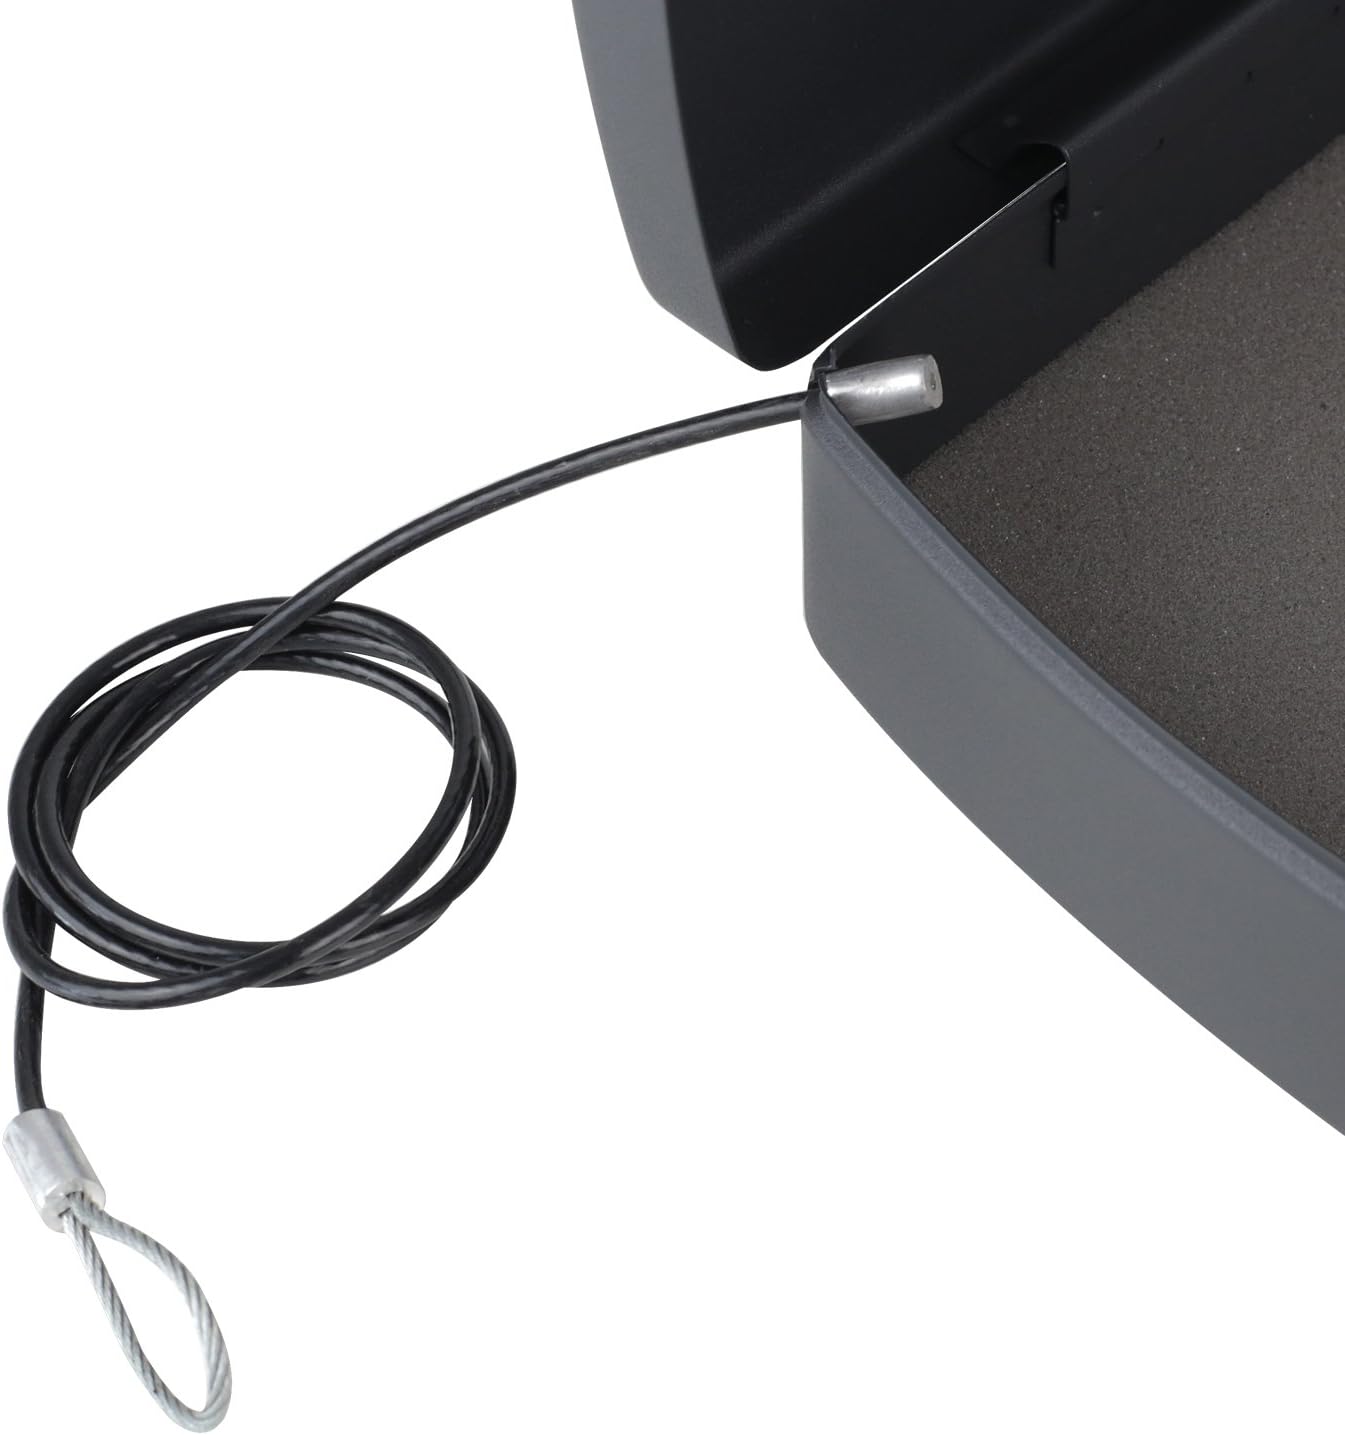
Figure 4.4: Detail of the anti-theft metal cable, designed to secure the safe to a fixed object, providing an additional layer of protection.

Figure 4.5: The integrated carrying handle on the front of the safe, demonstrating its portability and ease of transport.
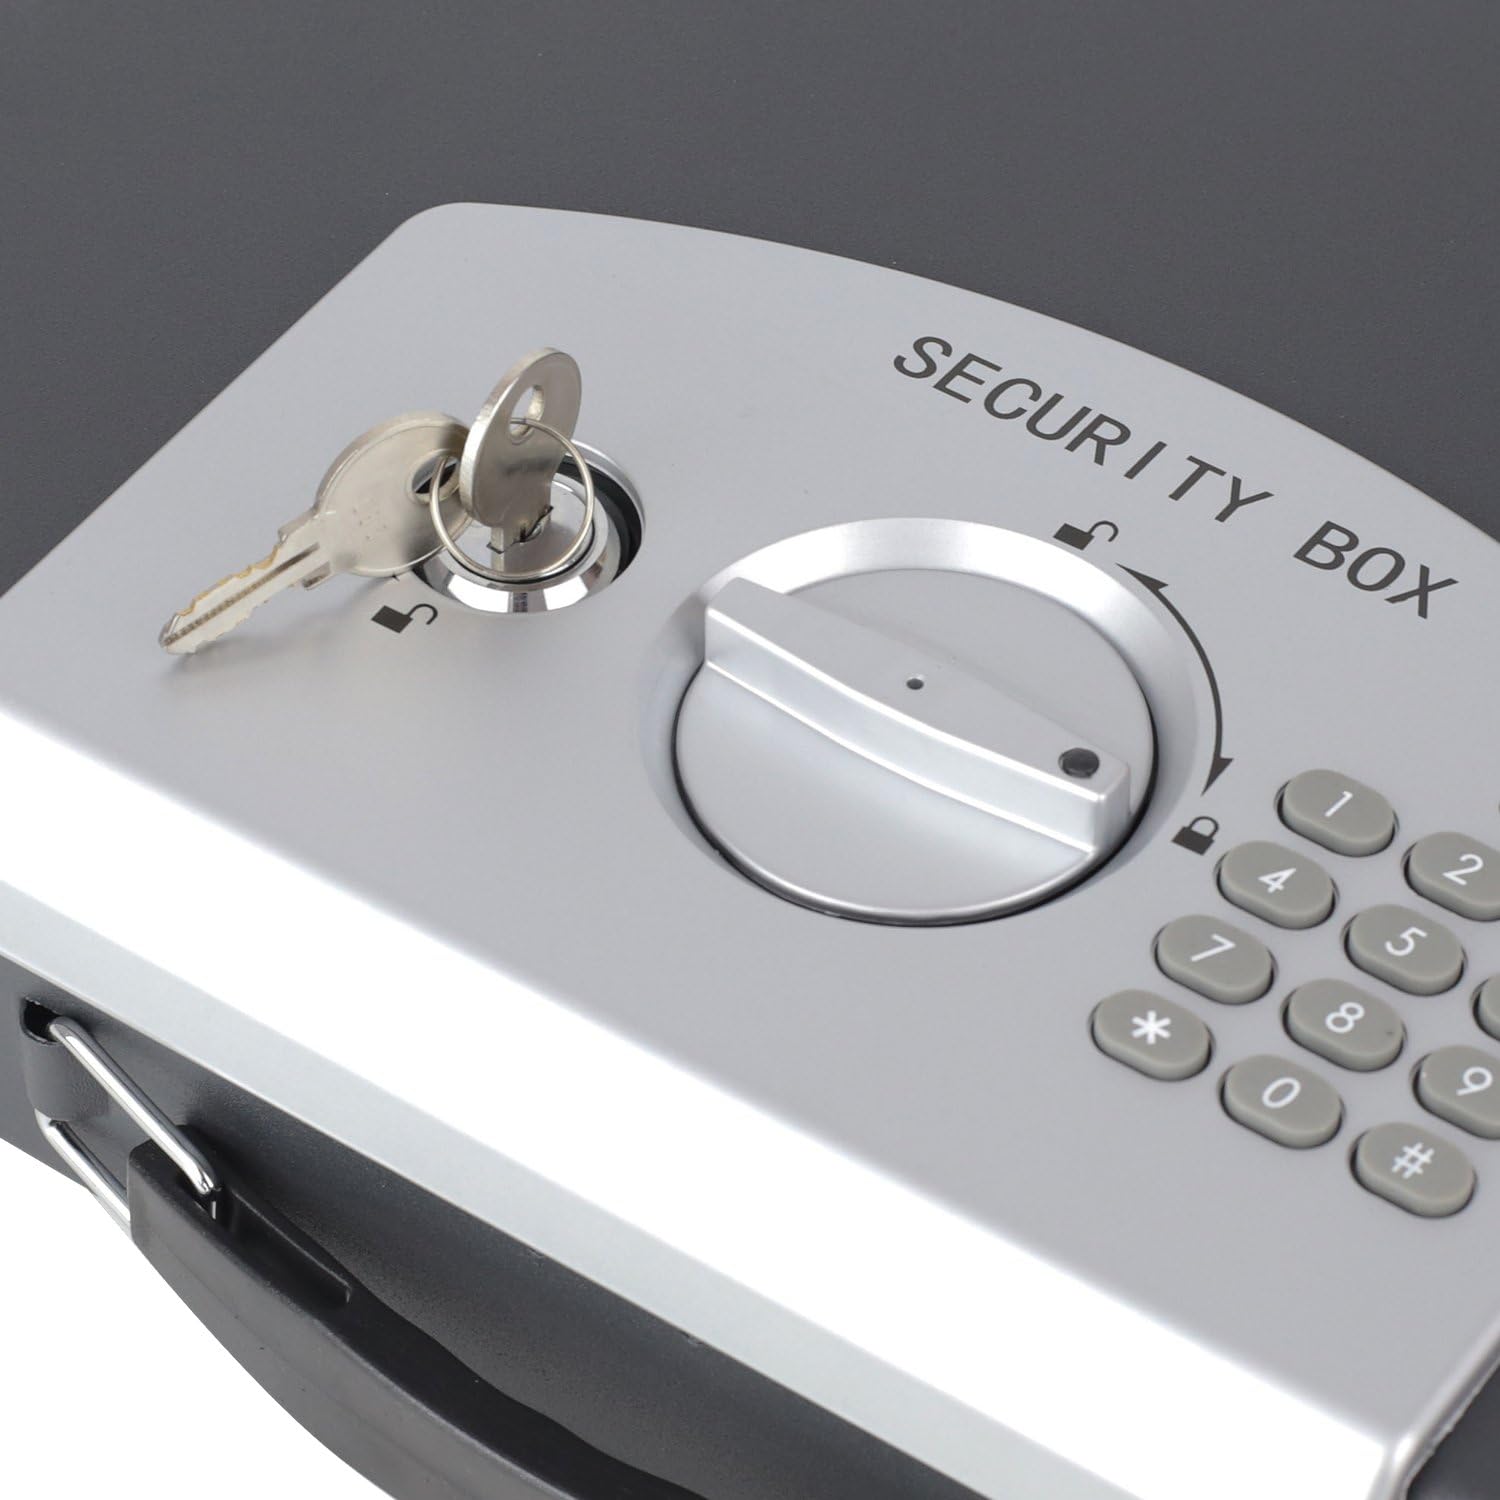
Figure 4.6: A detailed view of the emergency keyhole, located on the control panel, which allows manual access to the safe.
5. Setup
5.1 Battery Installation
- Open the safe using the emergency key (refer to section 5.3 if needed).
- Locate the battery compartment on the inside of the safe's lid (refer to Figure 4.2).
- Open the battery compartment cover.
- Insert the required batteries (typically 4x AA, not included) according to the polarity indicators (+/-).
- Close the battery compartment cover securely.
5.2 Setting the Electronic Code
After installing batteries, you can set your personal electronic code.
- With the safe door open, locate the small red or green reset button on the inside of the door, near the battery compartment.
- Press the reset button. You should hear a beep, and an indicator light on the keypad will illuminate.
- Within 5 seconds, enter your desired personal code (3-8 digits) on the keypad.
- Confirm your code by pressing the '#' button.
- The indicator light will flash, and you will hear a confirmation beep, indicating the new code is set.
- Test the new code: With the door still open, enter your new code and press '#'. The safe should indicate it's unlocked. If it doesn't, repeat the steps.
5.3 Using the Emergency Key
The emergency key provides manual access to the safe in case of battery failure or forgotten code.
- Locate the emergency keyhole on the control panel (refer to Figure 4.6).
- Insert one of the provided emergency keys into the keyhole.
- Turn the key clockwise (or counter-clockwise, depending on the lock) while simultaneously turning the rotary knob on the control panel to the unlock position.
- The safe door will open.
- Remove the key after opening.
6. Operating
6.1 Opening with Electronic Code
- Enter your personal electronic code (3-8 digits) on the keypad.
- Press the '#' button.
- If the code is correct, a green indicator light will illuminate, and you will hear a beep.
- Within 5 seconds, turn the rotary knob clockwise (or counter-clockwise) to the unlock position and open the safe door.
6.2 Closing the Safe
- Close the safe door firmly.
- Turn the rotary knob counter-clockwise (or clockwise) to the lock position. The safe is now secured.
6.3 Using the Anti-Theft Cable
The included metal cable can be used to secure the safe to a fixed object, deterring opportunistic theft.
- Locate the cable attachment point on the safe (refer to Figure 4.4).
- Thread the loop end of the metal cable through a secure, fixed object (e.g., a desk leg, a heavy piece of furniture).
- Attach the other end of the cable to the designated slot on the safe.
- Ensure the cable is taut and the safe cannot be easily moved.
7. Maintenance
7.1 Battery Replacement
When the batteries are low, the indicator light may flash red or the keypad may not respond. Replace batteries promptly to avoid being locked out.
- Open the safe using either the electronic code or the emergency key.
- Open the battery compartment on the inside of the lid.
- Remove the old batteries and dispose of them responsibly.
- Insert new batteries, ensuring correct polarity.
- Close the battery compartment.
7.2 Cleaning
Clean the exterior of the safe with a soft, damp cloth. Do not use abrasive cleaners or solvents, as these can damage the finish or electronic components.
8. Troubleshooting
- Safe does not open with electronic code:
- Ensure batteries are correctly installed and not depleted. Replace if necessary.
- Verify you are entering the correct code.
- Ensure you press '#' after entering the code and turn the knob within 5 seconds.
- Keypad is unresponsive or indicator light is dim:
- Batteries are likely low. Replace them immediately.
- Safe locks after multiple incorrect attempts:
- The safe may enter a lockout mode after 5 incorrect code entries. Wait for the lockout period to expire (typically a few minutes) or use the emergency key to open.
- Emergency key does not work:
- Ensure the key is fully inserted and turned correctly while simultaneously operating the rotary knob.
9. Specifications
- Model: HMF 1608-02
- Material: Alloy Steel
- Color: Black
- Lock Type: Electronic, Key
- Exterior Dimensions (L x W x H): 33 cm x 29.5 cm x 7.5 cm (13.0 in x 11.6 in x 3.0 in)
- Interior Dimensions (L x W x H): 30 cm x 22.5 cm x 5.5 cm (11.8 in x 8.9 in x 2.2 in)
- Weight: 1.9 kg (4.19 lbs)
- Document Compatibility: A4 format
- Special Features: Portable, Anti-theft protection (via cable), Carrying handle
10. Warranty and Support
HMF products are manufactured to high-quality standards. For warranty information or technical support, please refer to the contact details provided at the point of purchase or visit the official HMF website. Please retain your proof of purchase for warranty claims.