1. Introduction
The NTK 25160 Oxygen Sensor is a critical component in your vehicle's emission control system. It is engineered to meet OEM specifications, ensuring precise fitment and reliable performance. This sensor plays a vital role in monitoring the oxygen content in the exhaust gases, allowing the engine control unit (ECU) to optimize the air-fuel mixture for efficient combustion, reduced emissions, and improved fuel economy.
Key features of the NTK 25160 Oxygen Sensor include:
- Dual-coated platinum element: Designed for increased longevity and consistent performance.
- 3-stage element overcoat: Provides protection against exhaust gas contaminants and pollution.
- Fast light-off times: Contributes to decreased emissions and enhanced fuel economy.
- Pure alumina ceramic filters: Offers robust filtration against exhaust gas impurities.
- Water resistant connector: Safeguards against failures caused by environmental pollution.
- Vehicle Specific Fit: Ensures direct compatibility with designated vehicle applications.
2. What's in the Box
Upon opening the package, you should find the following items:
- NTK 25160 Oxygen Sensor
- Installation Instructions (general guidelines)

Image: The NTK 25160 Oxygen Sensor, showing the sensor tip, wiring, and electrical connector.
3. Setup and Installation
Installation of an oxygen sensor requires specific tools and technical knowledge. It is highly recommended that installation be performed by a qualified automotive technician to ensure proper function and avoid damage to the sensor or vehicle.
General Installation Guidelines:
- Safety First: Ensure the vehicle is turned off, cooled down, and properly supported on jack stands or a lift. Disconnect the negative battery terminal.
- Locate the Sensor: Identify the old oxygen sensor. Refer to your vehicle's service manual for the exact location (e.g., upstream or downstream of the catalytic converter).
- Disconnect Wiring: Carefully disconnect the electrical connector from the old sensor. Avoid pulling directly on the wires.
- Remove Old Sensor: Use a specialized oxygen sensor socket or wrench to remove the old sensor. It may be tight due to heat and corrosion.
- Prepare New Sensor: Apply anti-seize compound to the threads of the new NTK 25160 sensor if it is not pre-applied. Ensure the sensor tip remains clean and free of grease or contaminants.
- Install New Sensor: Thread the new sensor into the exhaust bung by hand to prevent cross-threading. Tighten it to the manufacturer's specified torque using the appropriate tool.
- Connect Wiring: Connect the electrical connector of the new sensor, ensuring it clicks securely into place. Route the wiring away from hot exhaust components.
- Final Steps: Reconnect the negative battery terminal. Clear any stored diagnostic trouble codes (DTCs) using an OBD-II scanner.
Always consult your vehicle's specific service manual for detailed, model-specific installation instructions and torque specifications.
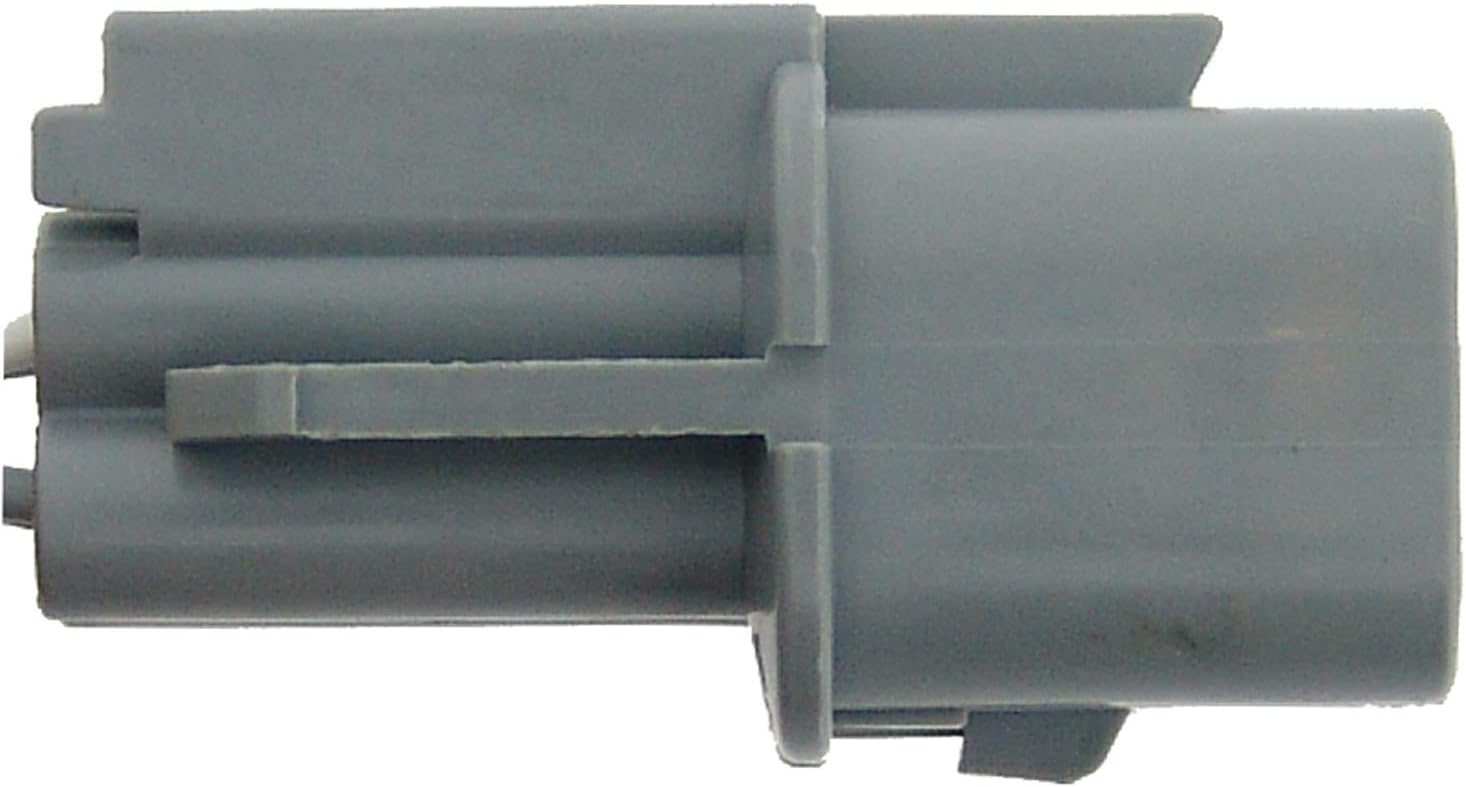
Image: Side view of the NTK Oxygen Sensor's gray electrical connector, designed for secure fitment.

Image: Front view of the NTK Oxygen Sensor's electrical connector, showing the internal pin configuration.
4. Operating Principles
The NTK 25160 Oxygen Sensor operates by measuring the amount of unburned oxygen in the exhaust gas. This measurement is then converted into an electrical signal that is sent to the vehicle's Engine Control Unit (ECU).
Based on this signal, the ECU continuously adjusts the fuel injection to maintain an optimal air-fuel ratio (stoichiometric ratio). This precise control is crucial for:
- Efficient Combustion: Ensuring that fuel is burned completely, maximizing power output.
- Reduced Emissions: Minimizing harmful pollutants like carbon monoxide, hydrocarbons, and nitrogen oxides.
- Improved Fuel Economy: Preventing the engine from running too rich (excess fuel) or too lean (insufficient fuel).
The sensor's dual-coated platinum element and ceramic construction contribute to its rapid response and durability, ensuring accurate readings over its lifespan.
5. Maintenance
Oxygen sensors are wear-and-tear components that typically do not require routine maintenance or cleaning. Their lifespan can vary depending on driving conditions, fuel quality, and engine health.
It is recommended to:
- Regular Inspection: Have the oxygen sensor inspected during routine vehicle service for any signs of physical damage or excessive carbon buildup.
- Timely Replacement: Replace the sensor if diagnostic trouble codes (DTCs) specifically related to oxygen sensor malfunction are triggered, or if symptoms of a failing sensor (e.g., decreased fuel economy, increased emissions) are observed.
Adhering to your vehicle manufacturer's recommended service intervals for oxygen sensor checks can help maintain optimal engine performance and emissions compliance.
6. Troubleshooting
A malfunctioning oxygen sensor can lead to various engine performance issues and illuminate the Check Engine Light (CEL). Here are common symptoms and potential causes:
Common Symptoms of a Failing Oxygen Sensor:
- Illuminated Check Engine Light (CEL): This is the most common indicator. An OBD-II scanner will often show specific codes (e.g., P0130-P0167) related to oxygen sensor circuits or performance.
- Decreased Fuel Economy: An inaccurate sensor signal can cause the ECU to inject too much fuel, leading to reduced mileage.
- Increased Emissions: The engine may produce higher levels of pollutants if the air-fuel mixture is not correctly regulated.
- Rough Idling or Engine Hesitation: Incorrect air-fuel ratios can cause the engine to run poorly, especially at idle or during acceleration.
- Failed Emissions Test: A faulty oxygen sensor is a common reason for failing vehicle emissions inspections.
Troubleshooting Steps:
- Scan for Codes: Use an OBD-II scanner to retrieve any diagnostic trouble codes. This will help pinpoint the specific sensor or circuit that is malfunctioning.
- Inspect Wiring and Connector: Check the sensor's wiring for any signs of damage, fraying, or corrosion. Ensure the electrical connector is securely seated.
- Professional Diagnosis: Due to the complexity of engine management systems, it is highly recommended to have a qualified technician diagnose and repair oxygen sensor-related issues. They can perform live data analysis to verify sensor readings and overall system performance.
Replacing a faulty oxygen sensor with a quality component like the NTK 25160 can resolve these issues and restore optimal vehicle performance.
7. Specifications
| Brand | NTK |
| Model | 25160 |
| Material | Ceramic |
| Item Weight | 3.84 ounces (0.24 Pounds) |
| Product Dimensions (L x W x H) | 25.75 x 1 x 1 inches |
| Output Type | Electrical Signal |
| Specific Uses For Product | Oxygen Sensor |
| OEM Part Number | 3921037520; 3921037523 |
| UPC | 087295251607 |

Image: NTK Oxygen Sensor packaging, illustrating the product's dimensions.
8. Warranty and Support
For specific warranty information regarding your NTK 25160 Oxygen Sensor, please refer to the documentation provided with your purchase or contact the retailer where the product was acquired. Warranty terms typically cover manufacturing defects for a specified period.
For technical support, product inquiries, or to find authorized service centers, please visit the official NTK website or contact their customer service department. You can also visit the NTK Store on Amazon for additional product information.