1. Introduction
Thank you for choosing the Crunch PowerZone P1100.2 Two-Channel Amplifier. This amplifier is designed to deliver powerful and clear audio performance for your car audio system. This manual provides essential information for proper installation, operation, and maintenance to ensure optimal performance and longevity of your amplifier.
Please read this manual thoroughly before attempting installation or operation. Keep this manual for future reference.
2. Safety Information
Important Safety Instructions:
- Always disconnect the vehicle's battery negative terminal before starting any installation.
- Ensure all wiring is properly routed and secured to prevent damage or short circuits.
- Use appropriate gauge wiring for power and ground connections as specified in the installation section.
- Install the amplifier in a location that allows for adequate ventilation to prevent overheating.
- Avoid mounting the amplifier in areas exposed to moisture or direct sunlight.
- If you are unsure about any part of the installation process, seek assistance from a qualified professional installer.
- Do not attempt to repair the unit yourself. Refer all servicing to qualified service personnel.
3. Package Contents
Verify that all items are present in the package before installation:
- Crunch PowerZone P1100.2 Two-Channel Amplifier
- High-level input wiring harness
- Mounting screws and washers
- Spare fuse (if applicable)
- Instruction Manual (this document)
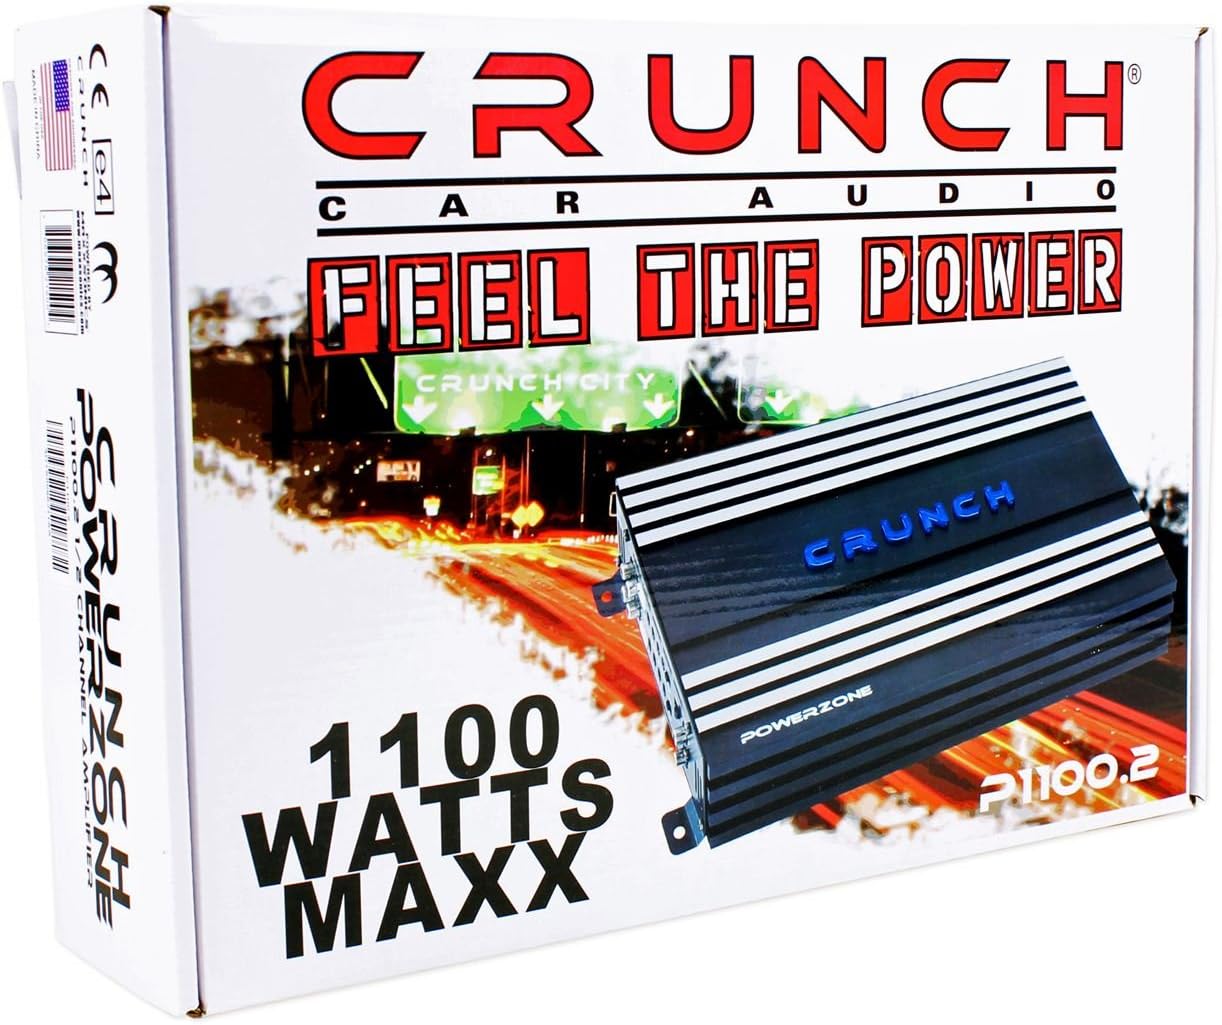
Figure 3.1: Included accessories. This image displays the high-level input wiring harness, mounting screws, washers, and a spare fuse, which are typically included with the amplifier for installation.
4. Product Features
The Crunch PowerZone P1100.2 amplifier offers the following key features:
- Power Output: 2 x 125 W @ 4 Ohms, 2 x 250 W @ 2 Ohms, 1 x 500 W @ 4 Ohms Maxx Power.
- Crossover Adjustment: High-Pass Versa Cross X-Over Adjustment from 60Hz to 1.2kHz.
- Bridgeable Design: Allows for bridging channels to achieve higher power output for a single speaker or subwoofer.
- Hi-Level Speaker Lead Inputs: For direct connection to factory or aftermarket receivers without RCA outputs.
- MOSFET Power Supply: Rugged Pulse Width Modulation (PWM) power supply for efficient and stable power delivery.
- Protection Circuitry: Built-in amplifier protection with System Diagnostics LEDs to guard against current/amperage overload, short circuits, thermal overload, and DC offset.
5. Setup and Installation
5.1. Mounting Location
Choose a mounting location that is dry, well-ventilated, and protected from direct sunlight or excessive heat. Ensure sufficient space around the amplifier for air circulation. Common locations include under a seat, in the trunk, or mounted to a custom amplifier rack.
5.2. Controls and Connections Overview
Familiarize yourself with the input and control panel of the amplifier:

Figure 5.1: Input and Control Panel. This image shows the various inputs and adjustment controls on the amplifier, including Line Out, Line Input, Hi Input, Level, Bass EQ, HPF, LPF, X-OVER switch, and Mode switch.
- LINE OUT (RCA): Provides a full-range signal output for connecting to another amplifier.
- LINE INPUT (RCA): Connects to the RCA pre-out of your head unit or signal processor.
- HI INPUT: For connecting to speaker-level outputs from a head unit without RCA pre-outs. Use the included wiring harness.
- LEVEL: Input gain control to match the output voltage of your head unit.
- BASS EQ: Bass boost control (0dB to 12dB).
- HPF (High Pass Filter): Adjustable crossover for high-pass frequencies (60Hz to 1.2kHz).
- LPF (Low Pass Filter): Adjustable crossover for low-pass frequencies (30Hz to 250Hz).
- X-OVER Switch: Selects the crossover mode: FULL (full range), HPF (high pass filter active), LPF (low pass filter active).
- MODE Switch: Selects the operating mode: MONO (bridged) or STEREO.
Next, observe the power and speaker output panel:

Figure 5.2: Power and Speaker Output Panel. This image shows the power input terminals (GND, REM, +12V), fuse holders, power/protect indicator LEDs, and speaker output terminals (LEFT +, -, RIGHT +, -) including bridged connections.
- GND (Ground): Connects to a clean chassis ground point in the vehicle.
- REM (Remote Turn-On): Connects to the remote turn-on lead from your head unit.
- +12V (Power): Connects directly to the positive terminal of the vehicle's battery via an inline fuse.
- FUSE: Contains the amplifier's protection fuses.
- POWER/PROTECT LEDs: Indicate amplifier status. Green for Power, Red for Protect.
- SPEAKER OUTPUT: Connects to your speakers. Terminals are labeled for Left and Right channels, and also indicate connections for bridged mode.
5.3. Wiring Connections
Proper wiring is critical for performance and safety. Use high-quality cables of appropriate gauge.
5.3.1. Power Wiring
- Battery Connection (+12V): Run a power cable (minimum 8 AWG, preferably 4 AWG for optimal performance) directly from the vehicle's positive battery terminal to the amplifier's +12V terminal. Install an inline fuse holder within 18 inches (45 cm) of the battery. The fuse rating should match the amplifier's total fuse rating (e.g., 2 x 25A = 50A).
- Ground Connection (GND): Run a ground cable (same gauge as power cable) from the amplifier's GND terminal to a clean, unpainted metal surface on the vehicle's chassis. Ensure a solid electrical connection.
- Remote Turn-On (REM): Run a remote turn-on wire (18 AWG) from your head unit's remote output to the amplifier's REM terminal. This wire turns the amplifier on and off with your head unit.
5.3.2. Signal Input Wiring
- RCA Input: If your head unit has RCA pre-outs, connect them to the amplifier's LINE INPUT (RCA) jacks using high-quality RCA cables.
- High-Level Input: If your head unit does not have RCA pre-outs, use the included high-level input harness. Connect the speaker wires from your head unit's speaker outputs to the corresponding wires on the harness, then plug the harness into the amplifier's HI INPUT port.
5.3.3. Speaker Output Wiring
- Stereo Mode: Connect your left speaker to the LEFT + and - terminals, and your right speaker to the RIGHT + and - terminals. Ensure correct polarity. The minimum impedance for stereo operation is 2 Ohms per channel.
- Bridged Mode (Mono): For higher power output to a single speaker or subwoofer, connect the speaker/subwoofer to the LEFT + and RIGHT - terminals. The minimum impedance for bridged operation is 4 Ohms. Refer to the MODE switch setting.
6. Operation
6.1. Initial Power-Up and Gain Setting
- After all connections are made, reconnect the vehicle's battery negative terminal.
- Turn on your head unit. The amplifier's POWER LED should illuminate green. If the PROTECT LED illuminates red, refer to the Troubleshooting section.
- Set all amplifier crossover and EQ controls to their flat or off positions (e.g., X-OVER to FULL, BASS EQ to 0dB).
- Turn the amplifier's LEVEL control all the way down (counter-clockwise).
- Play a dynamic piece of music through your head unit at about 75% of its maximum volume.
- Slowly increase the amplifier's LEVEL control until you hear distortion, then back it off slightly until the sound is clear. This sets the gain properly, matching the amplifier's input sensitivity to your head unit's output.
6.2. Crossover and EQ Adjustments
- X-OVER Switch:
- FULL: Amplifier operates in full range. Use for full-range speakers or if an external crossover is used.
- HPF (High Pass Filter): Allows frequencies above the set HPF point to pass. Use for full-range speakers to prevent low bass distortion. Adjust HPF control (60Hz-1.2kHz).
- LPF (Low Pass Filter): Allows frequencies below the set LPF point to pass. Use for subwoofers. Adjust LPF control (30Hz-250Hz).
- MODE Switch:
- STEREO: For two-channel operation with separate left and right speakers.
- MONO: For bridged operation, typically for a single subwoofer.
- BASS EQ: Use sparingly to enhance bass response. Excessive boost can lead to distortion and potential speaker damage.
7. Maintenance
- Cleaning: Periodically wipe the amplifier's exterior with a soft, dry cloth. Do not use harsh chemicals or abrasive cleaners.
- Ventilation: Ensure that the amplifier's cooling fins are free from dust and debris to maintain proper heat dissipation.
- Connections: Occasionally check all wiring connections for tightness and corrosion. Loose connections can cause performance issues or damage.
- Fuse Replacement: If a fuse blows, replace it only with a fuse of the exact same type and rating. Using an incorrect fuse can damage the amplifier or cause a fire.
8. Troubleshooting
If you experience problems with your amplifier, consult the following guide before contacting technical support.
| Problem | Possible Cause | Solution |
|---|---|---|
| No Power (POWER LED off) | Blown fuse, poor power/ground connection, no remote signal. | Check amplifier fuses, inline fuse near battery. Verify +12V, GND, and REM connections. Ensure head unit is on. |
| PROTECT LED is red | Short circuit in speaker wiring, amplifier overheating, impedance too low, DC offset. | Check speaker wiring for shorts. Ensure proper ventilation. Verify speaker impedance matches amplifier's minimum. Allow amplifier to cool down. |
| No Sound | No input signal, incorrect gain setting, speaker wires disconnected, head unit settings. | Check RCA or high-level input connections. Adjust LEVEL control. Verify speaker connections. Check head unit's fader/balance settings. |
| Distorted Sound | Gain set too high, incorrect crossover settings, poor ground connection, damaged speakers. | Reduce LEVEL control. Adjust crossover settings. Check ground connection. Test speakers with another amplifier if possible. |
| Engine Noise (Whine) | Poor ground, RCA cables routed near power cables, faulty head unit. | Improve ground connection. Reroute RCA cables away from power cables. Use ground loop isolators if necessary. |
9. Specifications
| Feature | Specification |
|---|---|
| Model Number | P1100.2 |
| Power Output (4 Ohms) | 2 x 125 Watts |
| Power Output (2 Ohms) | 2 x 250 Watts |
| Bridged Power Output (4 Ohms) | 1 x 500 Watts |
| High-Pass Filter (HPF) | 60Hz - 1.2kHz |
| Low-Pass Filter (LPF) | 30Hz - 250Hz |
| Product Dimensions | 15.75 x 11 x 3.88 inches |
| Item Weight | 8.85 pounds |
| Manufacturer | Crunch |
| Date First Available | June 3, 2008 |
10. Warranty and Support
For warranty information and technical support, please refer to the documentation provided with your purchase or visit the official Crunch website. Keep your proof of purchase for warranty claims.
Note: This product is listed as "Is Discontinued By Manufacturer: Yes" in some records. Availability of parts or specific support may vary.