
1. Introduction
This manual provides instructions for the Lavish Home 14-inch Round Neon Wall Clock, Model 99-1099YEL. This analog quartz timepiece features double neon rings and dual power options, designed for wall mounting.
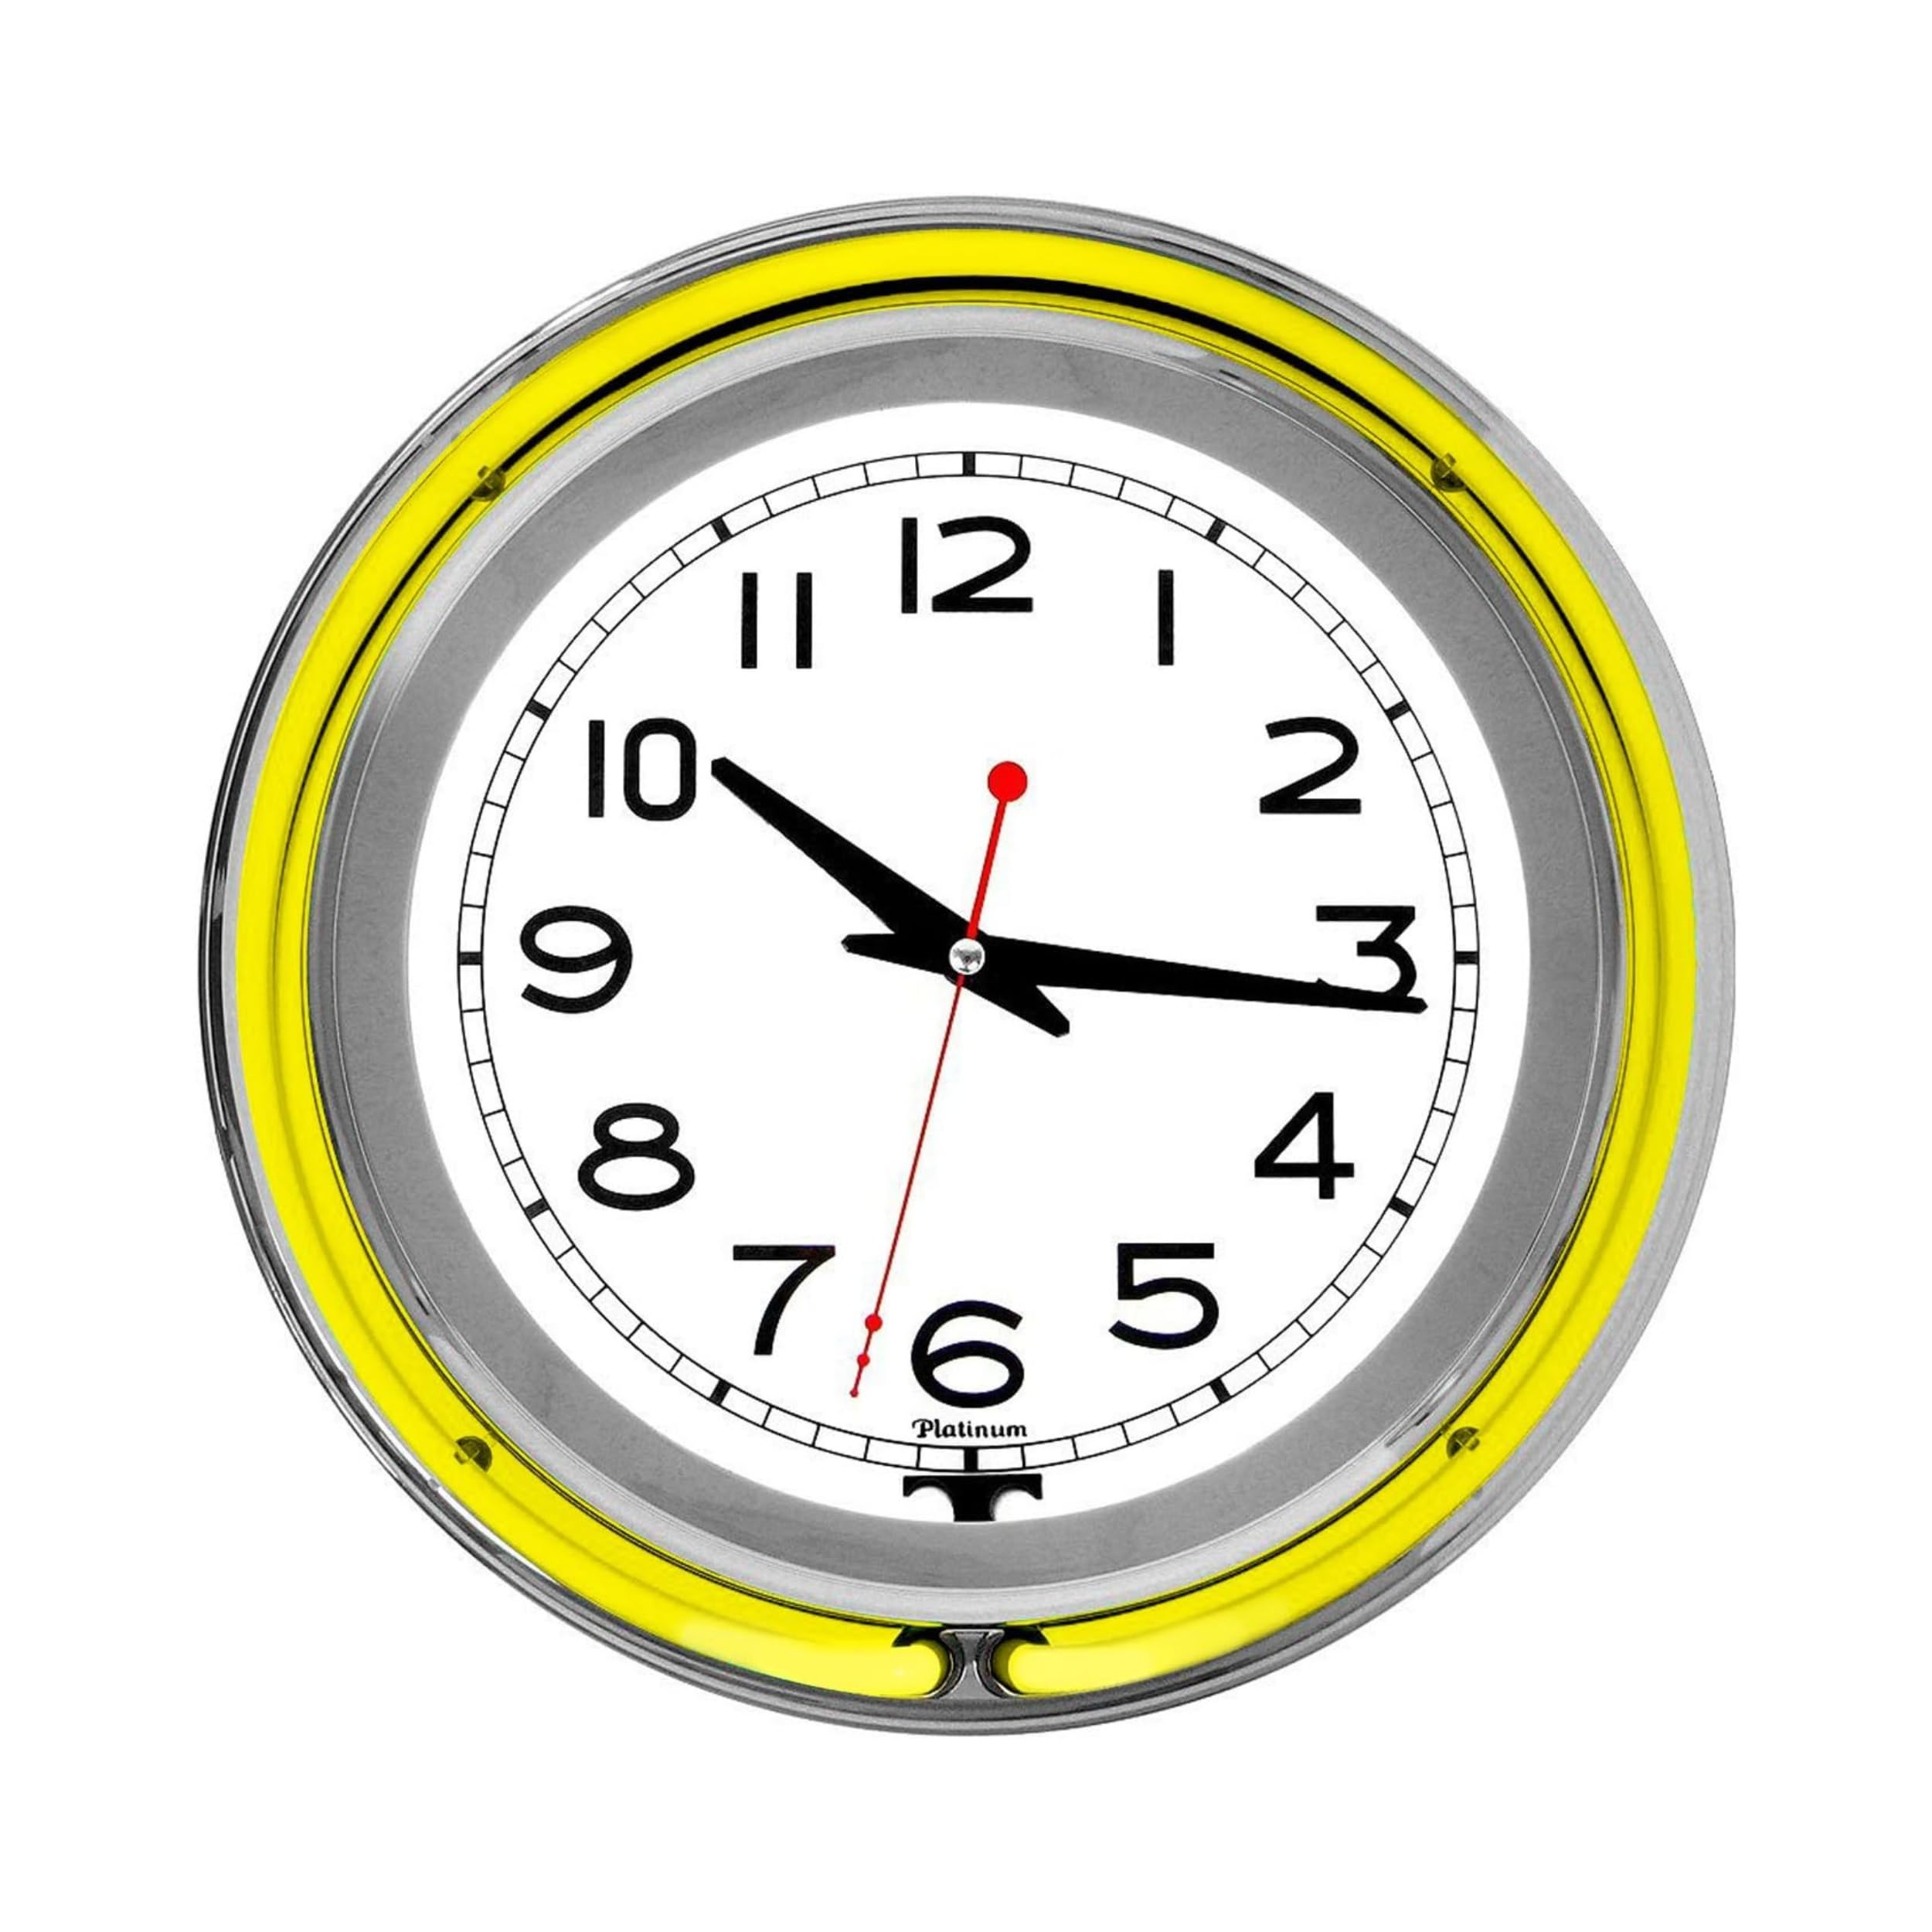
Figure 1: Front view of the Lavish Home 14-inch Round Neon Wall Clock.
2. Specifications
| Feature | Detail |
|---|---|
| Model Number | 99-1099YEL |
| Dimensions | 14 inches (Diameter) x 3 inches (Depth) |
| Weight | 3.9 Pounds |
| Material | Chrome & Molded Resin, High Grade Glass |
| Display Type | Analog |
| Movement | Quartz |
| Power Source (Clock) | 2 AA Batteries (not included) |
| Power Source (Neon) | 110V AC Adapter (included) |
| Neon Rings | Inner White, Outer Yellow |
| Mounting Type | Wall Mount |
| Indoor/Outdoor Usage | Indoor |

Figure 2: Product dimensions diagram.
3. Setup
3.1 Battery Installation (for Clock Movement)
- Locate the battery compartment on the back of the clock.
- Insert two (2) AA batteries (not included) into the compartment, ensuring correct polarity (+/-).
- Close the battery compartment cover.

Figure 3: Rear view of the clock, highlighting the battery compartment and wall hanging mount.
3.2 Setting the Time
- Locate the red knob on the back of the clock, typically near the battery compartment.
- Gently turn the knob to adjust the clock hands to the correct time.
3.3 AC Adapter Connection (for Neon Lights)
- Connect the provided 110V AC adapter to the power input port located on the bottom edge of the clock, near the pull chain.
- Plug the AC adapter into a standard electrical outlet.

Figure 4: Dual power setup with AA batteries for the clock and AC adapter for neon lights.
3.4 Wall Mounting
- Identify a suitable location on a wall for mounting.
- Use the built-in wall hanging mount on the back of the clock to securely hang it. Ensure the mounting hardware (not included) is appropriate for your wall type and the clock's weight.
4. Operation
4.1 Clock Function
The quartz movement ensures accurate timekeeping. Once batteries are installed and the time is set, the clock will operate continuously.
4.2 Neon Light Control
The neon lights are controlled by a pull chain located at the bottom of the clock.
- First Pull: Activates the neon lights in a solid, continuous glow mode.
- Second Pull: Switches the neon lights to a blinking mode.
- Third Pull: Turns off the neon lights.

Figure 5: Neon rings demonstrating solid and blinking light modes.
Video 1: Demonstration of the neon wall clock's features, including battery installation, AC adapter connection, and neon light modes (solid, blinking, off) controlled by the pull chain. This video is provided by a seller.
5. Maintenance
5.1 Cleaning
To clean the clock, wipe gently with a soft, dry cloth. Do not use abrasive cleaners or solvents, as these may damage the finish or glass.
5.2 Battery Replacement
Replace the AA batteries when the clock movement becomes erratic or stops. Always replace both batteries at the same time.
6. Troubleshooting
| Problem | Possible Cause | Solution |
|---|---|---|
| Clock not keeping accurate time or stopped | Dead or low batteries; incorrect time setting. | Replace AA batteries. Adjust time using the red knob on the back. |
| Neon lights not illuminating | AC adapter not connected or plugged in; power outlet issue; pull chain not activated. | Ensure AC adapter is securely connected to the clock and a working power outlet. Pull the chain to cycle through light modes. |
| Neon lights blinking unexpectedly | Light mode set to blinking. | Pull the chain again to switch to solid mode or turn off. |
7. Warranty & Support
7.1 Warranty Information
Manufacturer Warranty Description: Na.
For specific warranty details, please refer to the product packaging or contact Lavish Home customer service.
7.2 Customer Support
If you encounter any issues not covered in this manual or require further assistance, please contact Lavish Home customer support through their official website or the retailer where the product was purchased.