1. Product Overview
The Schellenberg 20059 Radio Code Security Device is a wireless keypad designed for convenient and secure operation of garage door and gate operators. It allows you to control up to three different receivers using a personalized numerical code, eliminating the need for physical keys or remote controls.
Key Features:
- Wireless radio code control for garage and gate operators.
- Operating range of approximately 10-12 meters.
- Simple operation and programming.
- High security through numerical code entry.
- Keypad illumination for use in low light conditions.
- No complex wiring required for the keypad unit.
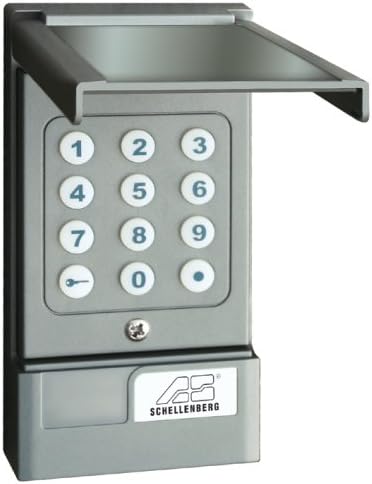
Image 1.1: The Schellenberg 20059 Radio Code Security Device, showing the numerical keypad and protective cover.
2. Safety Information
Please read and understand all safety instructions before installing and operating this device. Failure to follow these instructions may result in property damage or injury.
- Battery Safety: The keypad requires a 9V battery. Ensure correct polarity when inserting the battery. Do not mix old and new batteries, or different types of batteries. Dispose of used batteries responsibly.
- Installation: Mount the device in a location that is protected from direct heavy rain and extreme weather conditions to ensure longevity. Ensure the mounting surface is stable.
- Operation: Keep hands and objects clear of moving garage doors or gates during operation. Do not allow children to play with the device.
- Compatibility: This device is designed for use with Schellenberg garage and gate operators. While it may be compatible with other systems, verify compatibility before installation. The receiver operates with 12-24V AC/DC.
3. Setup and Installation
This section guides you through the installation and initial setup of your radio code security device.
3.1 Unpacking and Components
Carefully unpack the device and ensure all components are present. The package typically includes the keypad unit and mounting hardware.

Image 3.1: The Schellenberg 20059 device shown in its retail packaging.
3.2 Battery Installation
- Open the battery compartment located at the bottom of the keypad unit.
- Insert a new 9V battery, observing the correct polarity (+/-).
- Close the battery compartment securely.
3.3 Mounting the Keypad
The keypad is designed for surface mounting. Choose a suitable location near your garage or gate, ensuring it is within the operating range of your receiver and protected from direct weather exposure.
- Mark the drilling points on the wall using the keypad as a template.
- Drill holes and insert appropriate wall plugs (if necessary).
- Secure the keypad to the wall using the provided screws.

Image 3.2: Example installation of the Schellenberg 20059 keypad next to a garage door.
3.4 Programming the Device
The programming process involves setting an activation code on the keypad (transmitter) and then teaching this code to your receiver unit. Refer to your receiver's manual for specific instructions on entering 'learning mode'.
- Set Keypad Code: Follow the keypad's specific instructions to program your desired numerical access code. This typically involves entering a master code (often a factory default) to enter programming mode, then inputting your new code.
- Teach Receiver: Once the keypad is programmed, activate the 'learning mode' on your garage door or gate operator's receiver unit.
- Transmit Code: While the receiver is in learning mode, press the designated key (e.g., the 'key' symbol or a specific number) on the Schellenberg keypad to transmit the code. The receiver should confirm successful learning (e.g., by flashing an LED or making a sound).
- Test Functionality: After successful programming, test the keypad by entering your code and observing if the garage door or gate operates correctly.
4. Operating Instructions
To operate your garage door or gate using the Schellenberg 20059 device:
- Lift the protective cover of the keypad.
- Enter your programmed numerical access code. The keys will illuminate during entry.
- Press the designated activation key (e.g., the 'key' symbol or a specific number) to send the signal to the receiver.
- The garage door or gate will activate.
The device can control up to three different receivers. Ensure each receiver is programmed to respond to a unique code or channel if using multiple operators.
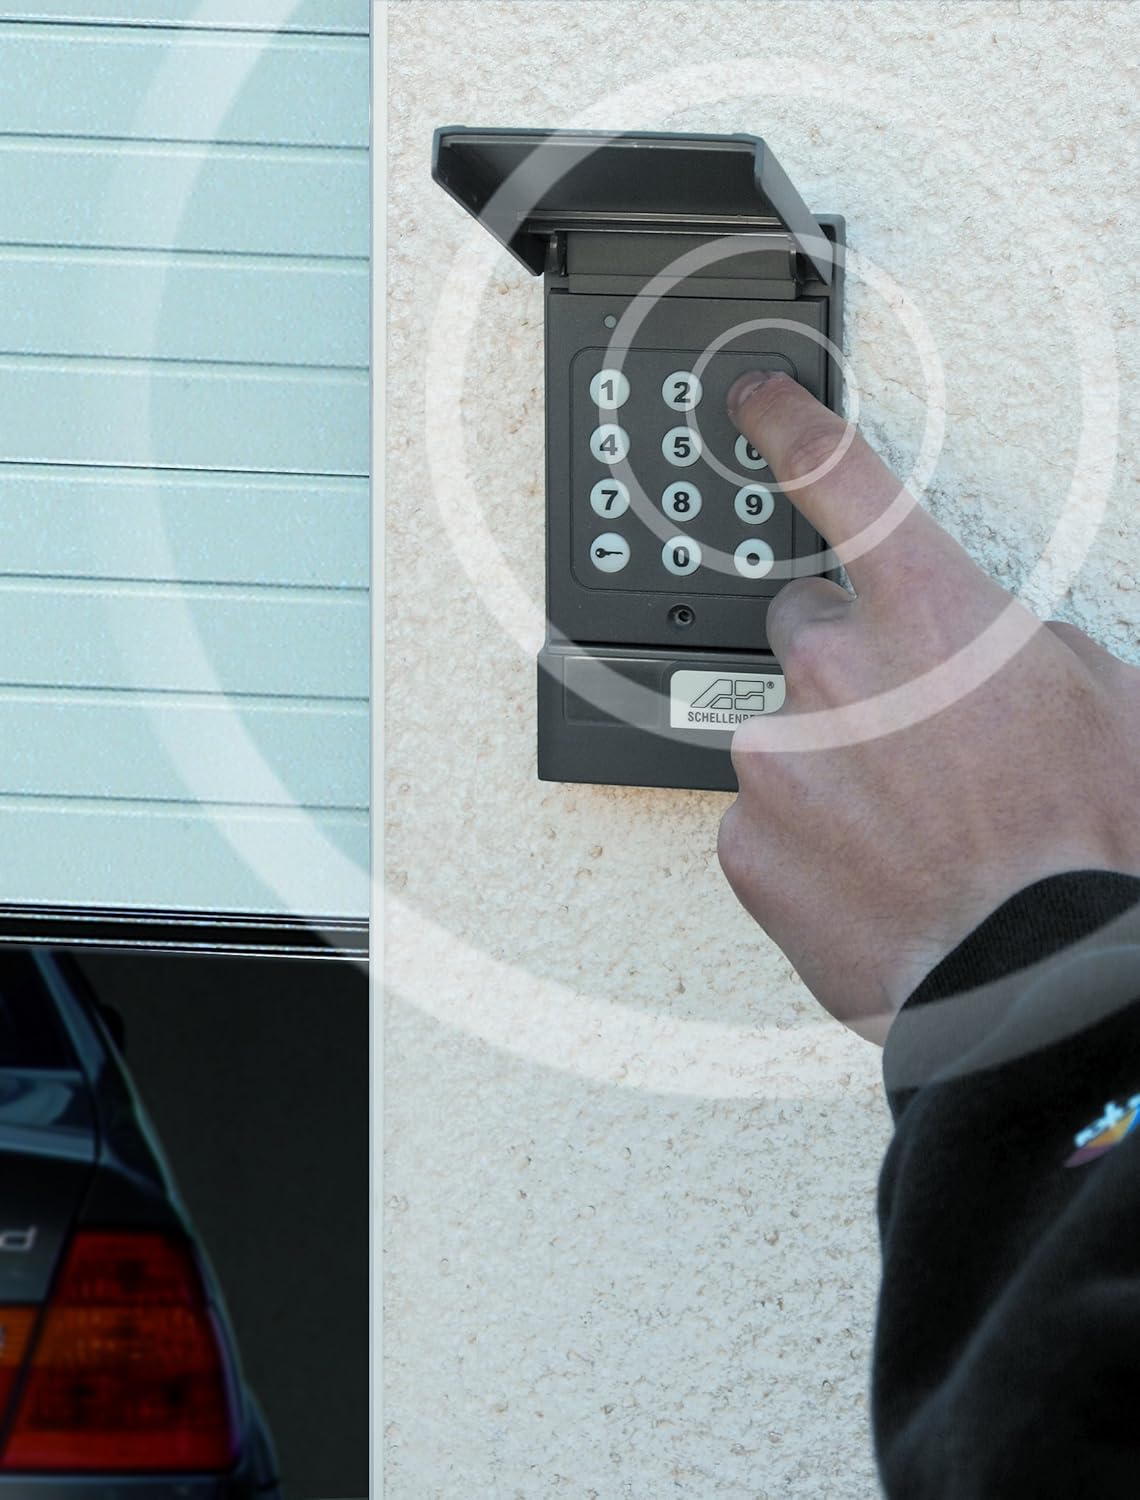
Image 4.1: A hand entering a code on the illuminated keypad, illustrating the wireless signal transmission.
5. Maintenance
Regular maintenance ensures the longevity and reliable operation of your device.
- Battery Replacement: When the keypad's illumination dims or operation becomes unreliable, replace the 9V battery. Follow the steps in Section 3.2.
- Cleaning: Clean the keypad surface with a soft, damp cloth. Do not use abrasive cleaners or solvents, as these can damage the plastic.
- Inspection: Periodically check the mounting screws to ensure the keypad remains securely attached to the wall.
6. Troubleshooting
If you encounter issues with your Schellenberg 20059 device, refer to the following troubleshooting tips:
- Device Not Responding:
- Check the 9V battery in the keypad and replace if necessary.
- Ensure the keypad is within the operating range of the receiver (approx. 10-12 meters).
- Verify that the correct code is being entered.
- Confirm that the receiver is powered and functioning correctly.
- Programming Difficulties:
- If the keypad does not enter programming mode with the factory master code, it's possible the master code has been changed. Contact Schellenberg support if you do not have the new master code.
- Ensure you are following the programming steps precisely for both the keypad and the receiver. Sometimes, pressing the activation key for a longer duration can reset the keypad's programming state.
- The LED blink intervals during programming can be long; allow sufficient time for the device to respond.
- Limited Range:
- Obstructions like thick walls, metal structures (e.g., aluminum garage doors), or other radio interference can reduce the operating range. Try repositioning the keypad or receiver.
- Ensure the battery is fully charged.
- Receiver Compatibility: The receiver provides a 1-second pulse (potential-free relay contact, closer only) and works with 12-24V AC/DC. The pulse time is fixed. If your system requires a continuous pulse or separate open/close inputs, additional modifications or an adapter may be necessary.
7. Specifications
| Manufacturer | Alfred Schellenberg GmbH |
| Model Number | 20059 |
| Color | Anthracite |
| Keypad Power Supply | 9 Volt battery (not included) |
| Receiver Voltage | 12 - 24 Volts AC/DC |
| Radio Frequency | 433 MHz |
| Operating Range | Approx. 10-12 meters (line of sight) |
| Dimensions (Package) | 22.4 x 10.8 x 4.2 cm |
| Product Weight | 259 g |
8. Warranty and Support
For warranty information or technical support, please refer to the documentation included with your purchase or contact Alfred Schellenberg GmbH directly. Keep your proof of purchase for warranty claims.
Manufacturer Contact:
- Alfred Schellenberg GmbH
- Refer to official Schellenberg website for current contact details.


