1. Product Overview
The Energizer Recharge Universal Charger is designed to charge various sizes of NiMH rechargeable batteries. It supports AA, AAA, C, D, and 9V battery types, eliminating the need for multiple charging devices. The charger incorporates features to optimize battery performance and ensure safe operation.

Image 1.1: The Energizer Recharge Universal Charger, capable of charging AA, AAA, C, D, and 9V NiMH batteries.
Key Features:
- Charges 2 or 4 AA, AAA, C, or D NiMH batteries.
- Charges 1 or 2 9V NiMH batteries.
- LED light bar status indicator for charging progress.
- Automatic shut-off to prevent overcharging and maximize battery life.
- Built-in adapter and detachable cord for convenient storage.
- Safety features include short circuit protection, reverse polarity protection, primary battery detection, bad battery detection, and Delta V charging cut-off.
2. Safety Information
Please read and understand all safety instructions before using the charger. Failure to follow these instructions may result in electric shock, fire, or personal injury.
- Use this charger only with NiMH rechargeable batteries. Attempting to charge non-rechargeable (primary) batteries may cause them to leak, rupture, or explode, leading to personal injury and property damage.
- Do not expose the charger to rain or moisture.
- Do not operate the charger if it has been dropped or damaged.
- Do not disassemble the charger. Refer all servicing to qualified personnel.
- Ensure proper battery polarity when inserting batteries into the charger.
- Keep the charger away from direct sunlight and heat sources.
- Unplug the charger from the power outlet when not in use.

Image 2.1: The charger features built-in protection against overcharging, which helps extend battery life and ensures safety.
3. Getting Started (Setup)
Follow these steps to set up your Energizer Recharge Universal Charger:
- Unpack the Charger: Remove the charger and any included accessories from the packaging.
- Connect to Power: Plug the charger's detachable cord into a standard wall outlet. The charger is now ready for use.
4. Operating Instructions
This section details how to properly insert batteries and understand the charging indicators.
Inserting Batteries:
- AA, AAA, C, D Batteries: Insert 2 or 4 batteries into the designated slots, ensuring the positive (+) and negative (-) terminals align correctly with the markings on the charger.
- 9V Batteries: Insert 1 or 2 9V batteries into the dedicated 9V slots, ensuring correct polarity.

Image 4.1: Proper insertion of an AA or AAA battery into the charging slot, observing polarity markings.
Understanding LED Indicators:
The charger features an LED light bar that indicates the charging status:
- Solid Blue Light: Indicates that batteries are charging.
- Flashing Blue Light: May indicate a problem with the battery (e.g., bad battery, primary battery, or reverse polarity). Refer to the Troubleshooting section.
- Light Off: Indicates that charging is complete, and the charger has automatically shut off power to prevent overcharging.

Image 4.2: The LED indicator displaying a full charge, signifying that the batteries are ready for use.
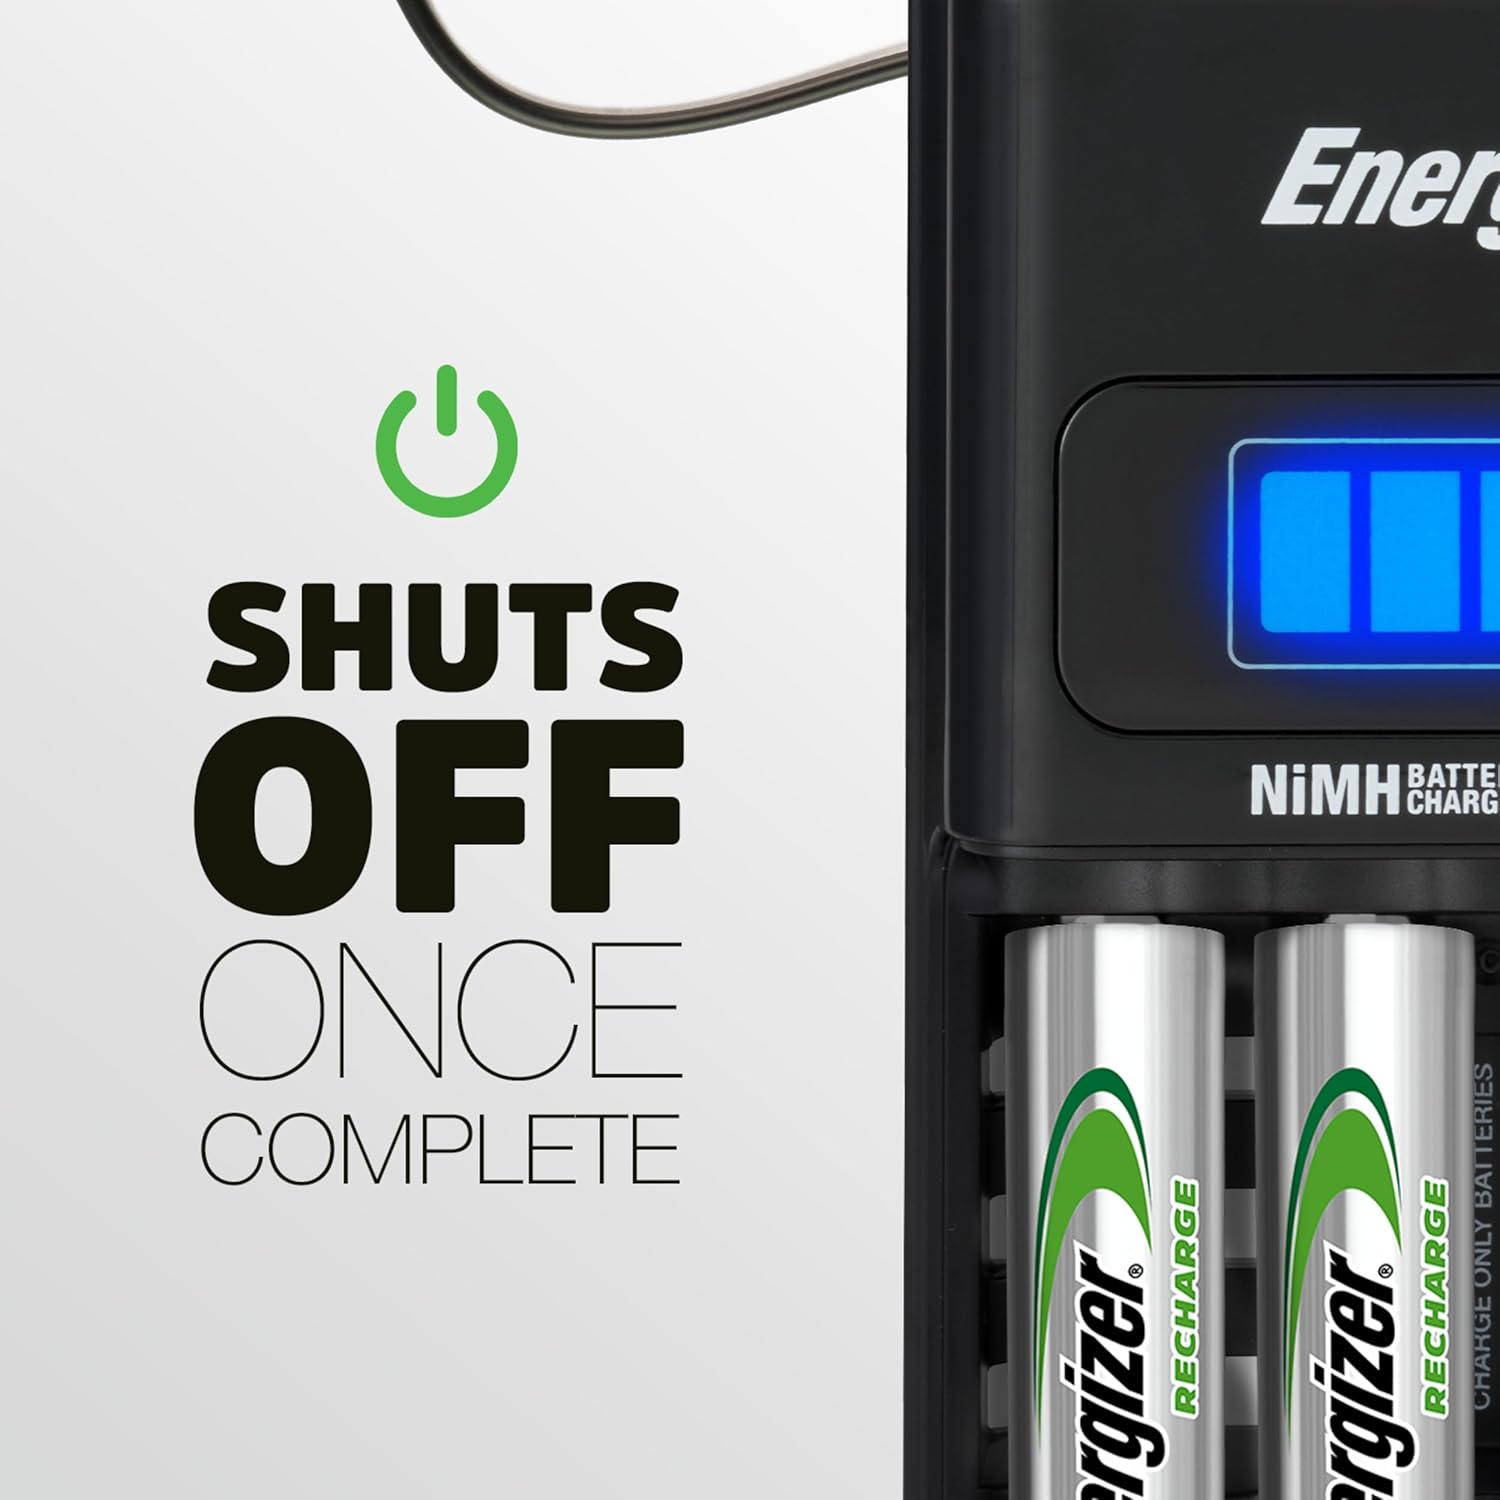
Image 4.3: The charger's automatic shut-off feature activates once batteries are fully charged, preventing overcharge.
Charging Times:
Charging times can vary depending on the battery type, capacity, and current charge level. For example, 4 AA batteries can achieve a full-capacity charge in approximately 5 hours. Refer to your battery's specifications for more precise charging durations.
5. Care and Storage
Proper care and storage will help maintain the charger's functionality and extend its lifespan.
- Cleaning: Disconnect the charger from the power outlet before cleaning. Use a dry, soft cloth to wipe the exterior of the charger. Do not use liquid cleaners or solvents.
- Storage: Store the charger in a cool, dry place away from direct sunlight and extreme temperatures. The detachable cord allows for compact storage.
- Battery Removal: Always remove batteries from the charger once charging is complete.
6. Troubleshooting
If you encounter issues with your charger, refer to the following common problems and solutions:
| Problem | Possible Cause | Solution |
|---|---|---|
| LED light bar is flashing blue. | Bad battery detected, primary (non-rechargeable) battery inserted, or reverse polarity. | Remove the battery. Ensure only NiMH rechargeable batteries are used and inserted with correct polarity. If the issue persists with a known good NiMH battery, the battery may be faulty. |
| Batteries are not charging (no light). | Charger not plugged in, loose connection, or batteries not properly seated. | Ensure the charger is securely plugged into a working outlet. Re-insert batteries, ensuring firm contact and correct polarity. |
| Charger feels warm during operation. | Normal operation. | A slight warmth during charging is normal. If the charger becomes excessively hot, disconnect it immediately and contact customer support. |
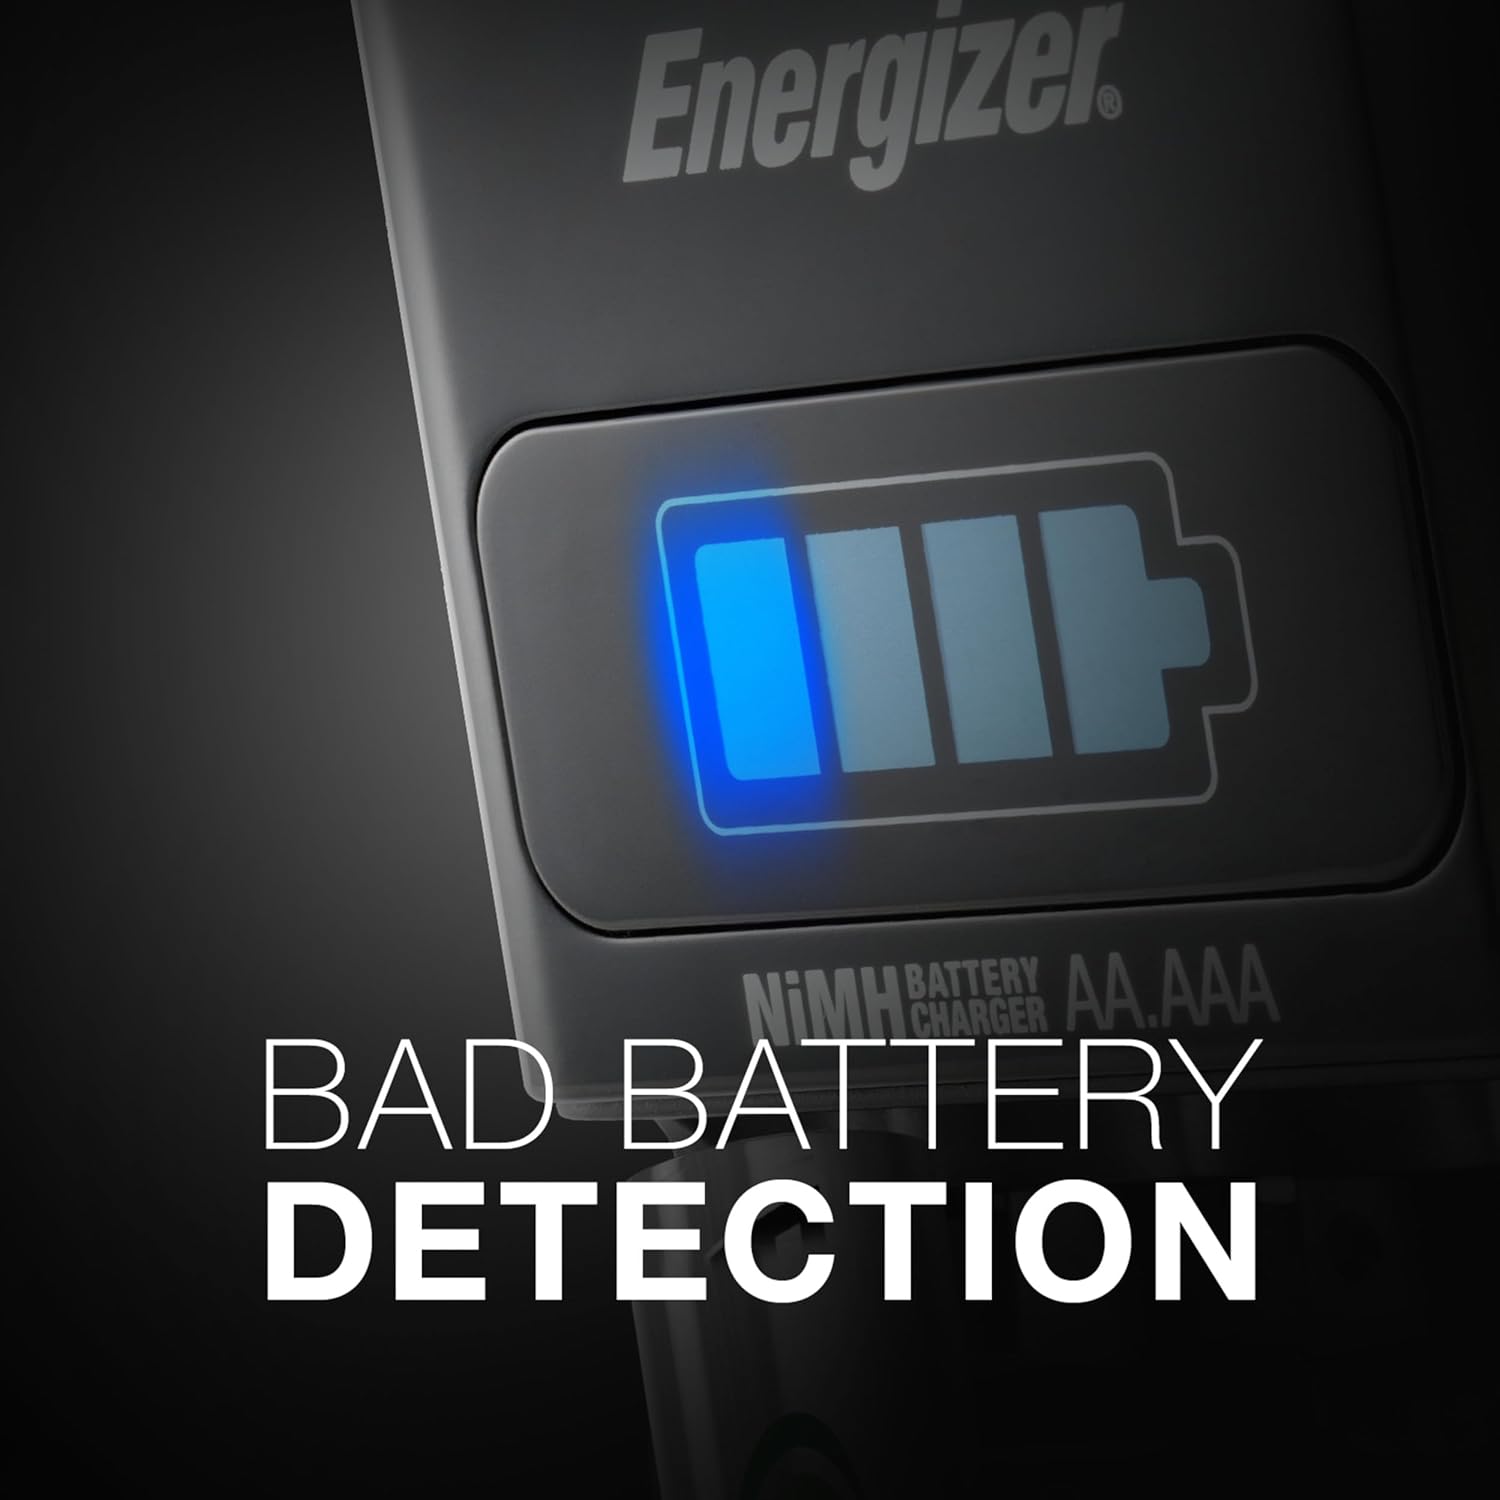
Image 6.1: The charger's bad battery detection feature alerts users to incompatible or faulty batteries.
7. Technical Specifications
| Specification | Detail |
|---|---|
| Model Number | CHFC |
| Product Dimensions | 2.84 x 5.08 x 11.58 inches |
| Item Weight | 0.96 ounces |
| Battery Cell Composition | NiMH |
| Reusability | Rechargeable |
| Supported Battery Sizes | AA, AAA, C, D, 9V |
8. Warranty and Customer Support
The Energizer Recharge Universal Charger comes with a Limited Lifetime Warranty. Please refer to the official user manual for complete warranty details and terms. The warranty does not cover misuse of the product.
For further assistance, technical support, or warranty claims, please visit the official Energizer website or contact their customer service department. You can also refer to the comprehensive User Manual (PDF) for additional information.