Introduction
The CAD CM217 is a small diaphragm condenser microphone designed for capturing a wide range of acoustic sources. Its precise sound reproduction makes it suitable for instruments such as acoustic guitars, stringed instruments, cymbals, and hi-hats. This manual provides essential information for the proper setup, operation, and maintenance of your CM217 microphone.
Safety Information
- Always handle the microphone with care to prevent damage.
- Do not expose the microphone to extreme temperatures, humidity, or direct sunlight.
- Ensure proper phantom power (48V) is supplied by your audio interface or mixer, as this is a condenser microphone. Incorrect power can damage the unit.
- Keep the microphone away from strong magnetic fields.
- Disconnect the microphone from power before cleaning or when not in use.
Package Contents
Verify that all items are present in your package:
- CAD CM217 Small Diaphragm Condenser Microphone
- Microphone Clip
Features
- Small diaphragm condenser design for detailed sound capture.
- Integrated Hi-Pass Filter to reduce low-frequency rumble.
- Switchable Attenuator (Pad) for handling high sound pressure levels.
- Unidirectional polar pattern for focused sound pickup.
- Durable metal or plastic enclosure.
Setup
1. Mounting the Microphone
Attach the supplied microphone clip to a standard microphone stand. Securely fasten the CAD CM217 microphone into the clip. Ensure the microphone is stable and positioned correctly for your recording needs.
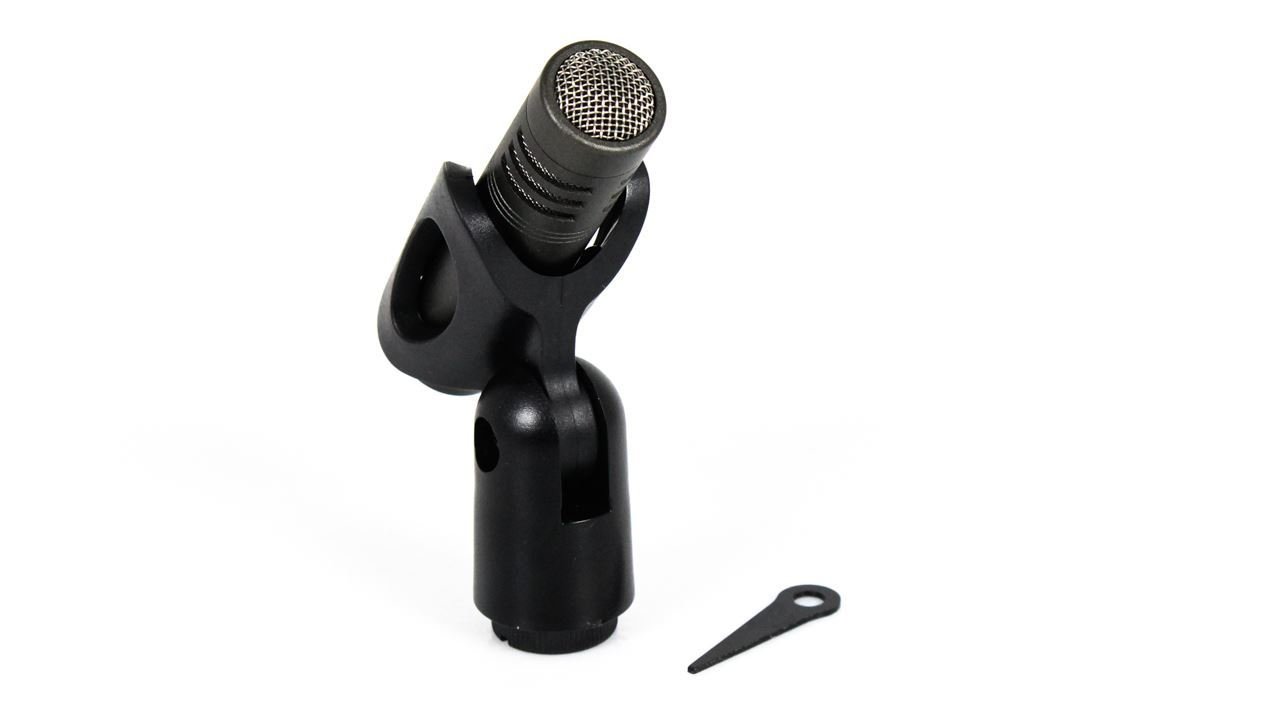
Image: The CAD CM217 microphone securely mounted in its included microphone clip, ready for use.
2. Connecting to an Audio Interface/Mixer
The CM217 connects via a standard XLR cable (not included) to an audio interface or mixer. Ensure the device provides 48V phantom power, which is required for the microphone to operate. Connect one end of the XLR cable to the microphone's output and the other end to an available XLR input on your audio device.
3. Phantom Power Activation
After connecting the microphone, activate the 48V phantom power on your audio interface or mixer. Refer to your audio device's manual for instructions on enabling phantom power.
Operating
1. Understanding Controls: Hi-Pass Filter and Attenuator
The CM217 features two switches on its body:
- Hi-Pass Filter: This switch activates a low-cut filter, which reduces unwanted low-frequency noise such as rumble or handling noise. Engage this filter when recording sources that do not require strong low-end presence, or to clean up the signal.
- Attenuator (Pad): The attenuator switch provides a -10dB pad. This reduces the microphone's output level, preventing distortion when recording very loud sound sources like drums or amplified instruments. Engage the pad if your audio interface input is clipping despite low gain settings.
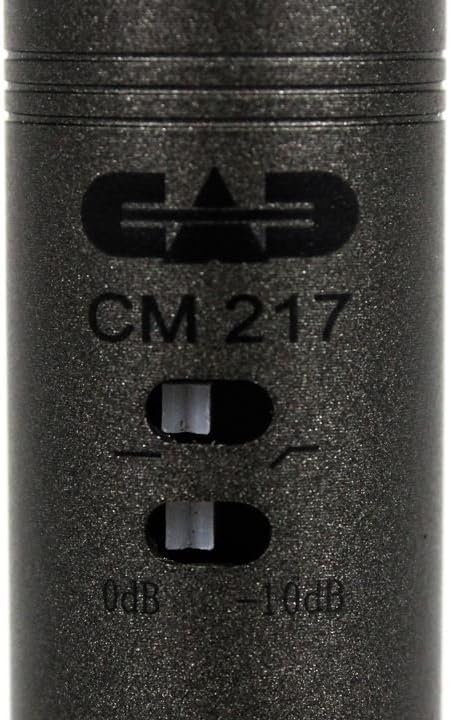
Image: A detailed view of the CAD CM217 microphone, highlighting the Hi-Pass Filter and Attenuator switches for signal control.
2. Microphone Placement
Optimal microphone placement is crucial for sound quality. Experiment with distances and angles relative to the sound source. For acoustic guitars, try positioning the microphone 6-12 inches from the soundhole or where the neck meets the body. For cymbals and hi-hats, overhead placement at a distance of 1-2 feet can capture a balanced sound. The unidirectional polar pattern helps to reject off-axis sounds, focusing on the intended source.
3. Gain Staging
Set the input gain on your audio interface or mixer to achieve a healthy signal level without clipping. The goal is to have the loudest parts of your performance peak around -6dB to -3dB on your meter, leaving headroom to prevent digital distortion.
Maintenance
- Cleaning: Use a soft, dry cloth to wipe the microphone body. Do not use liquid cleaners or solvents, as they can damage the finish or internal components. Avoid touching the microphone grille with bare hands to prevent residue buildup.
- Storage: When not in use, store the microphone in a protective case or bag to shield it from dust, moisture, and physical impact.
- Environment: Operate and store the microphone in a clean, dry environment with stable temperature and humidity.
Troubleshooting
No Sound Output
- Check Phantom Power: Ensure 48V phantom power is enabled on your audio interface or mixer.
- Cable Connection: Verify that the XLR cable is securely connected to both the microphone and the audio input. Try a different XLR cable to rule out a faulty cable.
- Input Selection: Confirm that the correct input channel is selected on your audio interface/mixer and recording software.
- Gain Settings: Increase the input gain on your audio interface/mixer.
Distorted Sound
- Attenuator (Pad): If recording a loud source, engage the -10dB attenuator switch on the microphone.
- Input Gain: Reduce the input gain on your audio interface or mixer.
- Source Volume: If possible, reduce the volume of the sound source.
Hum or Noise
- Cable Shielding: Ensure you are using high-quality, shielded XLR cables.
- Grounding Issues: Check the grounding of your audio equipment and power outlets.
- Interference: Move the microphone away from electronic devices that may cause electromagnetic interference (e.g., computers, monitors, power supplies).
- Hi-Pass Filter: Engage the Hi-Pass Filter on the microphone to reduce low-frequency rumble.
Specifications
| Feature | Specification |
|---|---|
| Model Name | CM217 |
| Brand | CAD Audio |
| Microphone Type | Small Diaphragm Condenser |
| Polar Pattern | Unidirectional |
| Connectivity Technology | Auxiliary (XLR) |
| Connector Type | 3.5mm auxiliary connector (Note: This specification from product data might be a mislabeling for XLR output common in professional audio) |
| Power Source | Corded Electric (Requires 48V Phantom Power) |
| Special Features | Hi-Pass Filter, Attenuator (-10dB Pad), Mic Clip Included |
| Recommended Uses | Acoustic Guitars, Stringed Instruments, Cymbals, Hi-Hats, Singing, Voice Recording, Video Recording |
| Compatible Devices | Audio Interfaces, Mixers, Personal Computers, Laptops, Tablets, Speakers (with appropriate adapters/interfaces) |
| Signal-to-Noise Ratio | 58 dB |
| Audible Noise | 58 Decibels |
| Enclosure Material | Metal or Plastic |
| Included Components | Microphone |
Note: Specifications are subject to change without notice.
Warranty and Support
For warranty information and technical support, please refer to the official CAD Audio website or contact their customer service directly. Keep your purchase receipt as proof of purchase for any warranty claims.
CAD Audio Official Website: www.cadaudio.com