1. Introduction
Thank you for choosing the Inter Link Mobile Pedestal with 6 Drawers. This manual provides essential information for the safe assembly, proper operation, and effective maintenance of your new furniture. Please read these instructions carefully before beginning assembly and retain them for future reference.
This mobile pedestal, crafted from solid pine wood with a white lacquered finish, is designed to offer practical storage solutions for your office or home environment. Its six drawers and castor wheels provide versatile organization and mobility.
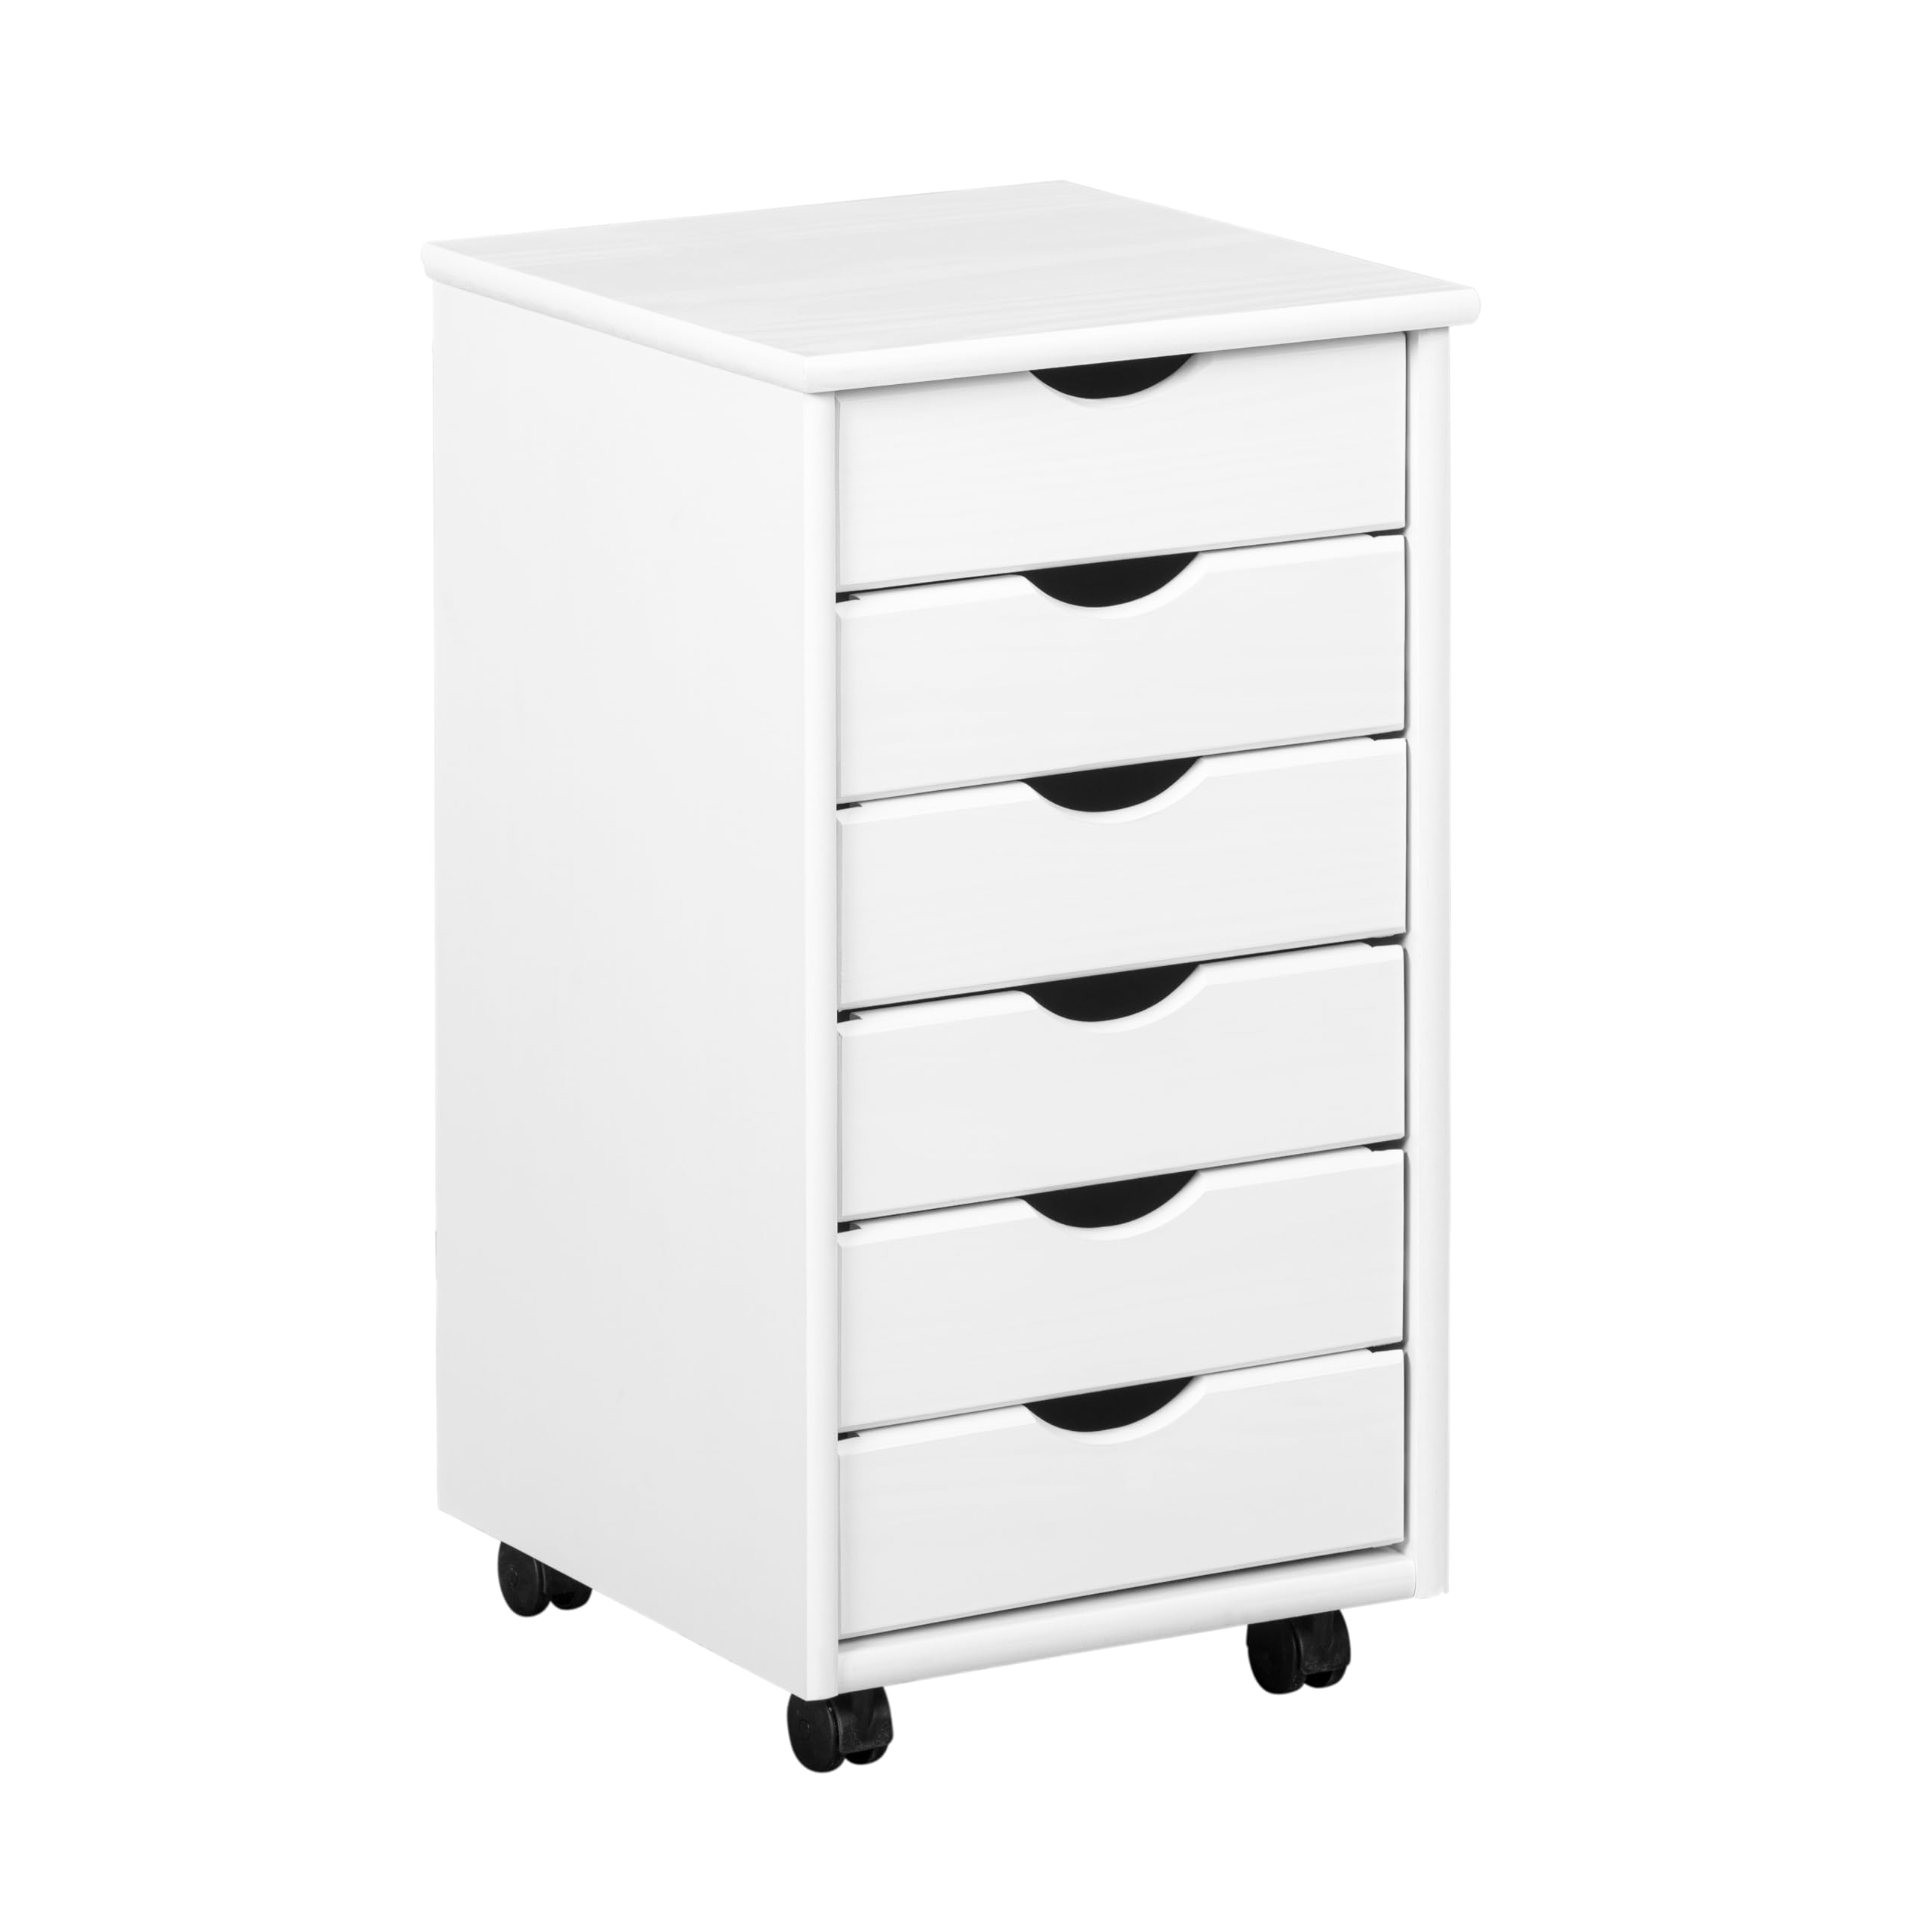
Image 1.1: The Inter Link Mobile Pedestal with 6 Drawers.
2. Safety Instructions
- Read all instructions: Ensure you understand all assembly steps and safety warnings before proceeding.
- Use appropriate tools: Only use the recommended tools for assembly.
- Assembly surface: Assemble the unit on a soft, clean surface to prevent scratches or damage.
- Secure all fasteners: Ensure all screws and fasteners are tightened securely. Do not overtighten.
- Weight limits: Do not exceed the maximum weight capacity for the top surface (20 kg) or individual drawers (3 kg). Overloading can cause instability and damage.
- Stability: Always place the unit on a level surface. Engage wheel locks when the unit is stationary to prevent accidental movement.
- Child safety: Keep small parts and packaging materials away from children. Do not allow children to climb on or play with the unit.
- Moving the unit: When moving the unit, ensure all drawers are closed and empty if possible to prevent items from falling out or the unit from tipping.

Image 2.1: Dimensions and weight capacities. Max top load: 20 kg, Max drawer load: 3 kg.
3. Package Contents
Before beginning assembly, verify that all components listed below are present and undamaged. If any parts are missing or damaged, please contact customer support immediately.
Components:
- Side Panels (2)
- Top Panel (1)
- Bottom Panel (1)
- Drawer Fronts (6)
- Drawer Side Panels (12)
- Drawer Back Panels (6)
- Drawer Bottom Panels (6)
- Castor Wheels (4)
- Hardware Pack (screws, dowels, etc.)
Refer to the illustrated assembly instructions provided in the package for a detailed visual guide to all parts.
4. Assembly Instructions
Assembly of this unit requires basic tools, typically a screwdriver. Follow the detailed, illustrated assembly instructions included in your package. The general steps are outlined below:
- Prepare the workspace: Clear a spacious, clean, and soft area for assembly to prevent damage to the furniture components.
- Attach castor wheels: Secure the four castor wheels to the bottom panel of the pedestal using the provided screws. Ensure they are firmly attached.
- Assemble the main frame: Connect the side panels to the bottom and top panels using the provided hardware (dowels and screws). Ensure all connections are tight and the frame is square.
- Assemble each drawer: For each of the six drawers, attach the side panels and back panel to the drawer front. Slide the drawer bottom panel into the grooves. Secure the drawer components with the appropriate screws.
- Insert drawers: Carefully slide each assembled drawer into its designated slot within the main frame.
- Final check: Verify that all components are securely fastened and the unit is stable.
Important Note: Some users have reported challenges with pre-drilled holes and screw quality. Exercise caution during assembly, especially when driving screws into wood, to prevent splitting. If you encounter difficulties, ensure you are using the correct screw for each step and apply steady, even pressure.

Image 4.1: Example assembly diagram for a rolling container.

Image 4.2: Additional assembly diagram showing structural details.

Image 4.3: Detailed view of drawer construction.

Image 4.4: Detailed view of drawer runners.

Image 4.5: Key features including ergonomic handles and safety wheels.
5. Operation
Using the Drawers:
- To open a drawer, gently pull the integrated handle.
- To close a drawer, push it firmly until it is fully seated within the unit.
- Distribute weight evenly within each drawer and do not exceed the 3 kg capacity per drawer.
Moving the Pedestal:
- Ensure all drawers are closed before moving the unit.
- Unlock the castor wheels if they are engaged.
- Gently push or pull the pedestal to its desired location. Avoid sudden movements or dragging.
- Once in position, engage the locks on the castor wheels to prevent unintended movement.

Image 5.1: The mobile pedestal positioned for use in an office setting.

Image 5.2: The mobile pedestal is available in different finishes.

Image 5.3: Animation demonstrating drawer functionality.
6. Maintenance
Cleaning:
- The product surface is waterproof and easy to clean.
- Wipe the surface with a damp cloth.
- Immediately dry with a clean, dry cloth to prevent water spots or damage to the lacquered finish.
- Avoid using abrasive cleaners, harsh chemicals, or solvents, as these can damage the finish.
General Care:
- Periodically check all screws and fasteners to ensure they remain tight. Retighten if necessary, but do not overtighten.
- Inspect castor wheels for any debris or damage that might hinder smooth movement. Clean or replace if needed.
- Protect the unit from direct sunlight and extreme temperature changes to prevent wood warping or finish degradation.
7. Troubleshooting
| Problem | Possible Cause | Solution |
|---|---|---|
| Drawers do not slide smoothly or get stuck. | Misaligned drawer runners; debris in runners; overloaded drawer. | Ensure drawers are assembled correctly and runners are aligned. Clean runners. Reduce drawer contents. |
| Unit is unstable or wobbles. | Loose fasteners; uneven floor; overloaded top surface. | Check and tighten all screws. Move unit to a level surface. Do not exceed 20 kg on the top surface. |
| Castor wheels do not roll or lock properly. | Debris in wheels; loose attachment; damaged wheel. | Clean wheels. Ensure wheels are securely attached to the bottom panel. If damaged, contact support for replacement. |
| Wood splitting during assembly. | Incorrect screw size; overtightening; lack of pre-drilled holes. | Use correct screws. Do not overtighten. If wood splits, use wood glue for repair. Consider pre-drilling small pilot holes if no pre-drilled holes are present and you have the appropriate tools and expertise. |
| Missing parts. | Packaging error. | Contact customer support with your purchase details and the specific missing part. |
8. Specifications
| Feature | Detail |
|---|---|
| Brand | Inter Link |
| Model Number | 20900360 |
| Color | White lacquered |
| Material | Solid Pine Wood |
| Overall Dimensions (L x W x H) | 40 x 35 x 65 cm (15.7 x 13.8 x 25.6 inches) |
| Item Weight | 11.5 Kilograms (25.35 lbs) |
| Number of Drawers | 6 |
| Features | With castor wheels, ergonomic handles |
| Maximum Top Load Capacity | 20 kg |
| Maximum Drawer Load Capacity | 3 kg per drawer |
| Assembly Required | Yes (detailed illustrated instructions provided) |
| Country of Origin | Brazil |
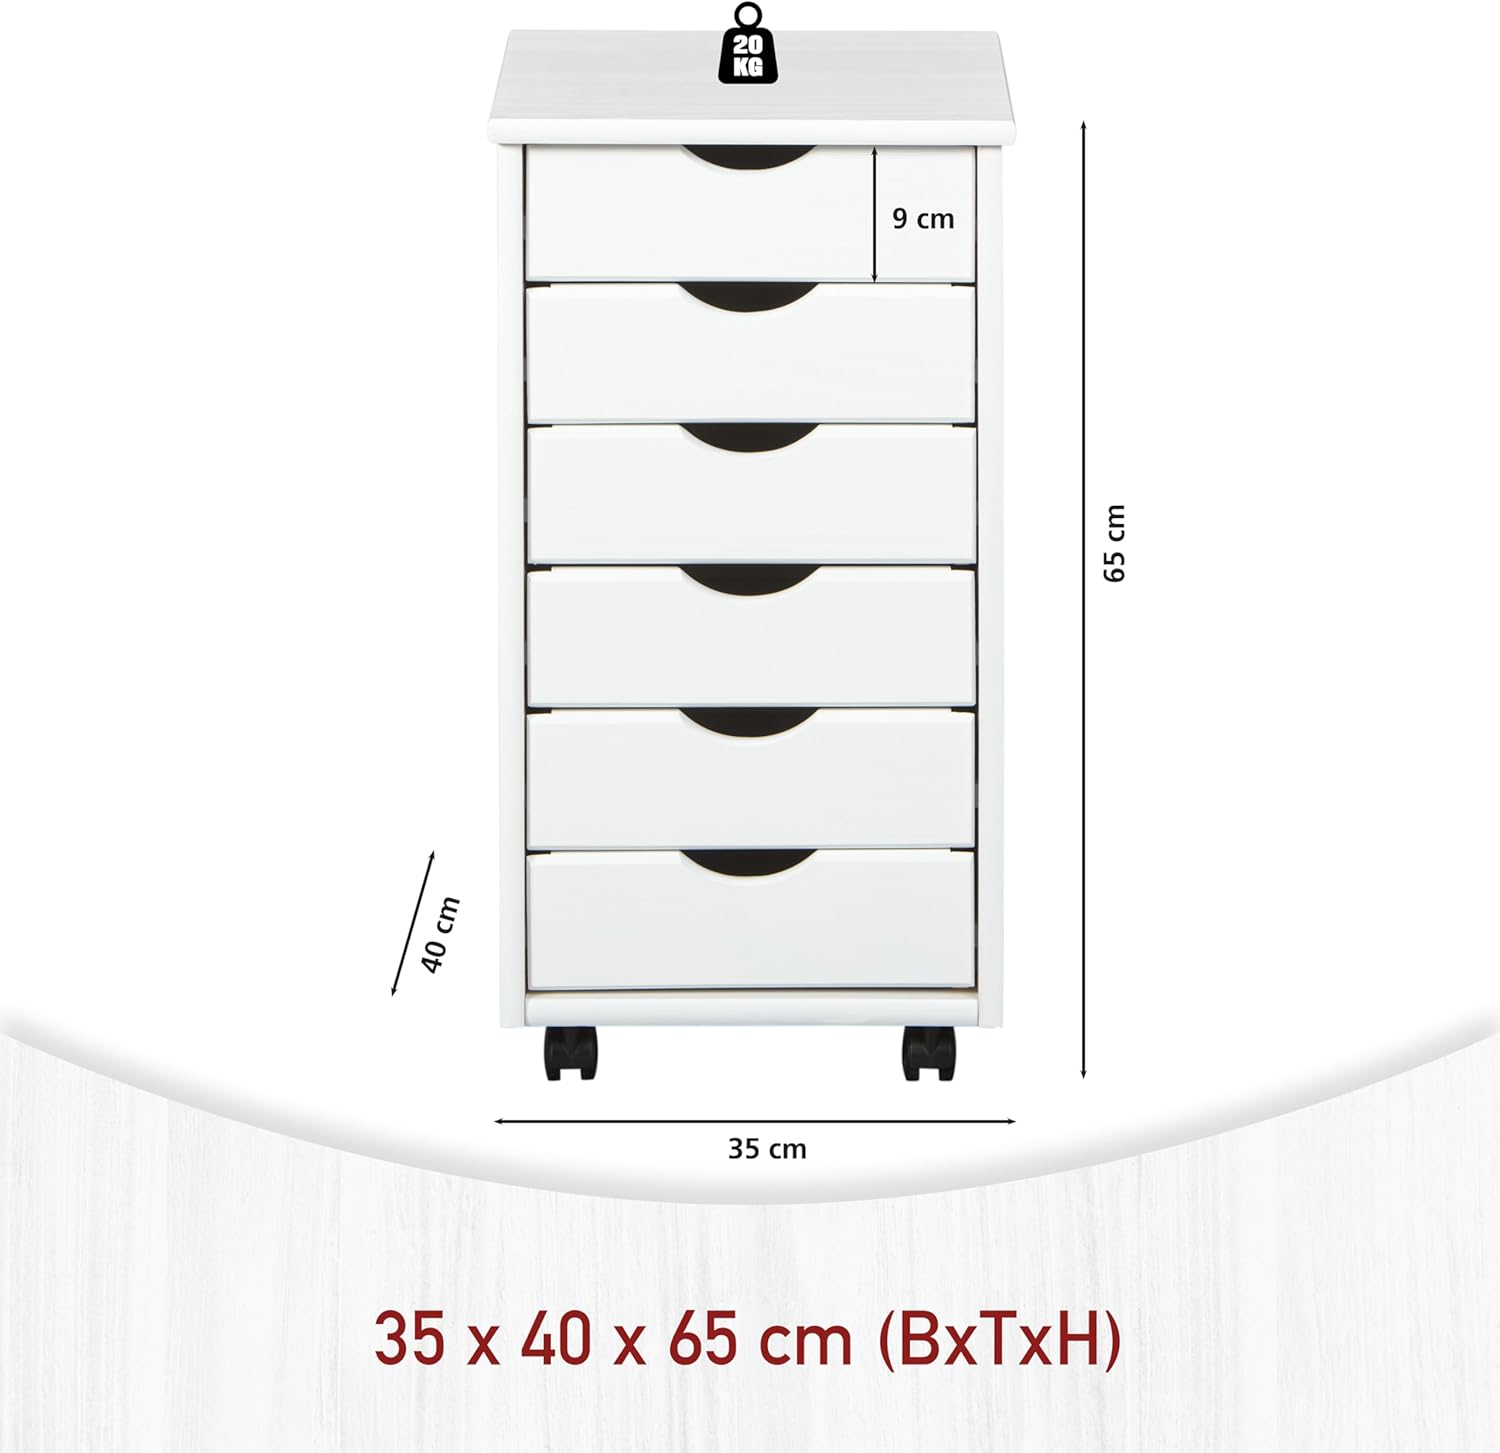
Image 8.1: Detailed dimensions of the mobile pedestal.

Image 8.2: Illustration of the wood finish, showing the natural grain visible through the white lacquer.
9. Warranty Information
Specific warranty details for this product are not provided in this manual. For information regarding the manufacturer's warranty, including terms and conditions, please refer to the documentation included with your purchase or contact the retailer where the product was acquired.
Information regarding the availability of spare parts is currently unavailable. For any spare part inquiries, please contact your point of purchase.
10. Support & Contact
Should you have any questions, require assistance with assembly, or need to report missing or damaged parts, please contact the retailer from whom you purchased this product. They will be able to provide the most direct support and guidance.
For general inquiries about Inter Link products, you may visit the official Inter Link website or refer to the contact information provided on their packaging or official channels.